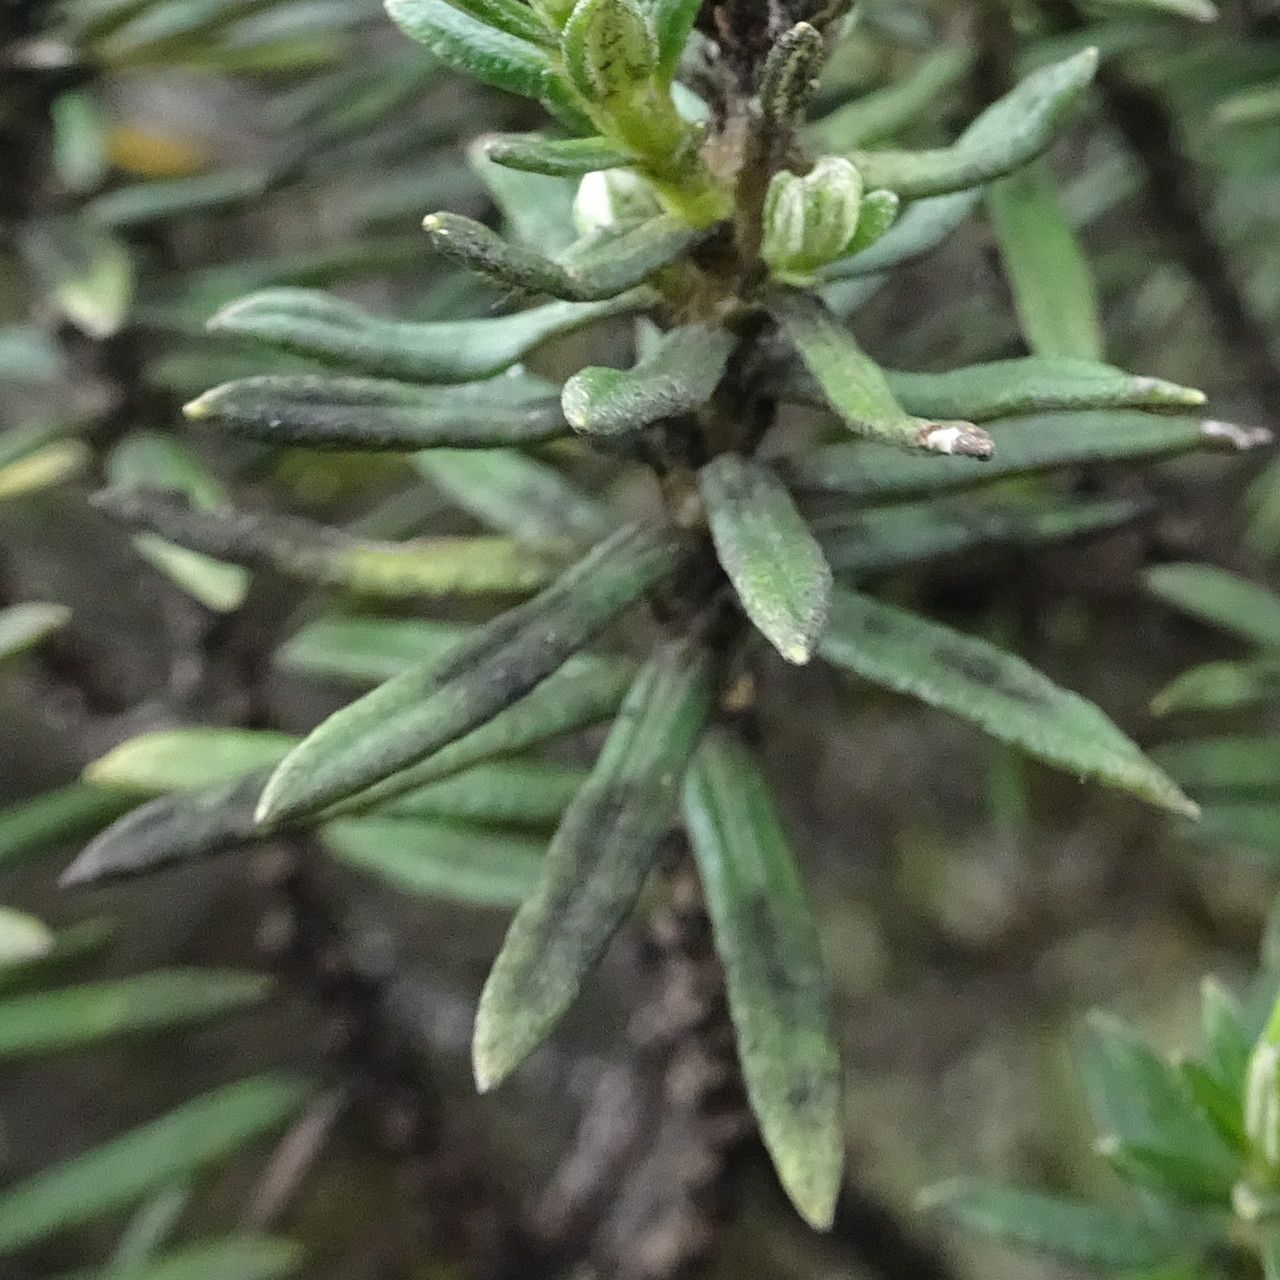
Hello there, fellow plant lovers! I’m so excited to chat with you today about a truly charming plant: Linochilus rosmarinifolius. You might know it by its common name, Rosemary Linochilus, and oh, it really does live up to that! Its delicate, needle-like leaves have a wonderful fragrance, and it puts on a lovely display of small, airy flowers. It’s the kind of plant that just makes you feel good to have around.
Now, I know what you might be thinking: is this a tricky one to grow from? I’m happy to report that propagating Linochilus rosmarinifolius is, for the most part, quite accessible. While no propagation is ever 100% guaranteed, I’ve found it to be a rewarding endeavor, even for those a little newer to the plant-starting game. It feels so special to watch a tiny cutting transform into a whole new plant you can share or simply enjoy more of.
The Best Time to Start
For the highest success rate, I always recommend starting your propagation efforts in the late spring to early summer. This is when the plant is actively growing and has plenty of energy to put into developing new roots. You’re looking for stems that are healthy and vigorous, but not so old and woody that they’ve become stiff. Think of the newer, slightly bendy growth – that’s your sweet spot!
Supplies You’ll Need
Before you dive in, let’s gather our tools. Having everything ready makes the process so much smoother.
- Sharp Pruning Shears or a Clean Knife: For making clean cuts.
- Small Pots or Trays: Clean ones are crucial to prevent disease.
- Well-Draining Potting Mix: I swear by a mix of equal parts perlite, peat moss, and a good quality potting soil. This ensures excellent aeration and prevents waterlogging, which is key.
- Rooting Hormone (Optional, but Recommended): This can give your cuttings an extra boost. Look for one formulated for softwood or semi-hardwood cuttings.
- Plastic Bags or a Propagator: To create a humid environment.
- Watering Can with a Fine Rose: For gentle watering.
- Labeling Sticks and a Pen: So you don’t forget what you’ve planted and when!
Propagation Methods
The most reliable way I’ve found to propagate Linochilus rosmarinifolius is through stem cuttings. It’s straightforward and usually yields great results.
Stem Cuttings
- Take Your Cuttings: With your clean shears, cut healthy stems that are about 4-6 inches long. Make a clean cut just below a leaf node (where a leaf attaches to the stem). Remove the lower leaves, leaving just the top few to catch the light for photosynthesis.
- Prepare the Cuttings: If you’re using rooting hormone, dip the cut end of each stem into the powder or liquid, tapping off any excess.
- Plant Your Cuttings: Fill your small pots with your prepared potting mix. Make a small hole in the center of each pot with your finger or a pencil. Gently insert the cut end of the stem into the hole, ensuring the leaf nodes are below the surface. Firm the soil gently around the stem.
- Water Gently: Water thoroughly but gently until you see water drain from the bottom of the pot.
The “Secret Sauce” (Pro Tips)
Here are a few little tricks I’ve picked up over the years that can really make a difference:
- Humidity is Your Friend: After planting your cuttings, immediately cover the pots with a clear plastic bag, or place them in a propagator. This creates a humid microclimate, which is vital for preventing the cuttings from drying out while they work on forming roots. Seal the bag loosely or ensure your propagator has ventilation.
- Don’t Let Leaves Get Soggy: If you choose to propagate in water (which can work for Linochilus, though I find soil cuttings more robust), ensure no leaves are submerged. Leaves sitting in water will rot, and that’s a sure fire way to end your propagation dreams before they’ve even begun!
- A Touch of Warmth Helps: Linochilus rosmarinifolius loves a bit of warmth when rooting. Placing your pots on a heat mat specifically designed for propagation can significantly speed up root development. It mimics that gentle bottom heat that encourages growth.
Aftercare & Troubleshooting
Once your cuttings are planted, place them in a location that receives bright, indirect light. Avoid direct sun, as it can scorch those tender new stems. Keep the soil consistently moist but not waterlogged. A good check is to feel the top inch of soil; if it feels dry, it’s time to water.
You can start checking for roots after about 3-6 weeks. Gently tug on a cutting; if you feel resistance, roots are forming! Once you see good root development, you can transplant your new plants into slightly larger pots.
Now, what if things don’t quite go to plan? The most common issue you’ll encounter is rot. This usually happens due to overwatering or poor drainage. You’ll see the stem turn black and mushy. If you spot this, sadly, that cutting is likely lost. Don’t be discouraged! Simply discard the rotted cutting and check your watering habits and soil for the remaining ones. Sometimes, cuttings can also just shrivel up and die – this usually means they dried out too much.
A Little Patience Goes a Long Way
Starting new plants is such a fulfilling part of gardening. It’s a process that requires a touch of patience and a willingness to learn. Don’t be disheartened if your first attempt isn’t perfect. Every gardener has had their share of propagation failures!
The joy of successfully watching a tiny cutting unfurl new leaves and develop a robust root system is truly special. So, get your hands dirty, give it a go, and enjoy the magic of creating more of this delightful Linochilus rosmarinifolius! Happy planting!
Resource:
https://identify.plantnet.org/k-world-flora/species/Linochilus%20rosmarinifolius%20Benth./data