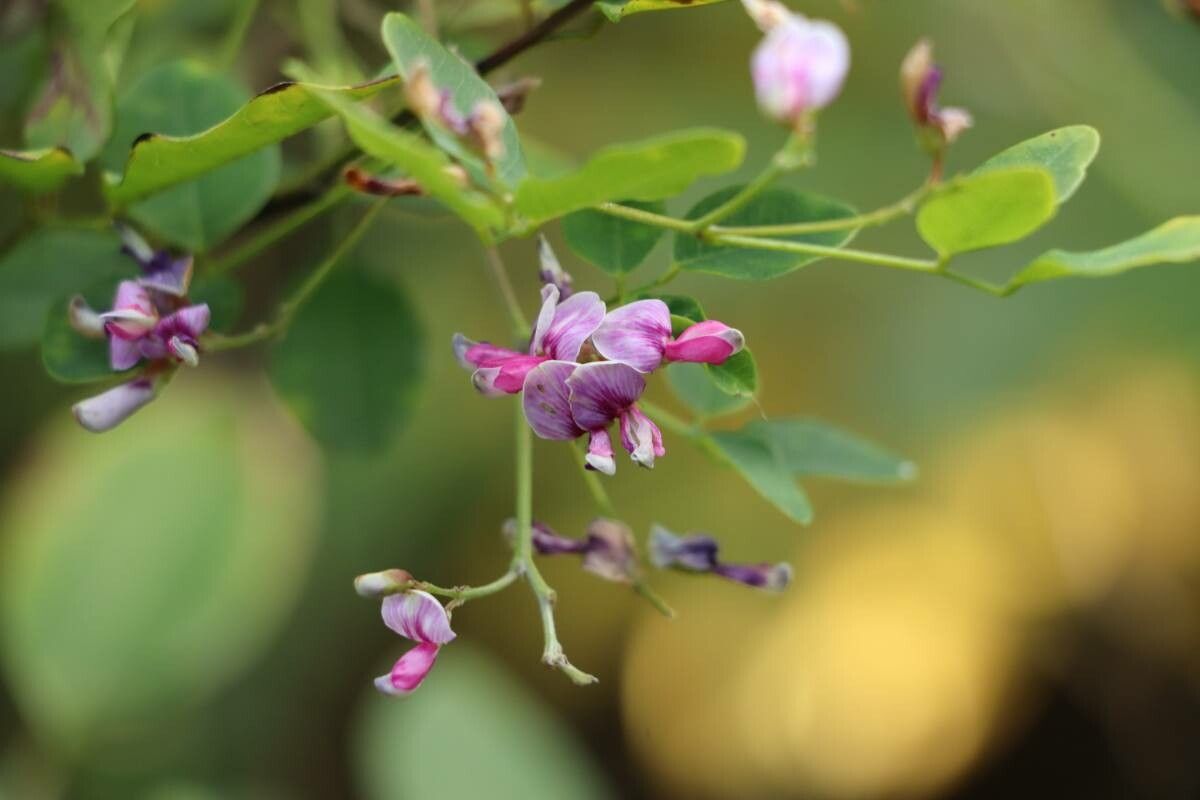
Oh, hello there! Pull up a chair and let’s chat about one of my favorite shrubs: Lespedeza homoloba. You know, the one with those lovely, cascading blooms in late summer and fall? It’s such a gem for bringing a touch of elegance to the garden when so many other things are winding down. And the best part? It’s surprisingly rewarding to propagate! I’ve been doing it for years, and it never gets old seeing those tiny cuttings transform into established plants. Now, if you’re a brand new gardener, I’d say this might be a slightly more involved project than, say, a simple succulent, but with a little care and patience, it’s absolutely achievable.
The Best Time to Start
For Lespedeza homoloba, I find that late spring to early summer is truly the sweet spot. You want to catch the plant when it’s actively growing but before it’s put all its energy into flowering. Taking cuttings from new, semi-hardened growth is key. This means the stems are no longer floppy and green but haven’t yet turned woody. Think of it as the “just right” stage – flexible but with a bit of backbone!
Supplies You’ll Need
Here’s what I always have on hand when I’m propagating:
- Sharp Pruning Shears or a Knife: Cleanliness is crucial for preventing disease.
- Rooting Hormone: This is your best friend for encouraging strong root development. I like to use a powdered form, but liquid works too.
- Potting Mix: A well-draining mix is non-negotiable. I usually use a blend of equal parts peat moss or coco coir, perlite, and a little bit of compost. You can buy pre-made seed starting or cutting mixes as well.
- Small Pots or a Propagation Tray: These should have drainage holes!
- Clear Plastic Bags or a Humidity Dome: To keep things humid around your cuttings.
- Watering Can or Mister: For gentle watering.
- Labels and a Pen: To keep track of what you’ve planted and when.
Propagation Methods
I’ve had the most consistent success with stem cuttings for Lespedeza homoloba. Here’s how I do it:
- Take Your Cuttings: In late spring or early summer, select healthy, non-flowering shoots that are about 4-6 inches long. Make your cut just below a leaf node (where a leaf attaches to the stem). This is where the magic of root formation often begins.
- Prepare the Cuttings: Gently remove the lower leaves from the cutting, leaving just a few at the top to help with photosynthesis. If your leaves are large, you can even snip them in half to reduce water loss.
- Dip in Rooting Hormone: Moisten the cut end of the stem slightly, then dip it into your rooting hormone powder. Tap off any excess.
- Plant Your Cuttings: Fill your pots or trays with your prepared potting mix. Make a small hole with your finger or a pencil, and gently insert the cutting. Firm the soil around the base to ensure good contact.
- Water Gently: Water the soil thoroughly but avoid waterlogging. A gentle mister is perfect for this stage.
- Create a Humid Environment: Cover the pots with a clear plastic bag (making sure the leaves don’t touch the plastic!) or place them under a humidity dome. If you’re using bags, you might need to poke a few small holes in them to allow for some air circulation.
The “Secret Sauce”
Here are a couple of tricks that I’ve found really make a difference:
- Bottom Heat is Your Friend: If you have a propagation mat, using it will significantly speed up root development. The gentle warmth from below encourages those cells to get busy forming roots. It’s like giving them a cozy heated bed!
- Don’t Rush the Re-potting: I resist the urge to tug on the cuttings to see if they’ve rooted. Instead, I gently watch for new leaf growth. That’s usually the first sign that roots are developing happily below the surface. It can take several weeks, so patience is key!
Aftercare & Troubleshooting
Once you see signs of new growth, it’s time to start acclimatizing your new Lespedeza babies to normal conditions. Gradually remove the plastic bag or dome for increasing periods over a week or two. Continue to keep the soil consistently moist but not soggy.
The most common pitfalls I see are:
- Rot: This is usually caused by overwatering and poor drainage. If a cutting turns mushy and black, it’s likely rotted. You can often save surrounding cuttings by improving air circulation and being more judicious with watering.
- Drying Out: Cuttings are delicate! If they completely dry out, they’re unlikely to recover. Make sure that humidity dome or plastic bag is doing its job.
A Little Patience Goes a Long Way
Propagating plants is such a beautiful way to connect with nature and expand your garden. It takes a bit of practice, and not every cutting will make it, but that’s all part of the journey. Celebrate the successes, learn from the challenges, and enjoy the process of growing something new from a tiny piece of your favorite shrub. Happy propagating!
Resource:
https://identify.plantnet.org/k-world-flora/species/Lespedeza%20homoloba%20Nakai/data