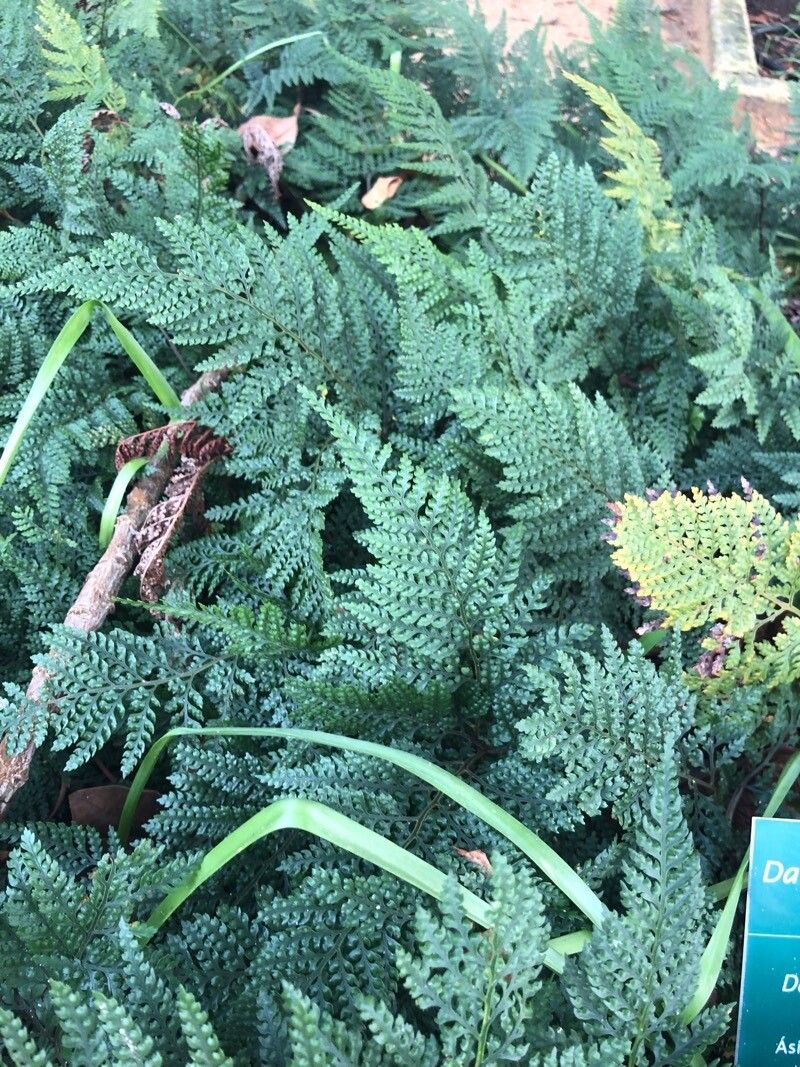
Hello fellow plant lovers! It’s so good to have you here. Today, we’re diving into the fascinating world of propagating Davallia bullata. You know, those beautiful ferns with those uniquely fuzzy, almost spider-like rhizomes peeking out from the pot? They have such a unique charm, don’t they? I find them utterly captivating, and I can tell you from experience, successfully coaxing new life from an existing plant is one of the most rewarding parts of gardening. Now, if you’re wondering if Davallia bullata is a tricky plant to propagate, I’d say it’s moderately easy. With a bit of patience and the right approach, you’ll be well on your way to doubling your fern family in no time.
The Best Time to Start
For Davallia bullata, the prime time to get propagating is during its active growing season. Think late spring through summer. This is when the plant is brimming with energy, making it more receptive to taking root and developing new growth. Starting when the plant is happy and healthy is key to a successful propagation.
Supplies You’ll Need
You don’t need a whole lot to get started, just a few essentials:
- Sharp pruning shears or a clean knife: For making clean cuts.
- Pots or shallow trays: Clean ones are a must to prevent disease.
- Well-draining potting mix: A mix formulated for ferns or houseplants, or you can create your own by combining equal parts peat moss, perlite, and a little bit of orchid bark.
- Rooting hormone (optional but recommended): This can give your cuttings a helpful boost.
- Plastic bags or a propagation dome: To create a humid environment.
- Spray bottle: For misting.
Propagation Methods
Davallia bullata is most commonly and successfully propagated through division or by using its fascinating rhizome cuttings. Let’s explore these:
Division (My Favorite Approach!)
This is really my go-to method for Davallia bullata because it’s so straightforward and often yields multiple new plants.
- Gently remove the parent plant from its pot. If it’s a bit stuck, a gentle tap on the sides of the pot or running a knife around the edge can help.
- Inspect the rhizomes. You’ll see those fuzzy, creeping stems. Look for sections that have developed their own roots and at least a few fronds.
- Carefully separate the rhizome sections. You can use your fingers for this, or if it’s a bit stubborn, a clean knife or even shears can help you cut through thicker parts. The goal is to keep a section of rhizome with its own root system.
- Pot up the divisions. Plant each new section in its own pot filled with your well-draining potting mix. Ensure the rhizome is just covered with a thin layer of soil, and the roots are nestled in.
Rhizome Cuttings (A Little More Advanced)
This method takes advantage of those creeping rhizomes, even if they don’t have full root systems yet.
- Locate healthy, long rhizomes on your established plant. You’re looking for pieces that are at least a few inches long.
- Make a clean cut using your sharp pruning shears or knife, severing a piece of the rhizome. Try to get a piece that has at least one or two nodes ( small bumps or undeveloped growth points on the rhizome).
- Optional: Dip the cut end in rooting hormone. This step can significantly increase your chances of success.
- Lay the rhizome cutting on top of the potting mix in a shallow tray or pot. You can gently press it into the surface soil so it makes good contact, but don’t bury it deeply.
- Cover with a plastic bag or propagation dome to maintain high humidity.
The “Secret Sauce” (Pro Tips)
Here are a couple of things I’ve learned over the years that really make a difference:
- Don’t bury the rhizomes too deep! Davallia bullata rhizomes need to breathe and get light. When planting divisions or cuttings, just a light covering of soil is all they need. You should still be able to see parts of the rhizome on the surface.
- Bottom heat is a game changer. If you’re using the rhizome cutting method, placing your tray on a gentle seedling heat mat can significantly speed up the rooting process. It mimics the warmth the plant loves and encourages root development.
Aftercare & Troubleshooting
Once your little Davallia babies are potted up, gentle care is key.
- Keep them consistently moist, but not soggy. A light misting with your spray bottle daily is a good idea, especially if they are under a cover.
- Provide bright, indirect light. No harsh sun for these delicate newcomers!
- Be patient! New fronds can take several weeks to appear, and for rhizome cuttings, it might even be a few months before you see significant growth.
- Watch out for rot. This is the most common issue. If you see mushy, black stems or rhizomes, it’s usually a sign of too much moisture and not enough air circulation. If you spot it, try to remove the affected part immediately and allow the remaining plant to dry out a bit more.
So there you have it! Propagating Davallia bullata is a wonderful way to expand your collection and share the beauty of these unique ferns with friends. Don’t get discouraged if your first attempt isn’t perfect. Gardening is a journey of learning and experimenting. Embrace the process, keep an eye on your little ones, and you’ll soon be rewarded with lush new growth. Happy propagating!
Resource:
https://identify.plantnet.org/k-world-flora/species/Davallia%20bullata%20Wall.%20ex%20Hook./data