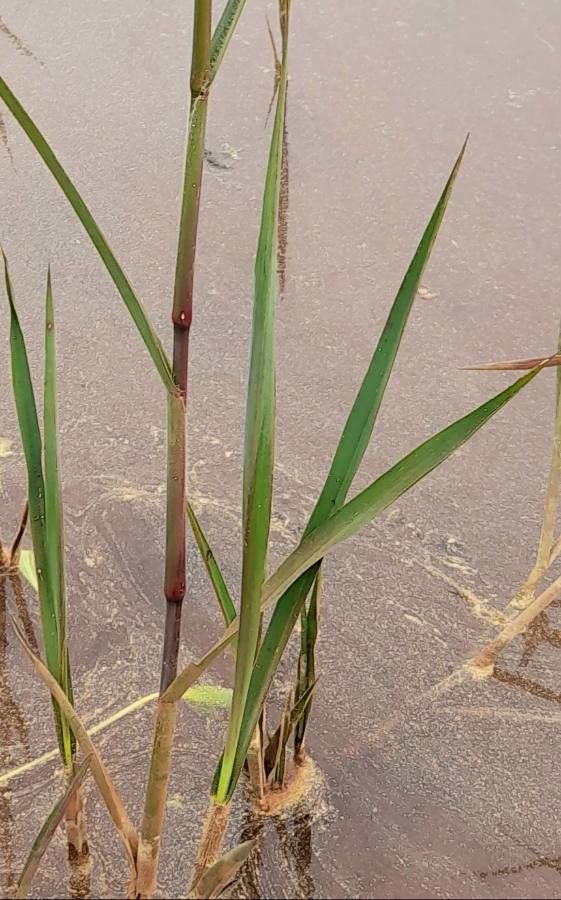
Oh, hello there! I’m so glad you’ve stopped by my little corner of the internet. Today, we’re going to talk about a truly special plant: Leersia ligularis. If you’re drawn to the elegance of a graceful grass, with its delicate, arching stems and subtle beauty, then you’re in for a treat. Propagating plants like Leersia ligularis is one of my absolute favorite things to do. It’s incredibly rewarding to take a piece of something beautiful and nurture it into a whole new life. And the good news? While it requires a touch of attention, Leersia ligularis is quite manageable for beginners looking to expand their green collection. You’ve got this!
The Best Time to Start
For Leersia ligularis, spring is your golden ticket. As the plant enters its active growing season, it’s full of vigor, making it far more receptive to propagation. Once the last frost has passed and the days are starting to lengthen and warm up, you’ll find it’s the perfect moment to get your cuttings or divisions underway. Aim for when the plant is actively producing new shoots.
Supplies You’ll Need
To set yourself up for success, gather these few essentials:
- Sharp pruning shears or a clean, sharp knife: For making clean cuts.
- Small pots or trays: With good drainage holes, of course.
- Well-draining potting mix: I love a blend of peat moss, perlite, and a little bit of compost for my cuttings. For divisions, a good quality all-purpose potting mix works well.
- Rooting hormone (optional but recommended for cuttings): Especially for slightly trickier plants, it gives them a helpful boost.
- Watering can or spray bottle: To keep things consistently moist.
- Clear plastic bag or propagation dome: To create a humid environment.
- Labels and a marker: To keep track of what’s what!
Propagation Methods
Leersia ligularis is wonderfully versatile, and you have a couple of excellent ways to multiply it.
Stem Cuttings: Capturing that Grace
This is my go-to method for capturing the distinctive form of Leersia ligularis.
- Select your cutting: Look for a healthy, non-flowering stem that’s at least 4-6 inches long. These are usually the younger, more flexible stems.
- Make the cut: Using your sharp shears, make a clean cut just below a leaf node (where a leaf attaches to the stem).
- Prepare the cutting: Gently remove the lower leaves, leaving just a few at the top. If there’s a very large leaf, I sometimes trim it in half – this reduces water loss while still allowing for photosynthesis.
- Rooting hormone (optional): Dip the cut end into your rooting hormone, tapping off any excess.
- Plant the cutting: Fill your small pots with your prepared potting mix. Make a small hole with your finger or a pencil and gently insert the cutting, ensuring the nodes are below the soil surface.
- Water and cover: Water the soil lightly until it’s moist, not soaking wet. Pop a clear plastic bag over the pot, or place it under a propagation dome. This creates a miniature greenhouse.
- Placement: Find a bright spot, but out of direct sunlight. A windowsill that gets bright, indirect light is perfect.
Division: A Big Plant into Many
If your Leersia ligularis has become quite mature and bushy, dividing the root ball is a fantastic way to get multiple plants.
- Gently remove from pot: Carefully tip your plant out of its container. If it’s root-bound, you might need to gently loosen the soil from the edges of the pot.
- Inspect the roots: You’ll see the clump of roots and stems.
- Divide carefully: You can often tease the plant apart with your hands. If the roots are too dense, use a clean knife or trowel to carefully slice through the root ball, ensuring each section has some roots and shoots.
- Pot up: Replant each division into its own pot with fresh potting mix, watering well.
The “Secret Sauce” (Pro Tips)
Here are a few little tricks from my years in the garden:
- The “Float Test” for Cuttings: When doing water propagation (which is another option, though I lean towards soil for Leersia), never let the leaves touch the water. They will rot very quickly. Only the submerged stem portion should be in contact with the water.
- Bottom Heat is Your Friend: If you’re struggling with cuttings, a little bit of gentle warmth from underneath can make a world of difference. A propagation mat or even placing your pots on top of a gently warmed appliance (like a router) can speed up root development. Just make sure it’s not too hot!
- Don’t Overwater Early On: It’s easy to be tempted to drench new cuttings or divisions, but overwatering is a quick way to invite rot. Keep the soil consistently moist, but not soggy. You’ll get a feel for it!
Aftercare & Troubleshooting
Once you see new growth appearing on your cuttings or divisions, that’s a great sign! It means roots have formed.
- Acclimation: For cuttings that have been under cover, gradually introduce them to normal humidity over a few days. Start by lifting the bag/dome for an hour or two each day.
- Watering: Continue to water when the top inch of soil feels dry.
- Light: Keep them in that bright, indirect light.
- Troubleshooting: The most common issue you’ll face is rot. If a cutting turns mushy and black, it’s usually a sign of too much moisture and not enough air circulation. If a division’s leaves start to yellow dramatically and don’t recover, check the roots – they might have been too dry or damaged during the process. Don’t be discouraged; sometimes plants need a little extra convincing!
A Little More Love
Propagating Leersia ligularis is a journey, and like all good gardening projects, it rewards patience and observation. Take joy in the process, celebrate every new shoot, and don’t be afraid to try again if something doesn’t work out the first time. Happy gardening!
Resource:
https://identify.plantnet.org/k-world-flora/species/Leersia%20ligularis%20Trin./data