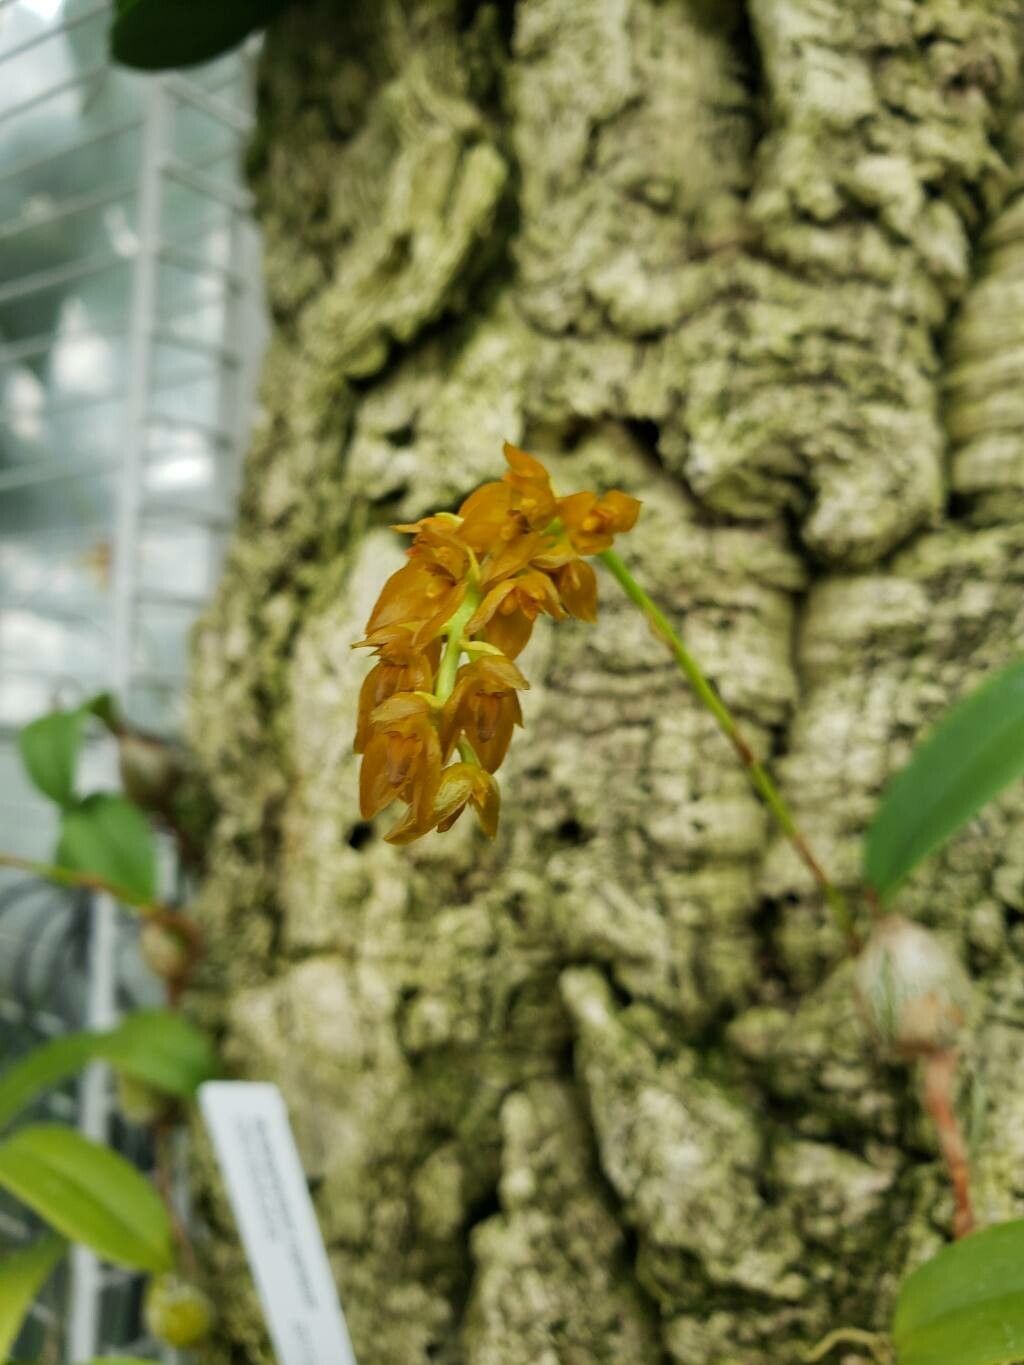
Hello fellow plant lovers! It’s so wonderful to have you join me today. We’re diving into the delightful world of Bulbophyllum cupreum, a truly captivating orchid. With its unique, coppery-colored flowers that unfurl like tiny, intricate treasures, it’s no wonder this orchid has captured the hearts of many. Propagating it yourself is a deeply rewarding journey, and to be honest, it’s a bit of a delightful challenge. It’s not the easiest plant for a complete beginner, but with a little patience and the right guidance, you absolutely can succeed. Trust me, seeing a tiny new growth emerge will give you such a thrill!
The Best Time to Start
For Bulbophyllum cupreum, the absolute best time to think about propagation is after it has bloomed and is actively entering its vegetative growth phase. This typically happens in late spring or early summer. You’ll notice new pseudobulbs starting to plump up and possibly new leaf growth emerging. This is when the plant has the most energy stored and is ready to put it into creating new life. Trying to propagate when the plant is stressed or dormant is like asking someone to run a marathon after a long illness – it’s just not ideal.
Supplies You’ll Need
Gathering your tools before you begin is always a good strategy. It prevents frantic searches mid-process! Here’s what you’ll want on hand:
- Sharp, sterilized pruning shears or a clean knife: For making clean cuts. A quick dip in isopropyl alcohol or a flame from a lighter (then let it cool!) will do the trick.
- Potting medium: A well-draining orchid mix is essential. I like to use a blend of bark chips, perlite, and a little sphagnum moss. The key is air circulation.
- Small pots or containers: Clean and appropriately sized for cuttings or divisions.
- Rooting hormone (optional but recommended): A powdered form works well. It’s not strictly necessary for this particular orchid, but it can give your cuttings a nice boost.
- Watering can or spray bottle: For gentle watering.
- Optional: Clear plastic bag or propagator: To create a humid environment.
Propagation Methods
The most common and successful way to propagate Bulbophyllum cupreum is through division. This orchid tends to form clusters of pseudobulbs over time, and you can carefully separate these.
- Assess your plant: Gently remove the orchid from its pot. Look for distinct sections or groups of pseudobulbs (the swollen, stem-like structures) that have their own roots.
- Gently tease apart: With a clean knife or your fingers, carefully work to separate these sections. You want to ensure each division has at least two to three healthy pseudobulbs and a good clump of roots. Don’t worry if a few roots break; it’s part of the process.
- Potting the divisions: Pot each division into its own small container with your prepared orchid mix. Make sure the pseudobulbs are sitting at the surface of the mix, not buried too deep.
- Watering: Water gently to settle the mix. Avoid waterlogging!
For stem cuttings, while less common for this specific Bulbophyllum, you could potentially take a healthy section of growth with a pseudobulb and a leaf after it blooms. Trim off any lower leaves, dip the cut end in rooting hormone, and plant it in your orchid mix. This method is a bit more iffy for them compared to division.
The “Secret Sauce” (Pro Tips)
Here are a few little nudges that have seen me through many orchid propagations:
- Don’t overwater division: This is crucial. New divisions are vulnerable to rot. Keep the potting mix barely moist for the first few weeks, letting it dry out slightly between waterings. Think of it as giving it a sip, not a bath.
- Humidity is your friend: These orchids love a humid environment. If you’ve divided them and they look a bit sad, popping the pot into a clear plastic bag with a few air holes can create a mini-greenhouse effect. This helps them retain moisture while they establish their roots. Just be sure to air it out daily for a few minutes to prevent fungal issues.
- Patience with new growth: Don’t expect immediate miracles. It can take several weeks, sometimes even a couple of months, for divisions to show clear signs of new root or pseudobulb development. Resist the urge to constantly poke and prod!
Aftercare & Troubleshooting
Once your divisions are potted, keep them in a location with bright, indirect light. Avoid direct sun, which can scorch tender new growth. Continue to water sparingly, allowing the potting mix to approach dryness before watering again.
The most common issue you’ll face is rot, often indicated by pseudobulbs that shrivel and turn mushy, or black spots on the leaves. This is almost always due to overwatering or poor air circulation. If you see this, try to remove the affected tissue with a clean blade, ensure the mix is drying out, and improve airflow. If a division completely rots, don’t be discouraged. It happens to the best of us! Just learn from it and try again.
A Encouraging Closing
Propagating orchids is a beautiful way to connect with your plants and expand your collection. Remember, each bloom you see on your new plant will be a testament to your care and effort. Be patient with yourself and with your Bulbophyllum cupreum. Enjoy the process, learn from each step, and soon you’ll be celebrating your own mini-successes! Happy growing!
Resource:
https://identify.plantnet.org/k-world-flora/species/Bulbophyllum%20cupreum%20Lindl./data