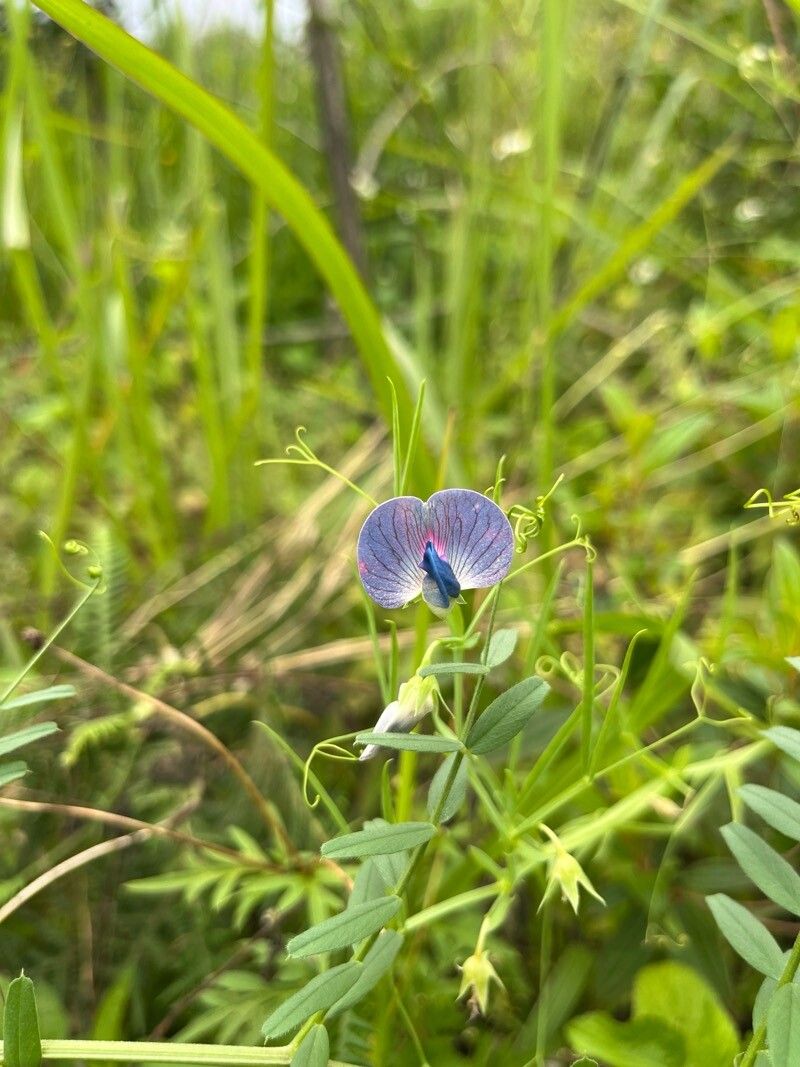
Hello there, fellow garden enthusiasts! Today, I want to chat about a plant that brings a touch of old-fashioned charm and lovely fragrance to our borders: Lathyrus sativus, or the grass pea. While it’s often overshadowed by its more famous cousin, the sweet pea (Lathyrus odoratus), I find Lathyrus sativus to be a wonderfully rewarding plant to grow, and even more so to propagate! Its delicate flowers, in shades of violet, pink, and white, are a delight, and there’s a special satisfaction in nurturing a new life from a tiny piece of the parent plant. If you’re a beginner, don’t fret – propagating Lathyrus sativus is quite approachable and opens up a whole new world of possibilities for your garden.
The Best Time to Start
For the highest success rate with Lathyrus sativus, I always recommend starting in late spring or early summer. This is when the plant is actively growing and has plenty of energy to dedicate to putting out new roots. You’ll want to look for healthy, vigorous stems that haven’t yet flowered.
Supplies You’ll Need
Gathering your tools beforehand makes the whole process much smoother. Here’s what I usually have on hand:
- Sharp, clean pruning shears or a craft knife: For making clean cuts.
- Potting mix specifically for propagation: A light, airy mix is crucial. I often use a 50/50 blend of perlite and peat moss or coco coir.
- Small pots or seed trays: With drainage holes, of course!
- Plastic bags or a propagator: To create a humid environment.
- Rooting hormone (optional but recommended): A powder or gel can significantly boost your success rate.
- A watering can with a fine rose: To avoid disturbing your delicate cuttings.
Propagation Methods
Lathyrus sativus is best propagated using stem cuttings. It’s a tried-and-true method that works wonderfully.
- Take Your Cuttings: In late spring or early summer, select healthy, non-flowering stems from your established plant. Using your sharp pruners or knife, make a clean cut just below a leaf node (where a leaf meets the stem). Aim for cuttings that are about 4-6 inches long.
- Prepare the Cuttings: Gently remove the lower leaves from the cutting, leaving just a few at the top. This helps prevent them from rotting in the soil and encourages the plant to focus its energy on root development. If you’re using rooting hormone, dip the cut end into the hormone powder or gel according to the product’s instructions.
- Plant the Cuttings: Fill your small pots with your propagation mix. Water the mix thoroughly so it’s evenly moist but not waterlogged. Make a small hole in the center of the soil with your finger or a pencil. Insert the prepared cutting into the hole, ensuring the leaf nodes that were below the soil line are covered. Gently firm the soil around the cutting.
- Create a Humid Environment: Water the pots again very lightly. Then, cover the pots with a clear plastic bag, a propagator lid, or place them inside a larger plastic bag that is sealed loosely. This traps humidity, which is essential for cuttings to root. Place your pots in a bright location but out of direct sunlight.
The “Secret Sauce” (Pro Tips)
After years of trial and error, I’ve picked up a few tricks that can really make a difference:
- Bottom Heat is Your Friend: If you have a heat mat, placing your pots on it can dramatically speed up root formation. The warmth encourages the plant to send out those new roots.
- Don’t Let Leaves Touch the Water: If you opt for water propagation (which is less common for Lathyrus sativus but can work), make sure absolutely no leaves are submerged. Only the cut stem should be in contact with the water. Any submerged leaves will rot and can take the whole cutting with them.
- Patience with the Rooting Hormone: While it’s not strictly necessary, a good rooting hormone can give your cuttings a significant edge. Don’t be tempted to overdo it, though; follow the package directions carefully.
Aftercare & Troubleshooting
Once your cuttings have started to root, you’ll notice new leaf growth, or if you gently tug on the cutting, you’ll feel some resistance. This is a good sign!
When you see visible roots developing (you might even see them peering out of the drainage holes), it’s time to gradually acclimatize your new plants to less humid conditions. Ventilate the propagator or the plastic bag for longer periods each day over a week or so. Eventually, you can remove the cover entirely.
Water your new plants whenever the top inch of soil feels dry. Keep them in bright, indirect light. Once they’ve developed a good root system and are showing strong new growth, you can transplant them into larger pots or their final garden positions.
The most common sign of failure is a cutting that wilts and turns mushy or black. This is usually a sign of rot, often caused by too much moisture and poor air circulation, or if the cutting was taken from unhealthy material. If you see this, sadly, it’s best to discard the cutting and try again.
A Encouraging Closing
Propagating plants is a wonderful way to connect with nature’s rhythms. Be patient with your Lathyrus sativus cuttings. Not every one will be a success, and that’s perfectly okay. Learn from each attempt, enjoy the process of nurturing new life, and before you know it, you’ll have a beautiful abundance of these charming flowers to share with your garden (and maybe even your friends!). Happy propagating!
Resource:
https://identify.plantnet.org/k-world-flora/species/Lathyrus%20sativus%20L./data