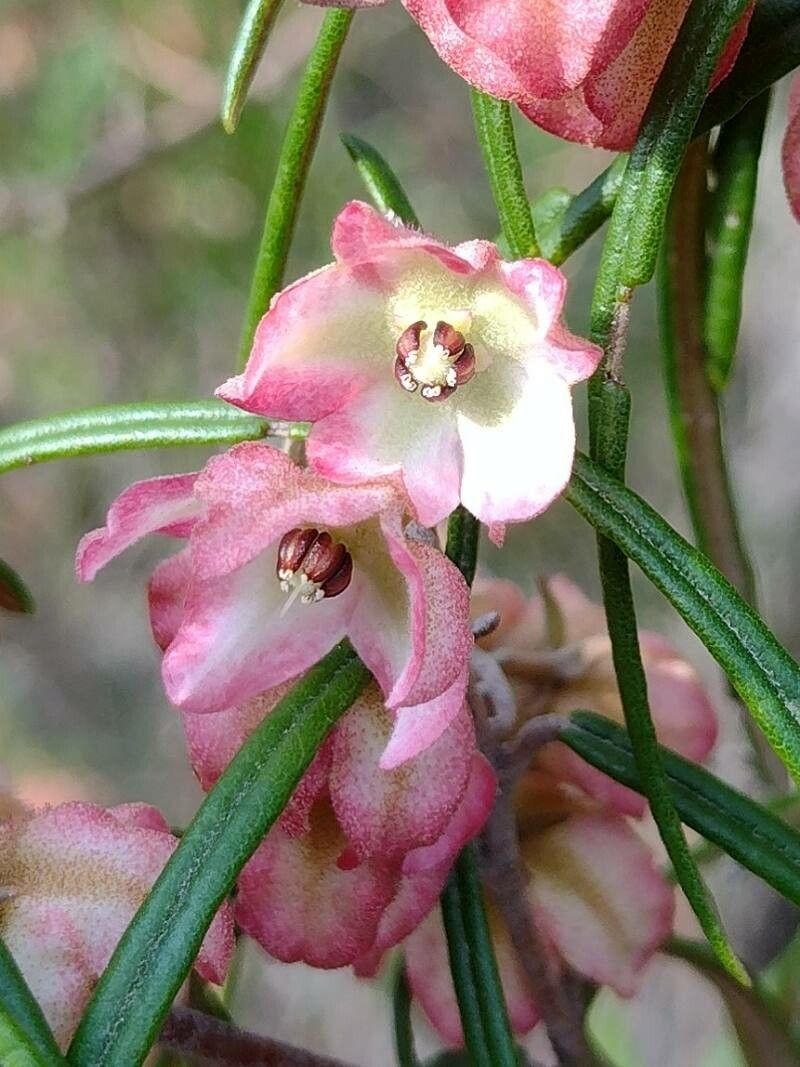
Oh, hello there! Grab your mug, settle in, and let’s talk about one of my favorite little treasures: Lasiopetalum rufum. If you’ve ever seen one of these beauties, you know their charm. Those soft, fuzzy, often pinkish-red new leaves peeking out amongst the deep green foliage – it’s just so lovely, isn’t it? And the delicate little star-shaped flowers? Pure magic.
What I really love about propagating Lasiopetalum rufum is the feeling of nurturing a new life from just a small piece. It’s incredibly rewarding to see a tiny cutting transform into a whole new plant. Now, you might be wondering if this is a project for seasoned pros or if a beginner can jump in. Honestly, Lasiopetalum rufum can be a smidge particular, but with a bit of care and the right approach, it’s definitely achievable. Don’t let that deter you!
The Best Time to Start
When it comes to getting the most success with your Lasiopetalum rufum cuttings, timing is everything. I find the late spring to early summer is your golden window. The plant is actively growing then, and those young, semi-hardwood stems have just the right balance of flexibility and maturity for rooting. Avoid taking cuttings when the plant is stressed, perhaps from extreme heat or drought, or during its major flowering period.
Supplies You’ll Need
Here’s what you’ll want to have on hand before you get started:
- Sharp, clean pruning shears or a micro-serrated knife: Cleanliness is key to preventing disease!
- Rooting hormone powder or gel: This really gives your cuttings a helping hand.
- A well-draining potting mix: I like to use a blend of equal parts perlite and peat moss, or a good quality propagation mix.
- Small pots or seed trays: Make sure they have drainage holes.
- A clear plastic bag or humidity dome: To create that crucial humid environment.
- Soft water or rainwater: If your tap water is very hard, this is a kinder choice.
- A small trowel or dibber: For making planting holes.
Propagation Methods
For Lasiopetalum rufum, I’ve found that stem cuttings are by far the most reliable method.
- Taking the Cuttings: On a mild morning, select a healthy stem that’s about 4-6 inches long. You’re looking for new growth that has started to firm up a bit – not the floppy green tips, but also not the old, woody growth. Make a clean cut just below a leaf node (where a leaf attaches to the stem).
- Preparing the Cuttings: Carefully remove the lower leaves from the cutting, leaving only a few at the top. This prevents them from rotting in the soil. If the remaining leaves are very large, I like to snip off half of each to reduce water loss through transpiration.
- Applying Rooting Hormone: Dip the cut end of the stem into your rooting hormone, ensuring it’s coated. Tap off any excess powder.
- Planting the Cuttings: Make a hole in your prepared potting mix with your dibber. Gently insert the cutting into the hole, ensuring the leaf nodes you removed are below the soil surface. Firm the soil around the base.
- Creating a Humid Environment: Water the potting mix thoroughly with soft water until it drains freely. Then, cover the pot with a clear plastic bag, making sure the leaves don’t touch the plastic (you can use stakes if needed). Alternatively, use a humidity dome. Place the pot in a bright spot but out of direct sunlight.
The “Secret Sauce” (Pro Tips)
Here are a couple of things I’ve learned over the years that really make a difference:
- Bottom Heat is Your Friend: If you have a heat mat designed for propagation, placing your pots on it can dramatically speed up root formation. The warmth encourages root development from below, and it’s a game-changer for trickier-to-root plants.
- Don’t Overwater, But Keep it Consistently Moist: This is a delicate balance. You want the soil to be consistently moist but never waterlogged. Feeling the soil an inch down is your best guide. If it feels dry, it’s time to water gently. Pull back the plastic for a bit when you water to allow some air circulation.
- Cleanliness is Paramount: I’ve said it before, but it bears repeating. Sterilize your cutting tools before and after each use. A quick wipe with rubbing alcohol can make all the difference between a successful rooting and a fungal disaster.
Aftercare & Troubleshooting
Once you start to see little bumps forming on the leaf nodes when you gently tug on a cutting (a sign of rooting!), it’s time to start acclimatizing your new plant. Gradually increase the ventilation by opening the plastic bag a little more each day or lifting the humidity dome for longer periods. This helps the new plant adjust to normal humidity levels.
The most common issue you’ll encounter is rot. If a cutting turns black and mushy, it’s usually a sign of too much moisture and not enough air circulation, or a fungal infection. Sadly, these cuttings rarely recover. Other signs of distress include wilting that doesn’t perk up, or leaves turning yellow. This can indicate too much light, insufficient water, or poor root development.
A Encouraging Closing
Propagating Lasiopetalum rufum is a journey, and like any good journey, it requires patience. Don’t be discouraged if your first few attempts aren’t perfect. Every gardener learns through trial and error, and the joy of seeing that first tiny root emerge makes the effort so worthwhile. So, give it a go, enjoy the process, and happy gardening!
Resource:
https://identify.plantnet.org/k-world-flora/species/Lasiopetalum%20rufum%20R.Br.%20ex%20Benth./data