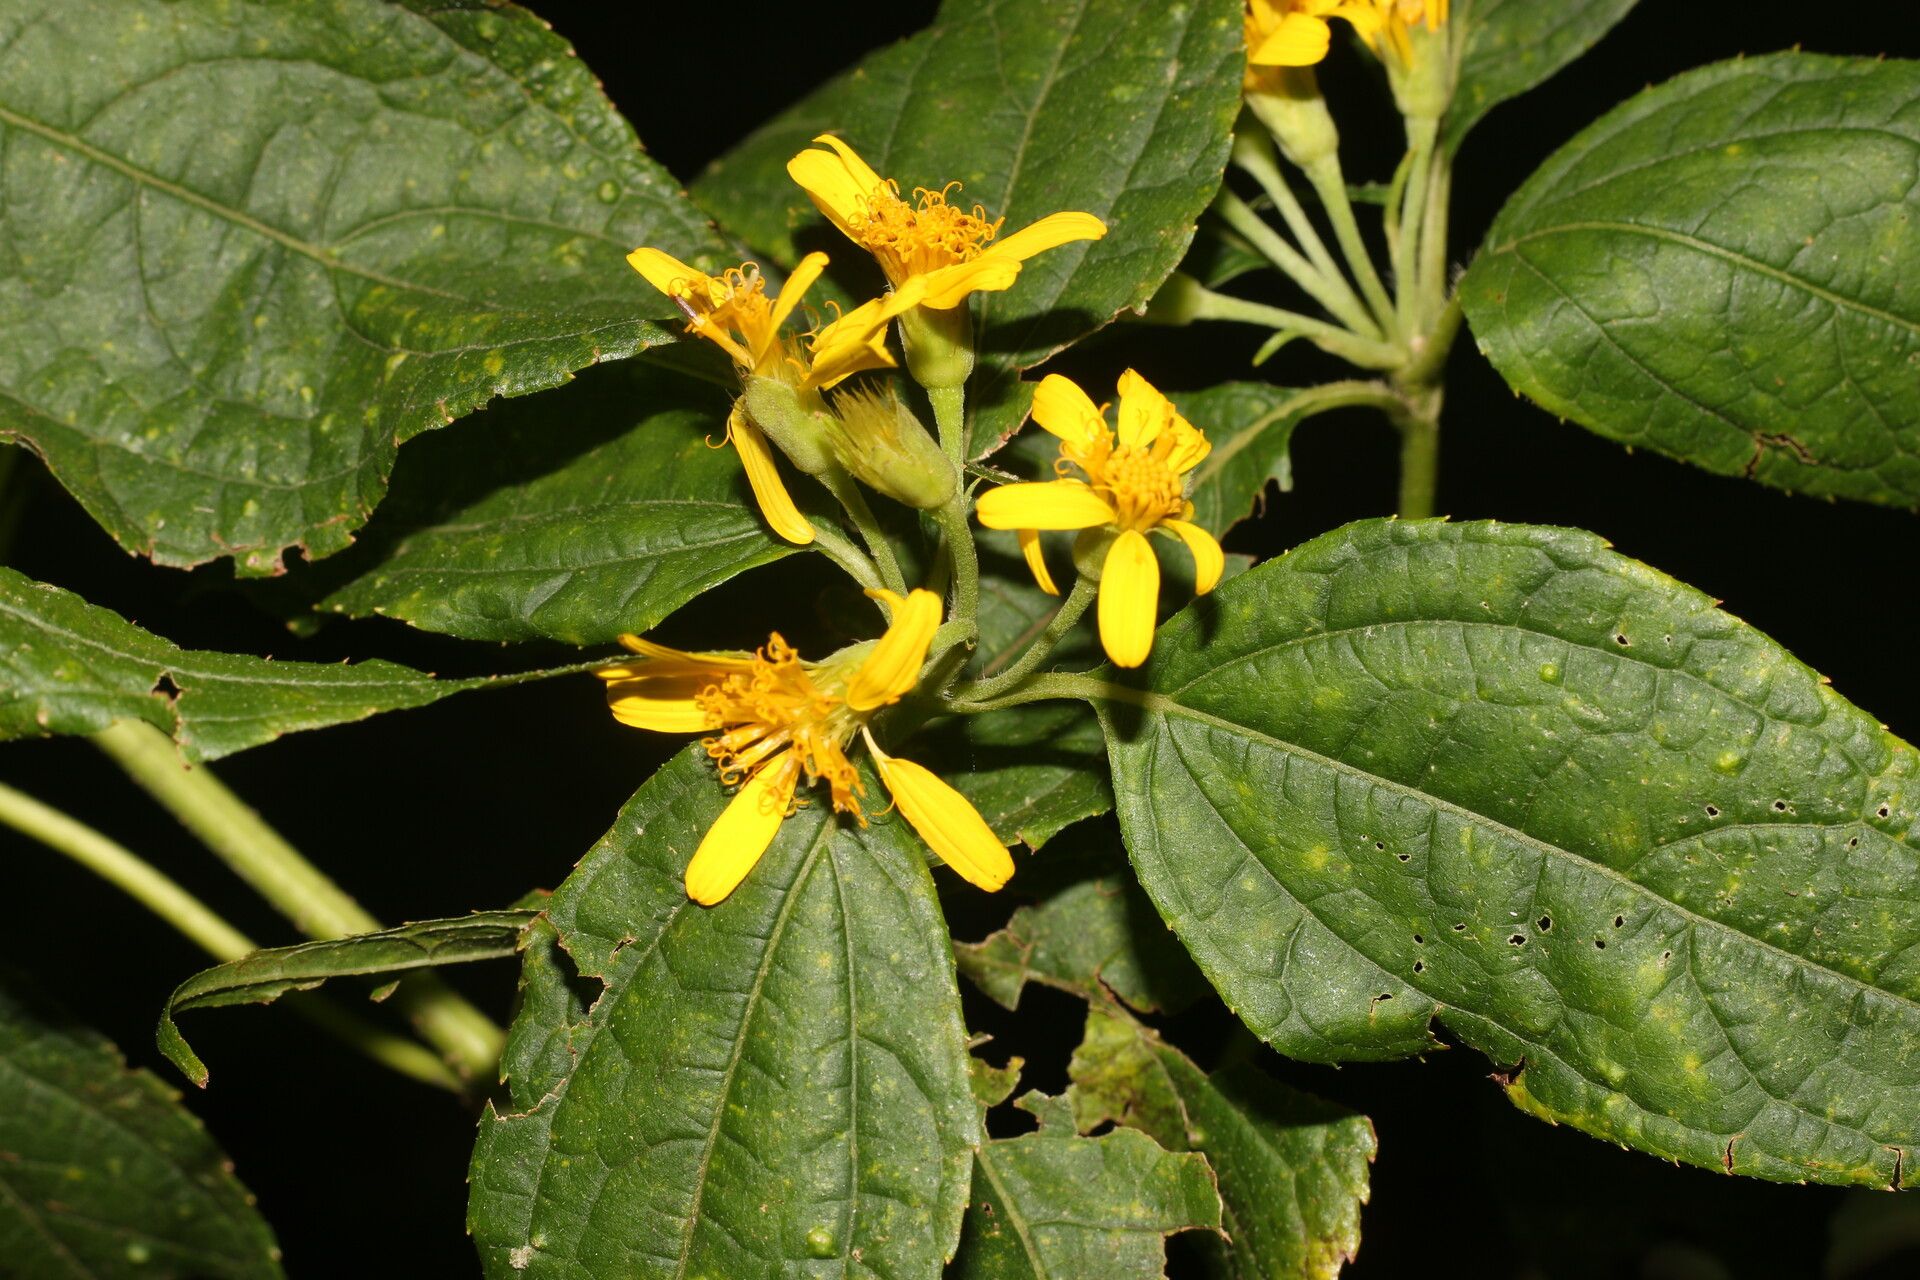
Oh, hello there! Come on in and pull up a chair. Today, we’re going to talk about a garden gem that just might be missing from your landscape: Lasianthaea fruticosa, often called desert marigold or native Spanish needles. I’ve been growing and sharing this beauty for ages, and let me tell you, it’s a real winner.
With its cheerful yellow daisy-like flowers that seemingly bloom year-round in warmer climates, and its ability to attract a host of beneficial pollinators, Lasianthaea fruticosa is pure sunshine for any garden. And the best part? It’s surprisingly straightforward to propagate, making it a truly rewarding project. Even if you’re just dipping your toes into the world of plant propagation, you’ll find this one to be quite forgiving.
The Best Time to Start
For the highest success rate with our Lasianthaea fruticosa, I always reach for my pruning shears in late spring or early summer. This is when the plant is actively growing, and its stems are nice and pliable. You want to take cuttings from softwood, meaning new growth that’s still a bit flexible but not so soft that it wilts immediately after you make the cut.
Supplies You’ll Need
Gathering your supplies beforehand makes the whole process so much smoother. Here’s what you’ll want to have on hand:
- Sharp, clean pruning shears or a knife: For making clean cuts.
- Small pots or seed trays: With good drainage.
- A well-draining potting mix: I like a blend of equal parts peat moss, perlite, and coarse sand. You can also find specially formulated cactus and succulent mixes that work beautifully.
- Rooting hormone (optional but recommended): This really gives your cuttings a boost.
- A plastic bag or humidity dome: To keep the cuttings moist.
- Labels and a marker: To keep track of what you’ve propagated.
- Watering can or spray bottle: For gentle watering.
Propagation Methods
Let’s get our hands dirty! Here’s how I usually go about it:
Stem Cuttings
This is my go-to method for Lasianthaea fruticosa.
- Select your stems: Look for healthy, vigorous growth. You’re aiming for cuttings about 4 to 6 inches long.
- Make the cut: Using your clean shears, make a clean cut just below a leaf node. A leaf node is that little bump on the stem where leaves emerge. This is where the magic happens in terms of root formation.
- Prepare the cutting: Gently remove the lower leaves from the stem, leaving only the top two or three. This prevents them from rotting in the soil.
- Dip it: If you’re using rooting hormone, dip the cut end of the stem into it. Tap off any excess.
- Plant it: Fill your small pots with your prepared potting mix. Poke a hole in the center with your finger or a pencil.
- Insert the cutting: Place the cut end into the hole, ensuring the leaf nodes you removed are below the soil surface. Gently firm the soil around the stem.
- Water gently: Water thoroughly until you see water draining from the bottom of the pot.
- Create a mini-greenhouse: Cover the pot with a plastic bag or place it under a humidity dome. This is crucial for keeping those cuttings from drying out. You can prop it up with a few stakes so the plastic doesn’t touch the leaves.
Water Propagation (Less common for this plant, but can work!)
While I prefer soil, you can try this if you’re feeling adventurous.
- Prepare the cutting: Follow steps 1-3 above.
- Place in water: Put the cuttings in a clean jar or glass of water. Make sure the leaf nodes are submerged, but none of the leaves are touching the water. Leaves in the water will just rot.
- Change water regularly: Change the water every few days to keep it fresh and prevent bacterial growth.
- Wait for roots: You should see small roots emerge from the leaf nodes within a few weeks.
- Transplant to soil: Once the roots are about an inch long, carefully transplant them into pots with your well-draining potting mix.
The “Secret Sauce” (Pro Tips)
Here are a few things I’ve learned over the years that really make a difference:
- Bottom Heat is Your Friend: If you can, place your pots on a heat mat. This gentle warmth encourages root development from below. It’s like a cozy little spa day for your cuttings!
- Location, Location, Location: Where you put your new cuttings matters. They need bright, indirect light. Avoid direct scorching sun, which will fry them before they even have a chance to root. A bright windowsill that doesn’t get harsh afternoon sun is usually perfect.
- Don’t Disturb Too Soon: It’s tempting to pull up a cutting to see if it’s rooted, but resist! Give them at least 3-4 weeks before you try to gently tug on them. If there’s resistance, you’ve got roots!
Aftercare & Troubleshooting
Once your cuttings have developed a good root system – you’ll see new growth at the tips, or they’ll resist being gently pulled – it’s time to give them a bit more independence.
- Acclimate them: Slowly remove the plastic bag or humidity dome over a week or so. This helps them adjust to the lower humidity.
- Water consistently: Water them when the top inch of soil feels dry. Don’t let them sit in soggy soil, though.
- Watch out for rot: The most common sign of failure is rot, where the stem turns mushy and black. This usually happens from overwatering or poor drainage. If you see this, sadly, the cutting is a goner. Just toss it and try again! Another sign that things aren’t going well is if the cutting wilts completely and doesn’t perk up after watering. This could mean it’s too dry or not getting enough ambient humidity.
Just Breathe and Grow
Propagating Lasianthaea fruticosa is a wonderful way to expand your garden and share the joy. Be patient with your little hopefuls. Some will take off like wildflowers, and others might need a second try. That’s all part of the gardening adventure! Enjoy the process, and soon you’ll have a whole collection of these sunny blooms. Happy propagating!
Resource:
https://identify.plantnet.org/k-world-flora/species/Lasianthaea%20fruticosa%20(L.)%20K.M.Becker/data