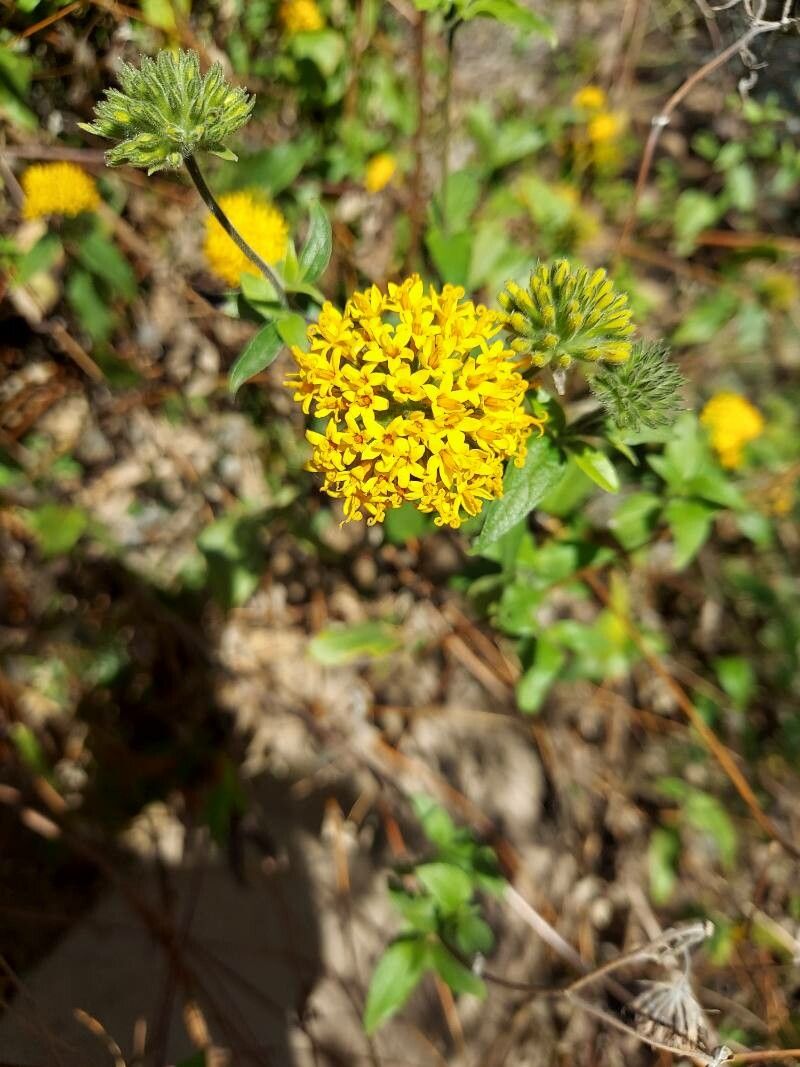
Oh, hello there! Come on in, grab a mug. Let’s chat about one of my favorite little treasures: Lagascea decipiens. You know, that plant with the cheerful, daisy-like flowers that just seem to radiate sunshine? I’ve been growing it for years, and there’s something incredibly satisfying about coaxing more life from a single plant. If you’re looking for a rewarding propagation project, this might just be your next love affair. And the good news? It’s quite forgiving, even for those of you with just a few seasons under your belt.
When is the Best Time to Start?
My favorite time to get going with Lagascea decipiens is late spring or early summer. This is when the plant is in its most vigorous growth phase. The days are longer, and there’s plenty of sunlight to fuel new beginnings. You’ll find that stems are plumper and more eager to root during this time.
What You’ll Need to Gather
Before we get our hands dirty, let’s make sure we have everything ready. It always makes the process smoother when you’re prepared!
- Sharp Pruning Shears or a Clean Knife: For making clean cuts.
- Seed Starting Mix or a Well-Draining Potting Mix: I like to use a 50/50 blend of perlite and peat moss for cuttings.
- Small Pots or Seed Trays: Clean, with drainage holes, of course.
- Rooting Hormone (Optional, but helpful): A powder or gel to give your cuttings a little boost.
- Plastic Bags or a Clear Dome: To create a humid environment for your cuttings.
- Watering Can or Spray Bottle: For gentle watering.
How to Propagate Your Lagascea decipiens
I find stem cuttings to be the most reliable and rewarding way to propagate Lagascea decipiens. It’s straightforward, and you can get quite a few new plants from a single parent.
- Select Your Cuttings: Look for healthy, non-flowering stems. Aim for pieces that are about 4-6 inches long. You want a stem that’s firm but still a bit flexible.
- Make the Cut: Using your clean shears or knife, make a cut just below a leaf node. A leaf node is where a leaf grows from the stem. This is where the magic happens, as it’s packed with rooting hormones.
- Prepare the Cutting: Gently remove the lower leaves from your cutting. You want to expose a few nodes. Some gardeners even like to cut any larger leaves in half to reduce water loss through transpiration.
- Apply Rooting Hormone (If Using): Dip the cut end of the stem into your rooting hormone, tapping off any excess.
- Plant Your Cuttings: Fill your small pots with your prepared mix. Make a hole with your finger or a pencil, and insert the cut end of the stem. Gently firm the soil around the base to ensure good contact.
- Create Humidity: Water the soil gently. Then, cover the pot with a clear plastic bag or a dome to create a mini-greenhouse. A rubber band or tape can help secure the bag around the rim of the pot. Make sure the leaves aren’t touching the sides of the bag if possible, or poke a few small holes in the bag.
- Provide Light and Warmth: Place your pots in a bright spot, but out of direct sunlight. A sunny windowsill is usually perfect. For an extra boost, especially if your house is a bit cooler, I love to use a heat mat placed underneath the pots. That bottom warmth really encourages root development.
The “Secret Sauce” – My Insider Tips
You know, after years of tinkering, I’ve picked up a few things that seem to make a real difference. Here are a couple of my little secrets:
- The “Air Pocket” Trick: When you water the newly planted cuttings, leave a small air pocket between the soil surface and the lowest set of leaves. This prevents the leaves from sitting in moisture, which can lead to rot. I often give them a gentle water, let it drain, and then make sure the soil isn’t absolutely saturated right up to the leaves.
- Don’t Be Afraid to Pinch Back: Once your cuttings start to show signs of new growth (tiny new leaves!), pinch off the very tip of the stem. This encourages the plant to branch out, making for a bushier, more attractive plant once it’s established.
Aftercare and Troubleshooting
Be patient! It can take anywhere from 3 to 6 weeks for roots to form. You’ll know they’re ready when you gently tug on the cutting and feel resistance, or when you start to see new leaf growth.
Once roots have developed, you can start to gradually acclimate your new plant to less humid conditions. This means slowly removing the plastic bag for longer periods each day. Water when the top inch of soil feels dry.
The most common issue I see is rot. If your cuttings turn black and mushy, that’s a sign they’ve gotten too much water and not enough air circulation. In this case, unfortunately, they’ve probably gone too far. Make sure your soil drains well and that you aren’t overwatering. A lack of rooting can also happen if the cuttings are old or if conditions aren’t quite right – don’t be discouraged, just try again!
Happy Planting!
Propagating plants is a wonderful way to connect with nature and multiply the beauty in your garden. Lagascea decipiens is a delightful subject to practice on. Keep an eye on your little ones, offer them the right conditions, and soon you’ll have a whole collection of these sunny wonders to share. Enjoy the process, and happy gardening!
Resource:
https://identify.plantnet.org/k-world-flora/species/Lagascea%20decipiens%20Hemsl./data