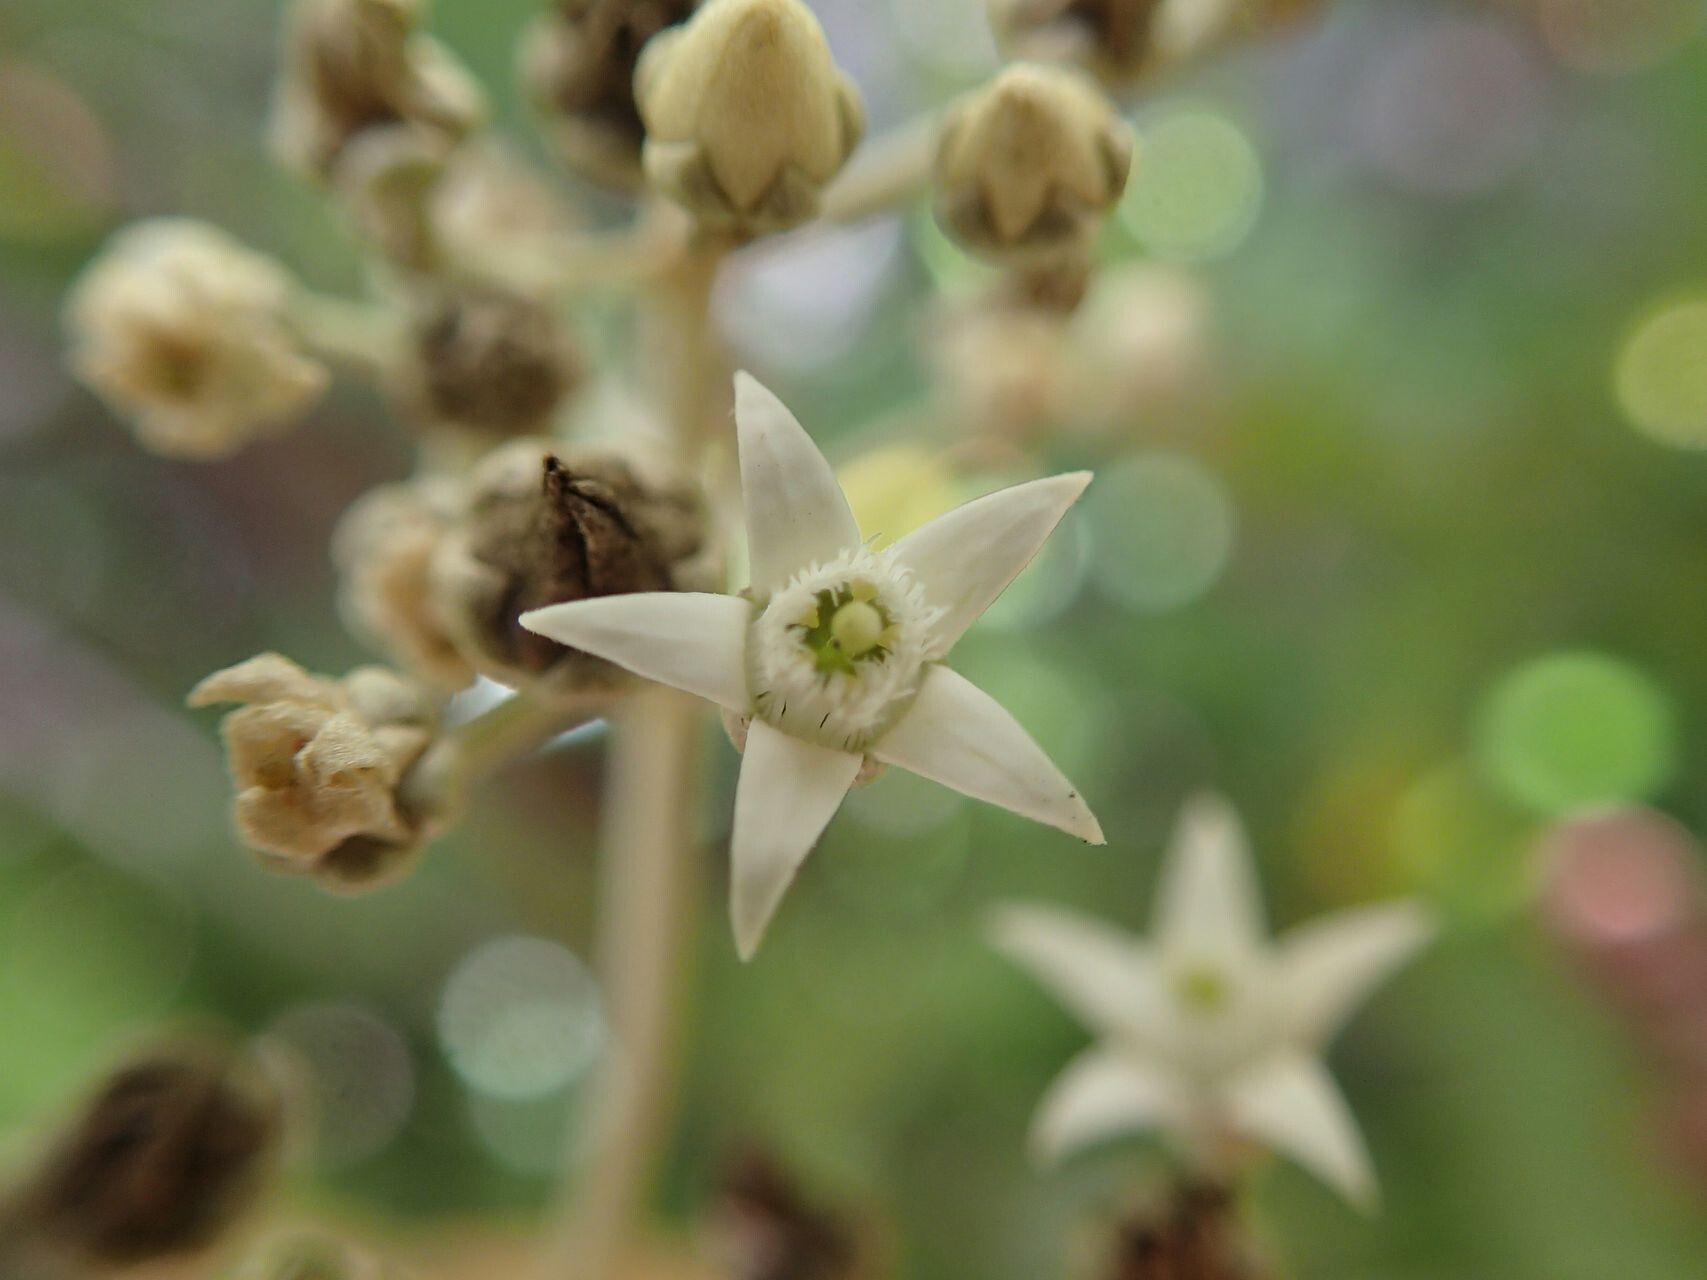
Hello, green thumb friends! I’m so excited to chat with you today about a plant that has truly captured my heart: Argophyllum nitidum. If you’re anything like me, you appreciate plants that bring a touch of the exotic to your garden without demanding a degree in botany. Argophyllum nitidum, with its lush, glossy leaves and often a lovely blush of red on new growth, is precisely that kind of gem. It’s just… happy-making to look at, and even more satisfying to grow yourself.
Now, about propagating it. If you’re new to the plant world, don’t shy away. While it might not be as foolproof as a spider plant for absolute beginners, Argophyllum nitidum is definitely approachable. With a little care and attention, you’ll be well on your way to a whole new collection.
The Best Time to Start
Timing is everything in gardening, wouldn’t you agree? For Argophyllum nitidum, the sweet spot for propagation is late spring through early summer. This is when the plant is actively growing and has plenty of energy to put into developing new roots. You want to take cuttings from healthy, non-flowering stems that are somewhat mature but still supple – think of a pencil in thickness, not a woody old branch.
Supplies You’ll Need
Don’t worry, it’s not a huge shopping list! We’ll keep it simple:
- Sharp, clean pruning shears or a knife: For taking neat cuttings. Sterilize them between cuts if you’re taking many.
- Rooting hormone (optional but recommended): A powder or gel can really encourage robust root development.
- Well-draining potting mix: A good blend for cuttings is key. I like using equal parts peat or coco coir, perlite, and a bit of coarse sand.
- Small pots or trays: Clean 4-inch pots or propagation trays with drainage holes are perfect.
- Plastic bags or a propagation dome: To create a humid environment around your cuttings.
- Water: For misting and watering.
- Labels: To keep track of what you’ve planted!
Propagation Methods
Let’s get our hands dirty! Here are a couple of tried-and-true methods for Argophyllum nitidum:
1. Stem Cuttings (My Favorite!)
This is usually the most successful method for this plant.
- Take your cuttings: Select a healthy stem and cut a piece about 4-6 inches long. Make the cut just below a leaf node – that little bump where a leaf grows from the stem. These nodes are where roots love to form.
- Prepare the cutting: Gently remove the lower leaves, leaving just a few at the top. If the leaves are very large, you can even cut them in half to reduce water loss.
- Dip in rooting hormone: If you’re using rooting hormone, dip the cut end into the powder or gel, tapping off any excess.
- Plant the cutting: Fill your small pots with your prepared, moistened potting mix. Make a small hole with your finger or a pencil and insert the cutting, ensuring the leaf nodes are buried. Gently firm the soil around it.
- Create humidity: Water the soil lightly, then cover the pot with a clear plastic bag or place it under a propagation dome. Make sure the plastic doesn’t touch the leaves, if possible. A toothpick support can help.
2. Water Propagation (For the Patient Watchers)
This method is visually satisfying as you can see the roots grow!
- Take your cuttings: Similar to stem cuttings, take a 4-6 inch piece, making the cut below a leaf node.
- Prepare the cutting: Remove the lower leaves so they won’t rot in the water.
- Place in water: Put the cutting in a clean jar or vase filled with fresh, room-temperature water. Make sure the leaf nodes are submerged.
- Location, location, location: Place the jar in a bright spot, but out of direct sunlight.
The “Secret Sauce” (Pro Tips)
Here are a few tricks I’ve picked up over the years that can really boost your success:
- Bottom Heat is Your Friend: If you have a heat mat designed for propagation, using it under your pots or trays is a game-changer. It encourages roots to form much faster and more reliably. I always find my success rate jumps significantly when using one.
- Don’t Drown Your Cuttings (in Water Propagation): When propagating in water, don’t let any leaves sit in the water. They’ll turn slimy and rot, which can take down the whole cutting. Change the water every few days to keep it fresh.
- Patience with the “Hairs”: Sometimes, you’ll see tiny white fuzz or “hairs” forming at the cut end or nodes. This is a good sign! It means the plant is getting ready to root. Don’t be discouraged if it takes a few weeks.
Aftercare & Troubleshooting
Once your cuttings have developed a good root system (you’ll see them at the drainage holes, or roots will be visible in your water propagation jar), it’s time to transplant them.
- Potting Up: For cuttings from soil, gently transplant them into larger pots with your regular potting mix. For water-propagated cuttings, carefully plant them into pots with well-draining soil.
- Initial Care: Water them well after transplanting, then let the soil dry out slightly between waterings. Keep them in bright, indirect light and maintain that nice humidity for the first week or two by keeping them covered.
- Watch for Signs of Trouble: The most common issues are rot (mushy, black stems or leaves) and drying out. If you see rot, it’s usually from too much moisture and poor air circulation. If they look wilted and dry, they need more consistent watering. Sometimes, a cutting just won’t make it; don’t take it personally! It happens to all of us.
A Little Bit of Encouragement
Growing new plants is such a rewarding journey. It’s about patience, observation, and a good dose of hope. Don’t be afraid to experiment, and remember that every gardener, no matter how experienced, has had cuttings that didn’t quite make it. The joy of seeing those first new leaves emerge on a plant you grew yourself is truly special. Happy propagating, everyone!
Resource: