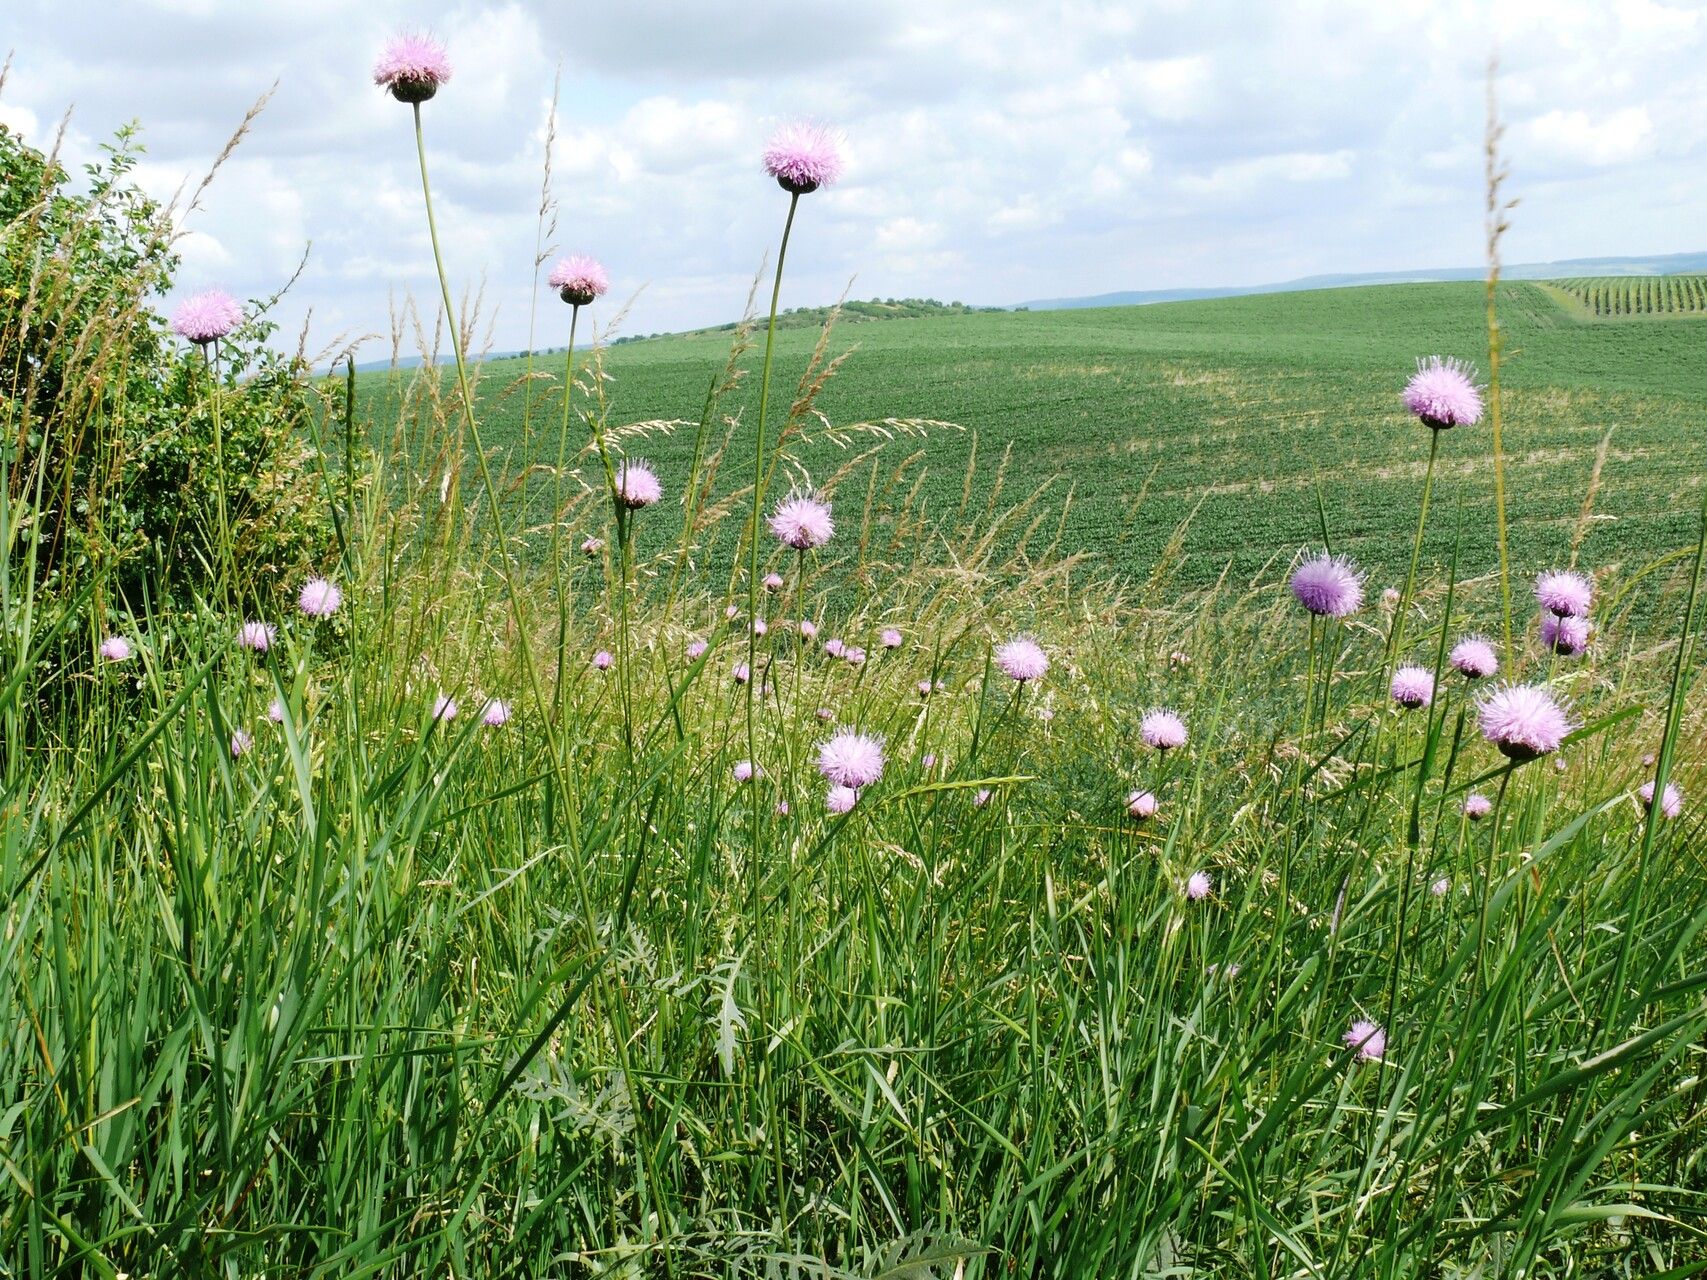
Hello fellow garden enthusiasts! I’m so excited to chat with you today about a plant I absolutely adore: Klasea lycopifolia. If you haven’t encountered this beauty yet, imagine delicate, spidery purple flowers that dance on slender stems, often with a wonderfully informal, cottage-garden feel. They bring such a unique charm to their surroundings, and the best part? You can multiply them yourself! Propagating Klasea lycopifolia is a wonderfully rewarding endeavor, and while it might seem a touch intimidating at first, I find it’s quite an accessible project, even for those new to the world of plant propagation.
The Best Time to Start
For Klasea lycopifolia, the sweet spot for propagation is generally late spring through early summer. This is when the plant is actively growing and has plenty of energy to put into forming new roots. You want to take cuttings from healthy, non-flowering shoots. Look for stems that are still a bit pliable but have started to firm up, not the super soft new growth that can be a bit too tender.
Supplies You’ll Need
Gathering your tools beforehand makes the whole process so much smoother. Here’s what I recommend:
- Sharp pruning shears or a clean knife: For making clean cuts.
- Potting mix: A well-draining blend is crucial. I often use a mix of perlite, peat moss, and a bit of compost, or a commercially available seed-starting mix.
- Small pots or trays: Clean ones, of course!
- Rooting hormone (optional but recommended): This can give your cuttings a real boost.
- Plastic bags or a propagator lid: To create a humid environment.
- Watering can with a fine rose: For gentle watering.
- Labels: To remember what you’ve planted!
Propagation Methods
I find that stem cuttings are the most reliable and straightforward method for Klasea lycopifolia. Here’s how I do it:
- Take the Cuttings: In late spring or early summer, select healthy, vigorous stems. Use your sharp shears to cut lengths of about 4-6 inches. Make your cut just below a leaf node (where a leaf attaches to the stem).
- Prepare the Cuttings: Gently remove the lower leaves from the cutting, leaving just the top couple of leaves. If the leaves are very large, you can even snip them in half to reduce water loss.
- Apply Rooting Hormone (Optional): If you’re using rooting hormone, dip the cut end of the stem into the powder or gel. Tap off any excess.
- Plant the Cuttings: Fill your pots or trays with your prepared potting mix. Moisten the soil thoroughly before planting. Make a small hole in the soil with a pencil or your finger and insert the cutting, ensuring the leaf nodes that were below the soil line are covered. Gently firm the soil around the stem.
- Create Humidity: Place the pots or trays inside a plastic bag or cover them with a propagator lid. This traps moisture, which is essential for the cuttings to root. You want the leaves to not touch the plastic.
The “Secret Sauce” (Pro Tips)
Over the years, I’ve picked up a few tricks that seem to really make a difference:
- It’s a little thing, but I always wash my pots and tools thoroughly before I start. It sounds obvious, but cleanliness is surprisingly important in preventing fungal issues.
- Don’t be afraid to use a bit of bottom heat. Placing your propagator on a heating mat can significantly speed up root development. It mimics the warm soil conditions that encourage plants in nature.
- When you’re watering, try to water the soil directly, not the leaves of the cuttings. Wet foliage can be an invitation for rot, especially in a humid environment.
Aftercare & Troubleshooting
Once your cuttings are planted and covered, the real waiting game begins! Keep the soil consistently moist but not soggy. Place them in a bright spot with indirect light. Avoid direct sun, which can scorch the tender cuttings.
You’ll know your cuttings are rooting when you see new growth appearing, or when you gently tug on the stem and feel resistance. This can take anywhere from 3-6 weeks, sometimes longer. Once they’ve established a good root system, you can gradually acclimate them to less humid conditions by leaving the propagator lid ajar for longer periods. Eventually, you can remove it altogether.
The most common issue you might encounter is rot. If you see cuttings turning black and mushy, it’s usually a sign of too much moisture and not enough air circulation. Unfortunately, rotted cuttings are usually a write-off. Don’t feel discouraged, though! Just remove them and give the remaining ones a bit more airflow.
A Little Patience Goes a Long Way
Propagating plants is all about patience and observation. Enjoy the process of nurturing these tiny new lives. It’s incredibly satisfying to see a little stem transform into a new, flourishing plant. Happy propagating, and I hope you soon have a garden brimming with beautiful Klasea lycopifolia!
Resource: