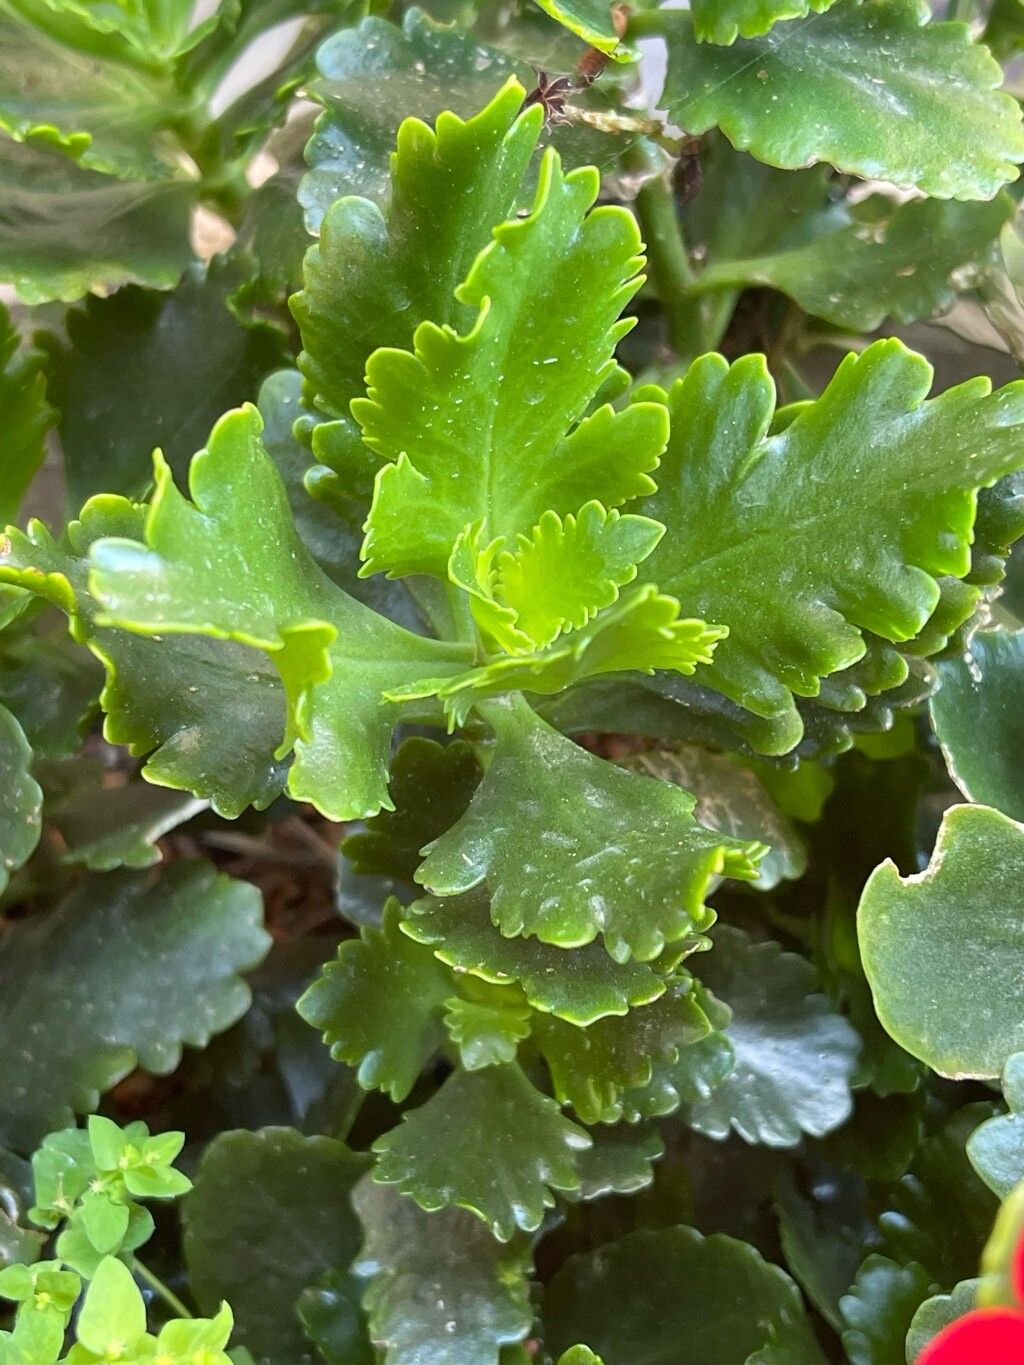
Oh, hello there! Grab a cup of your favorite brew. Today, we’re diving into the delightful world of Kalanchoe crenata, often called “Devil’s Backbone” or simply a wonderfully easy succulent to get your hands on. If you’ve ever admired that beautiful, slightly ruffled foliage and thought, “I wish I had more of those!”, you’re in the right place. Propagating these succulents is a genuine joy, and I’m thrilled to share how you can do it too. It’s wonderfully beginner-friendly, so don’t you worry one bit!
The Best Time to Start
Honestly, Kalanchoe crenata is pretty forgiving, but if you want the absolute best chance of success, aim for spring or early summer. This is when the plant is actively growing and has plenty of energy to put into forming new roots. You can technically propagate them at other times, but you might find things slow down considerably, especially if your home is cooler. Think of it like giving your cuttings the warmest, sunniest season to really get settled.
Supplies You’ll Need
Gathering your tools beforehand makes the whole process much smoother. Here’s what I usually have on hand:
- Sharp Pruning Shears or a Clean Knife: For making clean cuts.
- Rooting Hormone (Optional but Recommended): Especially for stem cuttings, this gives them a nice boost.
- Well-Draining Potting Mix: I often use a cactus and succulent mix, but a regular potting soil with perlite or pumice added works wonders too. Aim for something that won’t hold too much water.
- Small Pots or Seedling Trays: Terracotta pots are great as they breathe well.
- Watering Can with a Fine Rose or Spray Bottle: For gentle watering.
- Gloves (Optional): If you have sensitive skin.
Propagation Methods
Let’s get our hands dirty! Kalanchoe crenata is a master of reproduction, and these methods are foolproof:
1. Stem Cuttings: The Speedy Route
This is my personal favorite because it’s so quick and effective.
- Take Your Cuttings: Using your sharp shears or knife, select a healthy stem and cut a piece at least 3-4 inches long. Make your cut just above a leaf node (where a leaf attaches to the stem).
- Let Them Callus: This is crucial! Lay your cuttings on a dry surface for a few days to a week. You’ll see a dry, scab-like layer form over the cut end. This prevents rot when you plant them. It might look a bit sad, but trust me, it’s saving your cutting!
- Plant It Up: Once callused, dip the cut end in rooting hormone (if using). Then, insert the cut end about an inch deep into your well-draining soil mix. You can plant several cuttings in the same pot, just give them a little breathing room.
- Water Sparingly: Water your newly planted cuttings just enough to moisten the soil. Don’t drench it. Let the soil dry out between waterings.
2. Leaf Cuttings: Patience is a Virtue
This method takes a bit longer, but it’s incredibly satisfying to see tiny plantlets emerge.
- Select Healthy Leaves: Gently snap off a healthy, mature leaf from the main plant. Try to get the entire leaf, including the small bit where it attaches to the stem.
- Let Them Callus (Again!): Just like with stem cuttings, allow the leaves to callus over for a few days.
- Lay Them On Top: Place the callused leaves on the surface of your well-draining soil mix. You don’t need to bury them.
- Mist Lightly: Lightly mist the leaves and the soil surface every few days. The goal is to keep them slightly humid but not soggy. You’ll start to see tiny roots and baby plants forming at the cut end of the leaf. Once the baby plant is a decent size and has its own roots, you can gently remove the old leaf.
3. Division: For Established Plants
If your Kalanchoe crenata has gotten a bit crowded and is producing baby plants around its base, this is a great option.
- Gently Remove from Pot: Carefully tip the main plant out of its pot.
- Separate the Pups: You’ll likely see small offsets or “pups” growing around the mother plant. Gently tease these apart, making sure each pup has some roots attached. If they are stubborn, you can use your clean knife to separate them.
- Pot Them Up: Plant each pup in its own small pot with well-draining soil. Water gently and place in bright, indirect light.
The “Secret Sauce” (Pro Tips)
Here are a few little tricks I’ve learned over the years that can make a big difference:
- Don’t Let Leaves Touch Water (Ever!): This is my absolute golden rule for succulents. If you’re doing leaf propagation, make sure the leaves are just resting on the soil and not constantly sitting in moisture. Rot is the enemy here!
- Bottom Heat is Your Friend: If you’re finding things slow going, especially with stem cuttings, a small seedling heat mat placed under your pots can really encourage root development. It mimics that warm spring soil perfectly.
- Observe and Adjust: Get into the habit of just looking at your cuttings daily. Notice if the soil is too wet, too dry, or if anything looks a little off. Your plants will tell you what they need!
Aftercare & Troubleshooting
Once you see those little roots appearing, it’s time for a slightly different approach.
- Watering: As your new plants establish, you can gradually increase watering, but always let the soil dry out between waterings. They’re still succulents, after all!
- Light: Bright, indirect light is ideal for young cuttings. Direct, harsh sun can scorch them. As they grow stronger, you can slowly introduce them to more direct light.
- Troubleshooting Rot: The most common issue is rot. This usually happens because the soil is too wet for too long, or you didn’t let your cuttings callus properly. If you see a stem cutting turning black and mushy at the cut end, it’s likely rot. Sadly, you’ll have to discard it and start again, maybe with a fresh cutting and ensuring those callusing steps are followed. Soft, yellowing leaves can also be a sign of overwatering.
A Little Patience Goes a Long Way
Propagating plants is a journey, and Kalanchoe crenata is a wonderful companion for it. Don’t get discouraged if your first attempt isn’t perfect. Each time you try, you learn a little more. Enjoy the process, celebrate every new root and tiny leaf, and soon you’ll have a whole collection of these beauties to share. Happy growing!
Resource:
https://identify.plantnet.org/k-world-flora/species/Kalanchoe%20crenata%20(Andrews)%20Haw./data