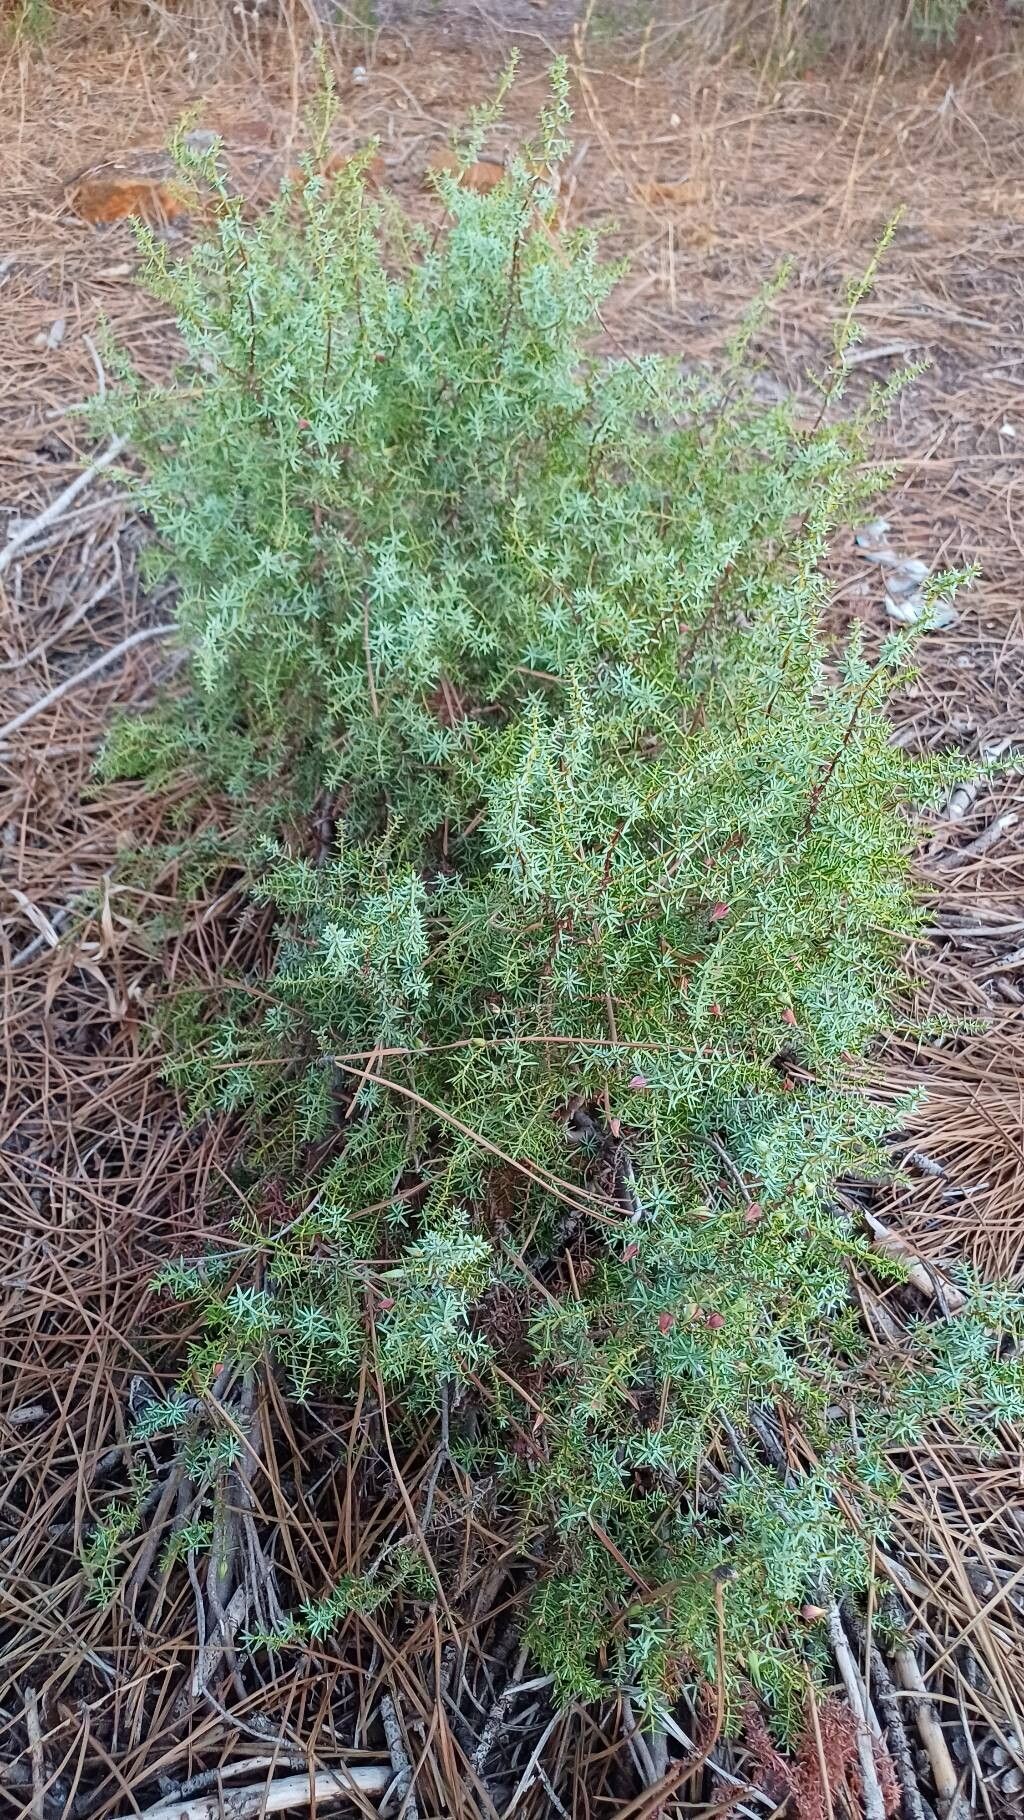
Hello, fellow garden enthusiasts! It’s so lovely to have you here. Today, I want to chat about a plant that I’ve come to adore over the years: Juniperus navicularis, also known as the Portuguese juniper. Its graceful, arching branches and lovely evergreen foliage bring such a wonderful sense of timelessness to any garden. And the best part? You can easily fill your garden or pot up with more of these beauties through propagation. It’s a truly rewarding process, and while it might seem a little daunting at first, I’m here to tell you it’s quite accessible, even for beginners looking to expand their green thumb’s reach.
The Best Time to Start
For Juniperus navicularis, the sweet spot for taking cuttings is late spring or early summer. This is when the plant is actively growing, and its stems are full of energy. You’re looking for what we call “semi-hardwood” cuttings. These are stems that have started to firm up but aren’t yet brittle and woody. Think of it as the perfect stage – not too soft and easily rotted, but not too tough to root.
Supplies You’ll Need
Here’s a handy checklist to get you ready:
- Sharp pruning shears or a clean, sharp knife: For making clean cuts.
- Rooting hormone powder or gel: This isn’t strictly essential for junipers, but it can give your cuttings a helpful boost.
- Gritty, well-draining potting mix: A good blend is roughly 50% perlite and 50% peat moss or coco coir. Or, you can buy a specialized succulent or cactus mix.
- Small pots or propagation trays with drainage holes: Clean ones are key!
- A plastic bag or propagation dome: To create a humid environment.
- Soft water or distilled water: For misting.
- Gloves (optional): Some people find juniper foliage a bit sticky.
Propagation Methods: Stem Cuttings
This is my go-to method for Junipers. It’s reliable and gives you a good chance of success.
- Select Your Stems: Head out to your Juniperus navicularis. Look for healthy, vigorous shoots that are about 4-6 inches long. You want them to have developed slightly this season, not be the brand-new, bright green growth from just a few weeks ago.
- Make the Cut: Using your clean shears or knife, make a cut just below a leaf node (where a leaf attaches to the stem). A clean cut is crucial to prevent disease.
- Prepare the Cutting: Gently remove the lower leaves from the cutting, leaving about an inch or two of bare stem. This is where the roots will form. If you’re using rooting hormone, dip the cut end into it now, tapping off any excess.
- Pot Up Your Cuttings: Fill your clean pots with your well-draining mix. Make a small hole in the center of the soil with your finger or a pencil. Insert the cutting into the hole, ensuring the stripped part of the stem is buried. Gently firm the soil around it.
- Create Humidity: Water the soil lightly until it’s evenly moist, but not soggy. Then, cover the pot with a plastic bag or place it under a propagation dome. Aim to keep the leaves from touching the plastic if possible.
The “Secret Sauce” (Pro Tips)
Here are a couple of things I’ve learned over the years that really make a difference:
- Bottom Heat is Your Friend: If you can, place your pots on a propagation mat that provides gentle bottom heat. This warmth encourages root development from below, mimicking ideal soil conditions on a warm summer day. My cuttings always seem to get going faster this way.
- Don’t Drown Them: While humidity is important, overwatering is the quickest way to kill a cutting. The soil should be consistently moist, like a wrung-out sponge. If the soil looks visibly wet, allow it to dry out a bit before watering again. Misting the leaves can also help maintain humidity without waterlogging the soil.
Aftercare & Troubleshooting
Once your cuttings are potted up, find a bright spot for them that receives indirect sunlight. Too much direct sun can scorch them, especially when they haven’t developed a strong root system. Keep an eye on the humidity. If the plastic bag is looking foggy, it’s probably doing its job.
You’ll know your cuttings have rooted when you see new growth appearing. This can take anywhere from 4-8 weeks, sometimes longer. You can also gently tug on a cutting; if there’s resistance, it means roots are forming.
The most common problem you’ll encounter is rot. If you see your cuttings turning brown and mushy, or if the soil stays very wet for too long, it’s a sign of too much moisture. In this case, you might want to remove the affected cuttings, improve air circulation, and ensure your soil mix is as gritty as possible.
Happy Growing!
Taking cuttings can feel like a little act of gardening magic. There’s such a thrill in watching a tiny stem transform into a new, independent plant. Be patient with your Juniperus navicularis cuttings. They might take their sweet time, but that’s all part of the learning process. Enjoy the journey, celebrate each new sprout, and soon you’ll have a whole collection of your own lovely Junipers. Happy propagating!
Resource:
https://identify.plantnet.org/k-world-flora/species/Juniperus%20navicularis%20Gand./data