Hello, fellow garden enthusiasts! Today, I want to share a little secret with you: how to multiply one of my absolute favorite plants, the charming Isodon excisus.
Why Grow and Propagate Isodon excisus?
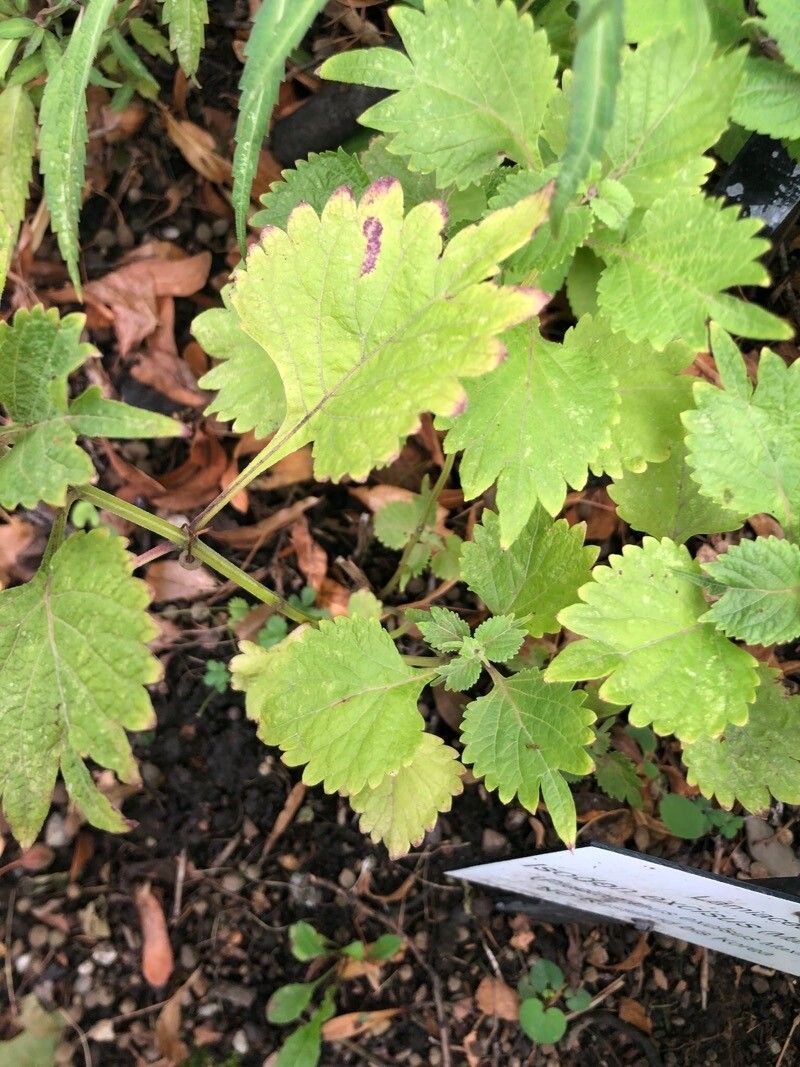
Honestly, Isodon excisus has such a delightful presence in the garden. Its spires of delicate, often lavender or purple, flowers are a magnet for pollinators and add a lovely late-season splash of color. Plus, it’s surprisingly resilient. Now, is it a cinch for absolute beginners? I’d say it’s moderately easy. It’s not difficult, but it does appreciate a little gentle guidance. But trust me, the reward of seeing those tiny new plants take root and thrive is absolutely worth it.
When’s the Magic Time to Propagate?
For Isodon excisus, I’ve found the sweet spot is late spring to early summer. This is when the plant is actively growing and has plenty of energy to put into developing new roots. You’re looking for stems that are new and somewhat soft, often called “softwood cuttings.” Avoid old, woody stems.
What You’ll Need for Your Propagation Station
Here’s a quick rundown of what you should have on hand:
- Sharp, clean pruning shears or a strong knife: We want to make clean cuts, not crush the stems.
- Rooting hormone powder or gel: This is like a little boost for your cuttings, encouraging root development.
- A well-draining potting mix: I like to use a blend of peat moss or coco coir with perlite or vermiculite in roughly equal parts. This keeps things light and airy.
- Small pots or propagation trays: Clean ones, please!
- Plastic bags or a propagator: To keep the humidity high around your cuttings.
- Water: For hydration, of course!
Let’s Get Our Hands Dirty: Propagation Methods
We’ll focus on the most reliable methods for Isodon excisus.
Stem Cuttings: My Go-To Method
This is my absolute favorite way to propagate Isodon. It’s efficient and gives you healthy new plants.
- Take Your Cuttings: In late spring or early summer, select healthy, non-flowering shoots. Using your sharp shears, cut stems about 4-6 inches long. Make the cut just below a leaf node – that’s the little bump where a leaf grows from the stem. This is where roots are most likely to form.
- Prepare the Cuttings: Gently remove the lower leaves from the cutting. You want to leave just a couple of sets of leaves at the top. This reduces water loss.
- Dip in Rooting Hormone: Lightly moisten the cut end of the stem and then dip it into your rooting hormone. Tap off any excess.
- Plant Them Up: Fill your small pots or trays with your well-draining potting mix. Make a small hole in the center with your finger or a pencil. Insert the prepared cutting into the hole, ensuring the cut end makes good contact with the soil. Gently firm the soil around the stem.
- Water and Cover: Water the soil gently to settle it around the cutting. Then, cover the pot or tray with a plastic bag or place it inside a propagator. This creates a mini-greenhouse effect.
Water Propagation: A Visual Treat
This method is fantastic for seeing root development happen before your eyes.
- Select and Cut: Follow steps 1 and 2 from the stem cuttings method.
- Place in Water: Find a clean jar or glass and fill it with clean water. Place the prepared cuttings into the water, ensuring that no leaves are submerged. Submerged leaves will rot and can take down your cutting with them.
- Find a Spot: Place the jar in a bright location, but out of direct sunlight. Too much sun can scorch the delicate cuttings.
- Change Water Regularly: Aim to change the water every few days or whenever it looks cloudy. This keeps it fresh and prevents the growth of bacteria.
My “Secret Sauce” for Success
Here are a couple of things I’ve learned over the years that really boost my propagation success rates:
- The Power of Humidity: Those plastic bags or propagators aren’t just for show! Cuttings have no roots to draw up water, so maintaining high humidity around the leaves is crucial to prevent them from drying out. Think of it as giving them a spa treatment to keep them plump and happy.
- Bottom Heat is Your Friend: If you can, place your pots on a heat mat designed for seedlings. This gentle warmth from below really encourages root development, giving your cuttings that extra push they need. It’s like tucking them into a warm bed!
Aftercare and Troubleshooting: Nurturing Your New Sprouts
Once you see signs of root growth (you might see tiny white nubs peeking out from the drainage holes, or the cuttings will resist a gentle tug), it’s time for some TLC.
- Gradually Acclimate: If you’re using bags, start by opening them for a few hours each day to let the cuttings get used to lower humidity. Eventually, you can remove the bag entirely.
- Watering: Keep the soil consistently moist but not soggy. You don’t want them sitting in a puddle, which can lead to rot.
- Transplanting: Once the roots are well-established, you can carefully transplant your new Isodon excisus into their own small pots filled with a good potting mix.
What if things go wrong? The most common issue you’ll face is rot. If a cutting turns black and mushy, it’s usually a sign of too much moisture and not enough air circulation. Don’t be discouraged; it happens to all of us! Just discard the affected cutting and try again, perhaps with better drainage or more airflow next time.
Enjoy the Journey!
Propagating plants is a wonderful way to connect with nature and build your garden. It takes a little patience, a lot of observation, and a willingness to experiment. So, don’t be afraid to give propagating Isodon excisus a try. Enjoy the process, celebrate every tiny green shoot, and before you know it, you’ll have a whole new collection of these lovely plants to share and enjoy! Happy gardening!
Resource:
https://identify.plantnet.org/k-world-flora/species/Isodon%20excisus%20(Maxim.)%20Kudô/data