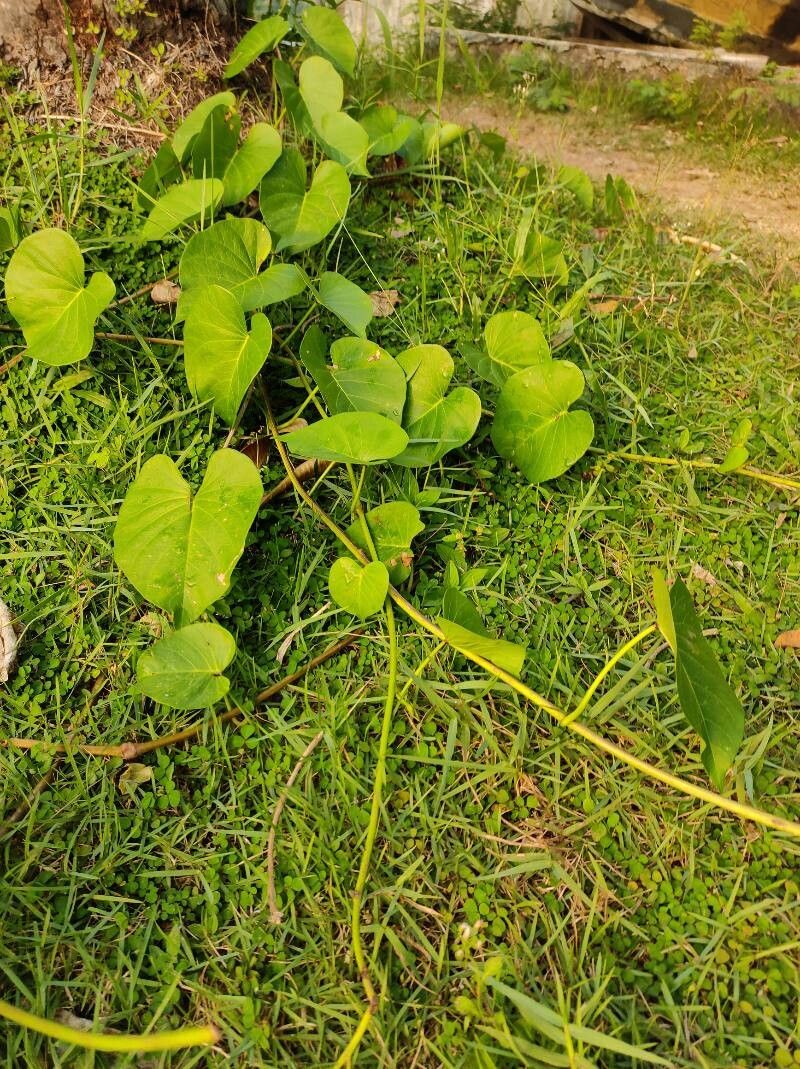
Hello fellow garden lovers! I’m so thrilled you’re here to talk about one of my favorite tropical beauties: Ipomoea asarifolia. You might know it by other names, but its stunning glossy leaves and sometimes vibrant blooms always steal the show. Propagating this vine is a fantastic way to fill your garden, share with friends, or simply experience the joy of creating new life. Don’t worry if you’re new to this; while it has a tropical flair, Ipomoea asarifolia is surprisingly forgiving and a great one to start with!
The Best Time to Start
For the highest success rate, spring and early summer are your golden ticket. This is when the plant is actively growing and has plenty of energy to put into developing new roots. Look for healthy, new growth on your established Ipomoea asarifolia – those are the shoots you want to work with.
Supplies You’ll Need
- Sharp pruning shears or a clean knife: For making nice, clean cuts.
- Rooting hormone (optional but recommended): Encourages faster root development. Look for a powdered or gel form.
- A well-draining potting mix: A common choice is a mix of peat moss, perlite, and a little bit of compost. You can also use a sterile seed starting mix.
- Small pots or propagation trays: Clean ones are important to prevent disease.
- Plastic bags or a clear propagation dome: To create a humid environment.
- Watering can or spray bottle: For gentle watering.
- A warm, bright location: Out of direct, scorching sun.
Propagation Methods
There are a couple of ways we can get new Ipomoea asarifolia plants going, and both are pretty straightforward.
Stem Cuttings (My Favorite!)
This is my go-to method.
- Take Your Cuttings: In spring or early summer, select healthy, non-flowering stems that are about 4-6 inches long. Make a clean cut just below a leaf node (where a leaf attaches to the stem).
- Prepare the Cuttings: Gently remove the lower leaves, leaving just a couple at the very top. This helps the cutting focus its energy on rooting, not leafing out.
- Apply Rooting Hormone (Optional): If you’re using rooting hormone, dip the cut end into the powder or gel. Tap off any excess.
- Plant Your Cuttings: Fill your pots or trays with your well-draining potting mix. Make a small hole with your finger or a pencil and insert the cut end of the stem. Gently firm the soil around it.
- Create Humidity: Water thoroughly but gently. Then, cover the pots with a plastic bag or propagation dome to keep the humidity high. Make sure the leaves don’t touch the plastic if possible.
- Find a Cozy Spot: Place your cuttings in a warm location with bright, indirect light. Avoid direct sun, which can scorch them.
Water Propagation (Super Simple)
If you’re feeling adventurous and want to try it in water:
- Prepare the Cuttings: Exactly as you would for stem cuttings – healthy stems, 4-6 inches long, cut below a leaf node, and with lower leaves removed.
- Place in Water: Put your cuttings in a jar or glass of clean water. Make sure the leaf nodes you removed are submerged, as this is where the roots will emerge.
- Change the Water Regularly: Every few days, empty the jar and refill it with fresh water. This prevents bacterial buildup.
- Watch for Roots: With a little patience, you’ll start to see tiny white roots forming from the nodes. Once the roots are about an inch long, they are ready to be planted in soil.
The “Secret Sauce” (Pro Tips)
Here are a couple of things I’ve learned over the years that can really boost your success:
- Don’t Let Leaves Touch the Water: This is a big one, especially with water propagation. If leaves sit in water, they rot, and that rot can spread to your cutting. Keep them high and dry!
- Bottom Heat is Your Friend: If you have a heating mat made for plant propagation, using it can make a world of difference. Rooting often happens faster and more reliably when the base of your cuttings is kept warm. It mimics the soil temperature when the parent plant is happiest.
Aftercare & Troubleshooting
Once you see new leaf growth or strong roots peeking out from the drainage holes, your cutting has successfully rooted!
- Gradual Acclimation: If you used a plastic bag or dome, gradually remove it over a few days to let your new plant adjust to normal humidity.
- Maintain Moisture: Keep the soil consistently moist but not waterlogged. Overwatering is one of the most common pitfalls.
- New Home: Once your plant is sturdy, you can transplant it into a slightly larger pot.
If you encounter problems, the most common is rot. This usually happens from too much moisture and poor air circulation. Your cutting will start to look mushy or black at the base. If you see this, sadly, it’s time to discard the affected cutting and try again, paying closer attention to drainage and humidity levels.
A Little Patience Goes a Long Way
Propagating plants is a wonderfully rewarding process. It takes a bit of observation and a willingness to experiment. Don’t get discouraged if your first try isn’t a runaway success. Each attempt teaches you something new. Enjoy watching those tiny roots emerge and knowing you’ve created a new life from a simple stem. Happy gardening!
Resource: