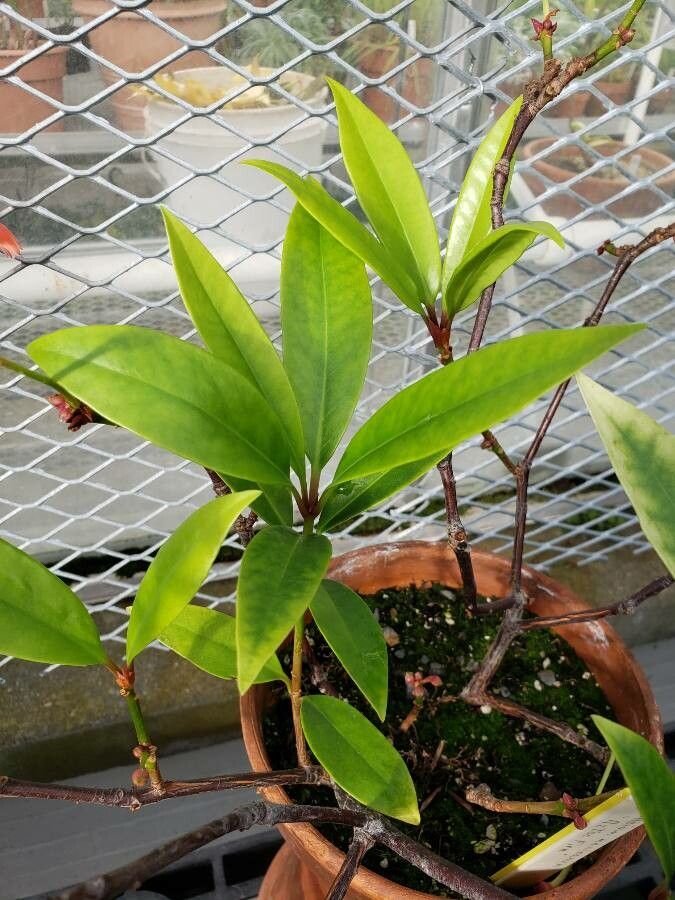
Oh, hello there! Pull up a chair, let’s chat about Illicium floridanum, also known as Florida Anise. I’ve had the pleasure of coaxing new life from these beauties for years, and it’s a truly satisfying endeavor. Their glossy, deep green leaves and the subtle, spicy fragrance they release on warm days are just delightful. Plus, there’s a special kind of joy in nurturing a tiny cutting into a thriving plant you can share, or plant yourself. If you’re new to plant propagation, don’t fret. While Illicium floridanum isn’t the absolute easiest, it’s definitely manageable with a little guidance and patience. You’ve got this!
The Best Time to Start
When it comes to getting new life from your Illicium floridanum, late spring to early summer is your golden window. This is when the plant is actively growing, and the new shoots are often referred to as “semi-hardwood.” They’re not pencil-thin and flimsy, but they also haven’t fully toughened up like old wood. This stage gives you the best chance of successful rooting.
Supplies You’ll Need
Gathering your tools beforehand makes the whole process smoother. Here’s what I usually have on hand:
- Sharp Pruning Shears or a Knife: For clean cuts that heal better.
- Rooting Hormone: Liquid or powder – both work well. It gives your cuttings a little boost.
- Well-Draining Potting Mix: A 50/50 blend of perlite and peat moss or coco coir is excellent. Some coarse sand can also be helpful.
- Small Pots or Containers: About 4-6 inches deep with drainage holes.
- Clear Plastic Bags or a Propagation Dome: To create a humid environment.
- Gravel or Small Stones: For the bottom of the pot if you’re doing water propagation.
- Gloves: Especially if you have sensitive skin, as some plant saps can be irritating.
- Watering Can or Spray Bottle: For gentle watering.
Propagation Methods
Let’s get our hands dirty, shall we? I find stem cuttings to be the most reliable method for Illicium floridanum.
Stem Cuttings: My Go-To
- Take Your Cuttings: In late spring or early summer, look for healthy, vigorous stems that are about 6 inches long. Using your sharp shears, make a clean cut just below a leaf node (where a leaf attaches to the stem). Remove the lower leaves, leaving just a few at the top.
- Prepare the Cutting: Dip the cut end of the stem into rooting hormone, shaking off any excess.
- Pot Them Up: Fill your small pots with the well-draining potting mix. Make a hole in the center with your finger or a pencil, then gently insert the prepared cutting. Firm the soil around the stem. You should aim for about half the cutting to be buried.
- Water Gently: Water the potting mix thoroughly but gently. You don’t want to dislodge the cutting.
- Create a Humid Environment: Cover the pot loosely with a clear plastic bag or place it under a propagation dome. This traps humidity, which is crucial for cuttings to root. Make sure the leaves aren’t touching the plastic if possible. If you have room, you can insert a few stakes to keep the bag off the foliage.
- Find a Spot: Place the potted cuttings in a spot with bright, indirect light. Avoid direct sun, which can scorch the young leaves.
Water Propagation (A Less Common, but Possible Option)
While I prefer soil for Illicium floridanum, you can try water propagation for a few cuttings.
- Prepare Cuttings: Follow steps 1 and 2 from the stem cuttings method.
- Place in Water: Fill a clean jar or glass with water and add a few pebbles or small stones to help hold the cuttings upright. Place the cuttings in the water, ensuring that no leaves are submerged – this can lead to rot.
- Change Water Regularly: Change the water every 2-3 days to keep it fresh and prevent bacterial growth.
- Watch for Roots: Roots should start to appear in a few weeks. Once they are about an inch long, you can carefully transplant them into a well-draining potting mix.
The “Secret Sauce” (Pro Tips)
Here are a couple of things I’ve learned over the years that can make a real difference:
- Bottom Heat is Your Friend: If you have it, placing your pots on a heat mat specifically designed for plant propagation can significantly speed up rooting. It mimics the warmth of summer soil and encourages root development from the bottom up.
- Don’t Over-Handle: Once your cuttings are planted, try to resist the urge to constantly tug at them to see if they have roots. You’ll damage delicate new growth. Patience is key here! Wait until you see clear signs of new leaf growth.
Aftercare & Troubleshooting
Once you see signs of new leaf development or feel a gentle tug when you lightly pull on a cutting (always do this gently!), it’s a good indication that roots have formed.
- Acclimatize Gradually: If you used a plastic bag, gradually start opening it up over a week to let the plant get used to the lower humidity.
- Transplant Carefully: Once the plant is more robust, you can transplant it into a slightly larger pot with a good quality potting mix.
- Keep it Moist, but Not Soggy: Continue to water consistently, allowing the top inch of soil to dry out between waterings.
- Watch for Rot: The most common issue is stem rot, which looks like a mushy, dark base. This usually happens from too much moisture and poor air circulation. If you see this, unfortunately, that cutting is likely lost. Prevention is key – ensure good drainage and use your humidity dome with ventilation.
- Wilting: A little wilting initially is normal as the plant adjusts. However, persistent wilting can indicate insufficient roots or too little water.
A Warm Encouragement
Propagating plants is a journey, and Illicium floridanum is a beautiful one to embark on. Don’t be discouraged if your first few attempts don’t yield as many new plants as you’d hoped. Every gardener has had their share of casualties! Keep learning, keep trying, and most importantly, enjoy the quiet magic of coaxing new life from your favorite plants. Happy gardening!
Resource:
https://identify.plantnet.org/k-world-flora/species/Illicium%20floridanum%20J.Ellis/data