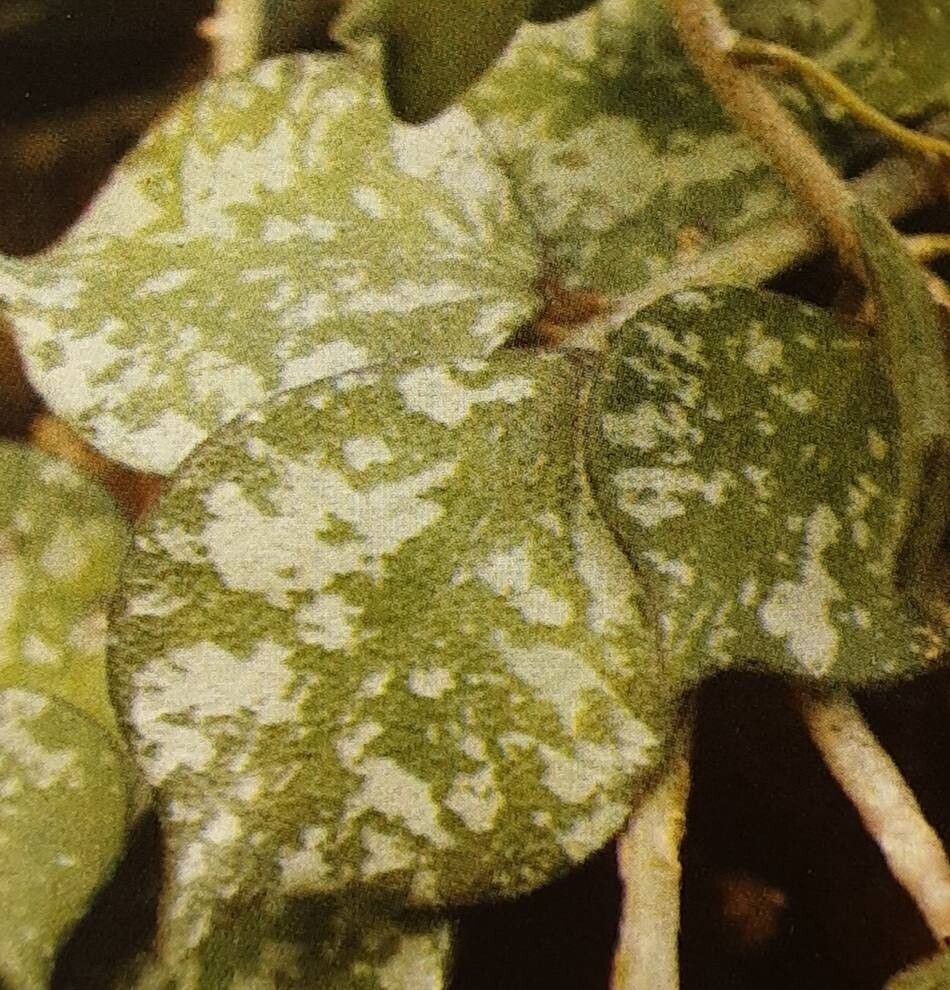
Hello, fellow plant lovers! If you’ve ever fallen under the spell of the charming Hoya curtisii, with its delightfully speckled, heart-shaped leaves, you’re in good company. This little beauty has a way of stealing hearts, and I’m here today to help you multiply that joy. Propagating Hoya curtisii is a wonderfully rewarding experience, and honestly, it’s not as daunting as some might think. It’s a great plant to start your propagation journey with!
When’s the Sweet Spot for Starting?
The absolute best time to get your Hoya curtisii cuttings going is during its active growing season. Think late spring through summer. Your plant will be brimming with energy then, making it much more inclined to root and thrive. Avoid trying to propagate during its dormant phase in winter; you’ll just be fighting an uphill battle.
What You’ll Need to Get Cooking
Gathering your supplies beforehand makes the whole process so much smoother. Here’s what I always have on hand:
- Clean Pruning Shears or Scissors: Essential for making clean cuts.
- Rooting Hormone (Optional but Recommended): A little boost can speed things up. I prefer a powder form.
- Well-Draining Potting Mix: A mix of perlite, orchid bark, and potting soil is perfect. You want it to be airy!
- Small Pots or Propagating Vases: Little terracotta pots or even glass jars work wonderfully.
- Clear Plastic Bag or Humidity Dome: For creating that cozy, humid environment.
- Water: For water propagation.
Let’s Get Our Hands Dirty: Propagation Methods
Hoya curtisii is quite forgiving and can be propagated through a couple of reliable methods.
Stem Cuttings: The Classic
This is my go-to method for Hoya curtisii.
- Select Your Cutting: Look for a healthy stem that has at least two to three leaf nodes (the little bumps where leaves emerge). Ideally, take a cutting that’s about 3-5 inches long.
- Make the Cut: Using your clean shears, make a cut just below a leaf node. This is where the magic of rooting begins.
- Prepare the Cutting: Gently remove the lower leaves from the cutting, leaving just the top one or two. This prevents them from rotting when you pot it up or place it in water.
- Apply Rooting Hormone (Optional): If you’re using rooting hormone, dip the cut end into the powder, giving it a gentle tap to remove any excess.
- Planting: Fill your small pot with your well-draining potting mix. Make a small hole with your finger and gently insert the cut end of the Hoya. Firm the soil around the stem, ensuring the nodes are buried.
Water Propagation: Watch the Roots Grow!
This method is so satisfying because you can literally see the roots forming.
- Follow steps 1-3 above for preparing your cutting.
- Place in Water: Fill a clean jar or vase with room-temperature water.
- Submerge the Cutting: Place the cutting in the water, making sure the leaf nodes are submerged. Crucially, do not let the leaves touch the water.
- Change Water Regularly: Change the water every few days to keep it fresh and prevent bacterial growth.
The “Secret Sauce”: My Insider Tips
After years of dabbling in propagation, I’ve picked up a few tricks.
- The Power of Bottom Heat: If you’re using the soil method, placing your pot on a heat mat designed for seedlings can significantly speed up root development. Hoyas love a little warmth from below!
- Don’t Overwater the Soil: When planting in soil, water thoroughly once, then allow the soil to dry out considerably between waterings. Soggy soil is the fastest way to invite rot to your precious cutting.
- Humidity is Key, But Not Drowning: For both methods, create a “greenhouse effect.” Lightly mist the leaves (if you’re not water propagating) and cover the pot with a clear plastic bag or humidity dome. Make sure there’s a little airflow or poke a few holes in the bag to prevent mold.
Aftercare and When Things Go Wrong
Once you see those lovely new roots forming, whether peeking out the bottom of your pot or stretching in the water, it’s time to celebrate!
- For Soil-Rooted Cuttings: Continue to water sparingly, letting the soil dry out. Once you see new leaf growth, you know firmly established roots are present. You can then move it to a slightly larger pot and treat it like a mature Hoya.
- For Water-Rooted Cuttings: Once your roots are about an inch long, it’s time to gently transplant them into your well-draining potting mix. Handle those delicate roots with care!
Now, what if things don’t go as planned? The most common culprit is rot. If your cutting turns mushy, black, or smells foul, it’s likely succumbed to too much moisture. If you catch it early, you might be able to cut away the rotted bits and try again, making sure to adjust your watering routine. Yellowing leaves on a cutting usually mean it’s not getting enough light or is too cold.
Keep Planting, Keep Growing!
Propagating plants is a journey, and there will be learning curves. Don’t be discouraged if your first attempt isn’t perfect. Be patient, observe your cuttings, and enjoy the process of bringing new life into your home. Happy growing!
Resource:
https://identify.plantnet.org/k-world-flora/species/Hoya%20curtisii%20King%20&%20Gamble/data