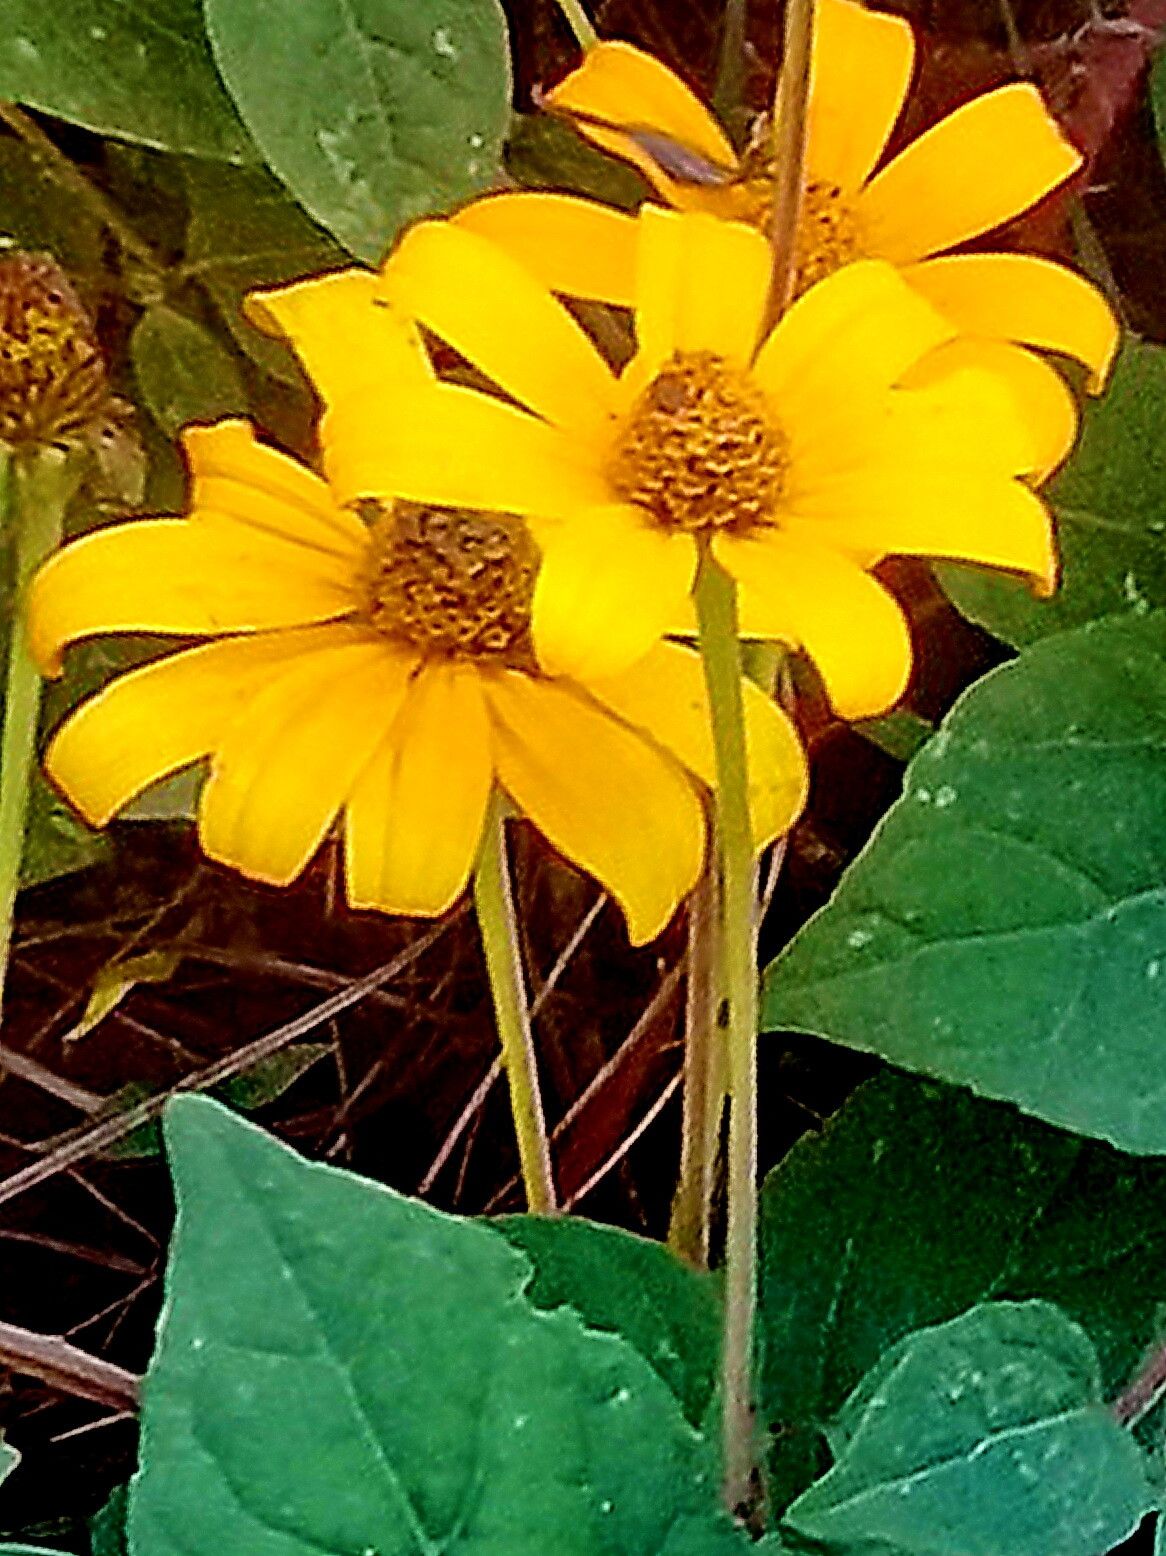
Hello fellow garden enthusiasts! Today, we’re diving into the wonderful world of propagating Heliopsis buphthalmoides, or as many of us gardeners fondly call it, False Sunflower. Its cheerful, daisy-like blooms bring such a burst of sunshine to the garden, blooming reliably from midsummer right into fall. They’re fantastic for cutting, too – adding a touch of everlasting summer to your indoor spaces. And the best part? Sharing these beauties with friends or simply expanding your own collection is incredibly rewarding. For those of you just starting out, I’m happy to report that Heliopsis is a wonderfully forgiving plant to propagate. You’re going to do great!
The Best Time to Start
When it comes to getting the best bang for your propagation buck with Heliopsis, I find the late spring to early summer to be your golden window. Think about when the plant is actively putting on new, lush growth. This is when the stems have the most energy and are most receptive to forming roots. Waiting until the plant has established itself after the initial spring burst is key.
Supplies You’ll Need
Before we get our hands dirty, let’s gather our tools. Having everything ready makes the process so much smoother:
- Sharp pruning shears or a clean knife: For taking clean cuts.
- Seed starting mix or a light, well-draining potting mix: Something airy is best. I often mix in a bit of perlite.
- Small pots or seed trays: With drainage holes, of course!
- Rooting hormone (optional but helpful): A powder or gel will do.
- A watering can with a fine rose: For gentle watering.
- Plastic bags or domes: To create a humid environment.
- A sunny windowsill or a propagation mat: For warmth and light.
Propagation Methods
Heliopsis is a trooper, and several methods work beautifully. Here are my two favorites:
Stem Cuttings
This is my go-to for Heliopsis. It’s straightforward and yields excellent results.
- Take your cuttings: On a bright morning, select some healthy, non-flowering stems. Look for stems that are about 4-6 inches long. Using your sharp shears, make a clean cut just below a leaf node (where a leaf attaches to the stem). Remove any lower leaves, leaving only the top few.
- Prepare the cuttings: If you’re using rooting hormone, dip the cut end into it. This step isn’t essential for Heliopsis, as they root readily, but it can speed things up.
- Plant your cuttings: Fill your small pots or trays with your prepared potting mix. Make a small hole with your finger or a pencil and gently insert the cutting, ensuring it’s firm. You can fit several cuttings in one pot; just give them a little space.
- Create humidity: Water the soil gently until it’s moist but not soggy. Then, cover the pots with a plastic bag or a clear dome. This traps moisture and keeps the humidity high, which cuttings absolutely love.
- Provide light and warmth: Place the pots on a bright windowsill that gets indirect light. If your home is a bit cool, a propagation mat set to a low temperature can work wonders.
Division
This method is perfect for when you want to divide an existing, established clump of Heliopsis.
- Dig up the plant: In early spring, before new growth really takes off, carefully dig around the base of your established plant.
- Gently separate: Lift the whole plant out of the ground. You can often do this by hand, gently pulling apart the root ball. If it’s a bit stubborn, a clean spade or trowel can help. Aim to separate the clump into sections, each with healthy roots and some green shoots.
- Replant immediately: Pot up your divisions into new pots filled with good soil, or plant them directly back into your garden in well-prepared beds. Water them well.
The “Secret Sauce” (Pro Tips)
I’ve learned a few tricks over the years that really boost success rates for my cuttings:
- “Tender” is the word: When taking stem cuttings, always go for the new, slightly soft growth. The old, woody stems are much less likely to root. You want something that bends a bit, not snaps rigidly.
- Bottom heat is brilliant: If you’re finding your cuttings are slow to root, try putting them on a heat mat. This gentle warmth from below mimics natural soil temperatures and really encourages root development. You’ll be amazed at the difference it makes!
- Don’t overcrowd: I know it’s tempting to cram as many cuttings as possible into a pot, but give them a little breathing room. This helps prevent fungal issues and ensures each cutting has access to air and light.
Aftercare & Troubleshooting
Once your Heliopsis cuttings have begun to root – you’ll notice new growth appearing, and if you gently tug a cutting, you’ll feel some resistance – it’s time to start introducing them to the wider world. Gradually remove the plastic cover over a few days to acclimate them to lower humidity. Water them regularly, allowing the soil to dry slightly between waterings. You can move them to larger pots as they grow.
The most common issue you might encounter is rot. This happens when the soil is too wet and the cuttings can’t breathe. If you see a cutting turning black and mushy, sadly, it’s usually a lost cause. The key is good drainage and avoiding soggy soil. A little bit of yellowing on the lower leaves can be normal as the plant focuses energy on root development, but if the entire cutting goes limp and discolored, it’s time to re-evaluate your watering.
A Encouraging Closing
Propagating Heliopsis is such a joy. It’s a way to connect with your plants on a deeper level and, before you know it, you’ll have a small army of these sunny blooms to enjoy. Be patient. Sometimes it takes a little longer than you expect, but the reward of seeing those roots form and new growth emerge is truly special. Happy gardening, everyone!
Resource: