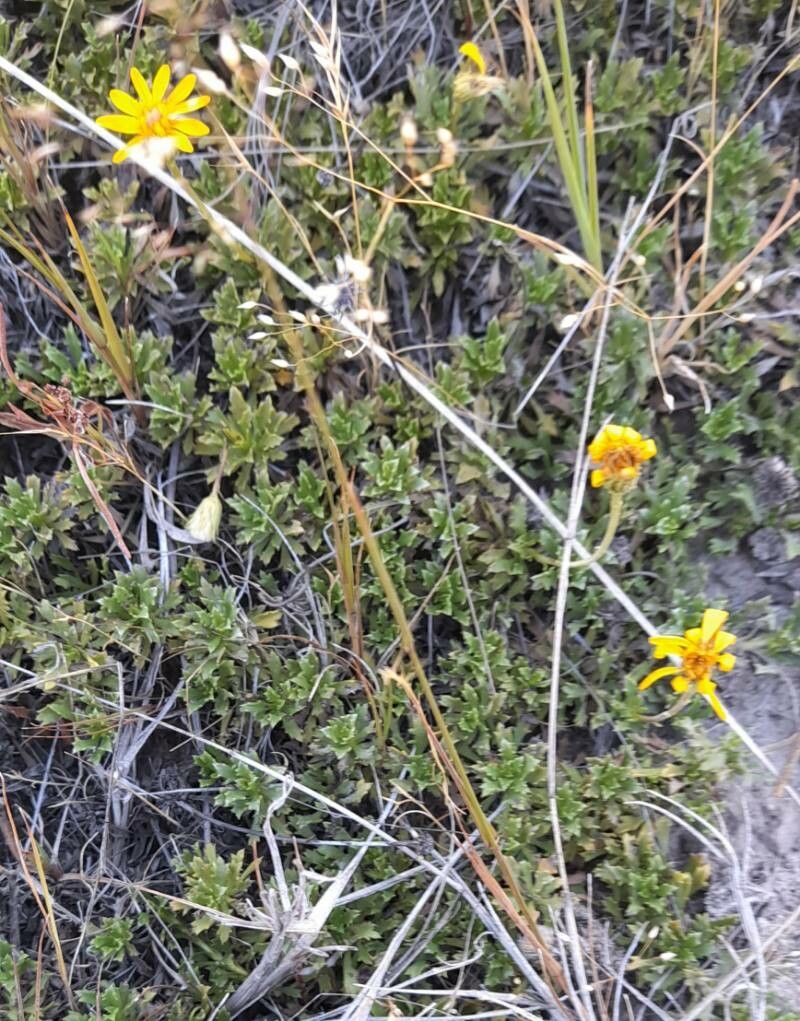
Hello garden friends! Today, we’re diving into the wonderful world of a plant that might not be on everyone’s radar but absolutely deserves a spot in your heart (and your garden!): Haplopappus glutinosus. Also known as Sticky Goldenbush, this cheerful native of the Americas brings sunshine with its bright yellow, daisy-like flowers. Trust me, watching those blooms unfurl is a pure joy, and propagating this beauty yourself is incredibly satisfying. It’s a delightfully easy plant to work with, even if you’re just dipping your toes into the propagation pool.
The Best Time to Start
For Haplopappus glutinosus, I find the magic happens in late spring or early summer. This is when the plant is actively growing and full of vigor. You want to take cuttings from stems that are not too young and sappy, but not old and woody either. Think of it as seeking out the “just right” stage – firm but flexible. This timing gives the new cuttings plenty of time to establish roots before the heat of summer or the cooler weather of fall truly sets in.
Supplies You’ll Need
Gathering your tools before you begin makes the whole process smoother. Here’s what I usually have on hand:
- Sharp, clean pruning shears or a sharp knife: For making those crucial cuts. Sterilize them with rubbing alcohol before you start!
- Rooting hormone (optional but helpful): A powder or gel specifically for stem cuttings.
- Well-draining potting mix: A standard seed starting mix or a blend of equal parts peat moss and perlite works beautifully.
- Small pots or seed trays: About 4-6 inches deep are perfect. Make sure they have drainage holes.
- Plastic bags or plastic wrap: To create a mini-greenhouse effect.
- Watering can or spray bottle: For gentle watering.
- Labels and a marker: So you don’t forget what you’ve propagated!
Propagation Methods: Stem Cuttings
This is my go-to method for Haplopappus glutinosus. It’s straightforward and yields great results.
- Select Your Stems: Head out to your Haplopappus glutinosus plant. Look for healthy, non-flowering stems that are about 4-6 inches long.
- Make Your Cuts: Using your sterilized pruners or knife, make a clean cut just below a leaf node (where a leaf attaches to the stem). This is where the magic of root development often begins.
- Prepare the Cuttings: Gently remove the lower leaves, leaving just two or three pairs of leaves at the top. If the leaves are large, you can even cut them in half horizontally to reduce water loss. This step is surprisingly important!
- Apply Rooting Hormone (Optional): Dip the cut end of the stem into your rooting hormone. Tap off any excess.
- Plant Your Cuttings: Fill your pots with the well-draining potting mix. Make a small hole with your finger or a pencil, and gently insert the cut end of the stem. Firm the soil gently around it. Water lightly to settle the soil.
- Create the Mini-Greenhouse: Cover the pot loosely with a plastic bag or plastic wrap. This helps maintain high humidity, which is crucial for cuttings to root. You can secure it with a rubber band.
The “Secret Sauce” (Pro Tips)
Over the years, I’ve learned a few little tricks that make a big difference:
- Bottom Heat is Your Friend: If you have space, placing your pots on a heat mat designed for plants can significantly speed up root formation. It mimics the warmth of spring soil and encourages those roots to get going. My cuttings always seem to root faster and stronger when they have a little cozy warmth from below.
- Indirect Light is Key: While these plants love sun when they’re established, your cuttings need bright, indirect light. Too much direct sun can scorch those tender leaves before they’ve had a chance to root. A bright windowsill that doesn’t get harsh afternoon sun is often ideal.
- Don’t Overwater: This is a classic mistake! Soggy soil is the enemy of cuttings and can lead to rot. It’s better to err on the side of slightly too dry than too wet. Let the soil almost dry out between waterings, and then water thoroughly.
Aftercare & Troubleshooting
Once you’ve got those cuttings planted, patience is your best friend. You’ll want to keep the soil consistently moist but not waterlogged. Check the humidity under the plastic regularly – if you see a lot of condensation, you might want to open the bag for a few hours to allow for some air circulation.
How do you know they’ve rooted? After a few weeks, you can gently tug on a cutting. If you feel resistance, that’s a good sign roots are forming. You can also look for new growth appearing at the top. Once you see that lovely resistance or new shoots, it’s time to gradually acclimate your new plants to normal humidity. Start by removing the plastic for longer periods each day.
What if things go wrong? The most common culprit is rot, which looks like dark, mushy stems. This is almost always due to overwatering or poor drainage. If you see rot, unfortunately, that cutting is likely lost. The best thing to do is remove it to prevent it from spreading and learn from it for your next batch.
A Little Encouragement
Propagating Haplopappus glutinosus is such a rewarding journey. There’s a real thrill in watching those tiny cuttings transform into a robust little plant. Don’t be discouraged if you lose a few along the way; it happens to the best of us! Each attempt is a learning experience. Enjoy the process, connect with your plants, and soon you’ll have a whole cluster of these sunshine-yellow beauties to share with friends or fill your own garden with. Happy propagating!
Resource:
https://identify.plantnet.org/k-world-flora/species/Haplopappus%20glutinosus%20Cass./data