Hi there, fellow garden enthusiasts! It’s so wonderful to have you here. Today, we’re going to talk about a plant that holds a special place in my heart, and perhaps soon in yours too: Bunium bulbocastanum, or as many of us fondly call it, Earthnut.
Why You’ll Love Propagating Earthnuts
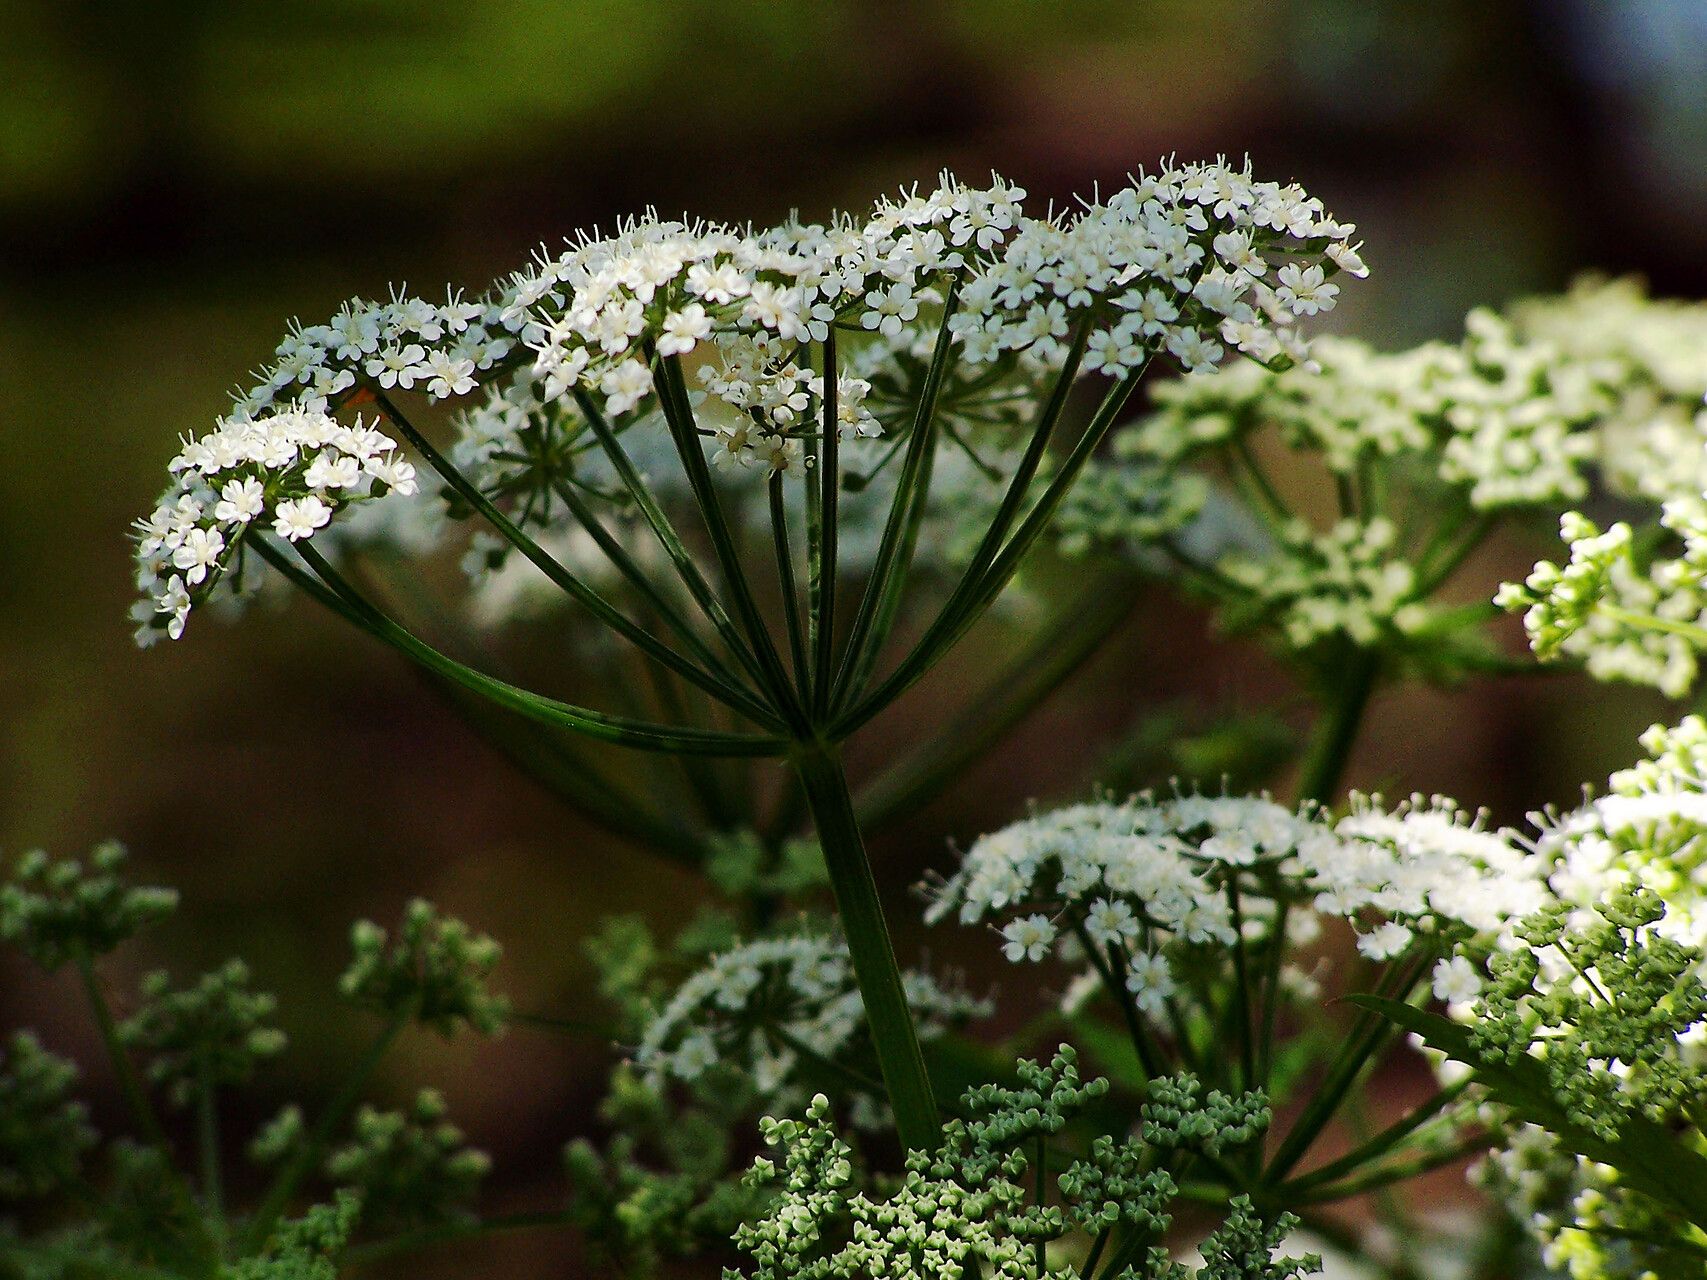
Earthnut is a charmer. Think delicate, feathery foliage that scents the air with a sweet, almost nutty aroma, especially on a warm day. The tiny, star-like white flowers that form in delightful clusters later in the season are just the cherry on top. And the best part? The little edible tubers that form underground! Propagating them is a truly rewarding endeavor. It’s a bit like planting a promise of more beauty and bounty for your garden. Now, for beginners, I’d say it’s moderately easy. It’s not as straightforward as some succulents, but with a little attention, you’ll be successful.
The Best Time to Start
For Earthnuts, timing is everything. The absolute best time to get your propagation party started is late summer or early autumn. This is when the plant is naturally winding down its growth cycle after flowering, and its energy is shifting towards its root system and the formation of those precious bulbils. Waiting until after the main flowering season has passed ensures you’re working with mature plant material that has plenty of stored energy.
Supplies You’ll Need
Here’s what you’ll want to gather before we get our hands dirty:
- Sharp pruning shears or a clean knife: For making precise cuts. Sterilize them with rubbing alcohol before and between uses!
- Seed-starting mix or a well-draining potting mix: I usually mix equal parts peat moss, perlite, and composted bark. Good drainage is key.
- Small pots or propagation trays: Ensure they have drainage holes. Yogurt cups with holes poked in the bottom work in a pinch!
- Rooting hormone powder (optional but recommended): This can give your cuttings a helpful boost.
- Watering can with a fine rose or a spray bottle: For gentle watering.
- Gloves: To keep your hands clean and protect them.
- A label and pen: To remember what you planted and when!
Propagation Methods: Let’s Get Them Growing!
Earthnuts are primarily propagated through division of their underground bulbils (which I think of as their mini-offspring), and sometimes, with a bit of patience, from seed. For this guide, we’ll focus on the most reliable method for increasing your stock:
Method 1: Dividing the Bulbils
This is where the real magic happens.
- Timing is Crucial: Remember, late summer to early autumn is your window.
- Gentle Excavation: Carefully dig up the parent plant. The goal is to expose the root ball and, more importantly, to locate the small bulbils attached to or near the main tuber. They look like tiny, rounded structures.
- Separation: Using your fingers or a clean, sharp knife, gently separate the bulbils from the parent plant. You want to ensure each bulbil has a small piece of the parent’s basal plate or root attached, if possible. Don’t worry if some are a little small; patience is often rewarded.
- Drying Off (Optional but good): Let the separated bulbils sit in a cool, dry, well-ventilated spot for a day or two. This allows any cut surfaces to callous over, which helps prevent rot.
- Planting: Fill your small pots with your well-draining soil mix. Make a small indentation for each bulbil and plant them about 1-2 inches deep, depending on their size.
- Watering: Water gently until the soil is evenly moist. Don’t drench them.
Method 2: From Seed
This method takes longer, but it’s a wonderful way to experience the full life cycle.
- Harvesting Mature Seeds: Collect seeds from dried seed heads in late summer or early autumn. They are typically small and dark.
- Stratification (Cold Treatment): Earthnut seeds often benefit from a period of cold, moist stratification. Mix seeds with a bit of damp sand or vermiculite in a plastic bag and store in the refrigerator for 2-3 months.
- Sowing: After stratification, sow the seeds about ¼ inch deep in shallow trays filled with your seed-starting mix.
- Moisture and Temperature: Keep the soil consistently moist but not waterlogged. A warm spot (around 65-70°F or 18-21°C) will encourage germination.
- Patience: Germination can be erratic and may take several weeks to months.
The “Secret Sauce” (Pro Tips)
I’ve learned a few tricks over the years that make propagation a bit smoother:
- Don’t Overcrowd: When planting bulbils, give each one enough space. Overcrowding can invite fungal issues.
- Bottom Heat is Your Friend: For seed germination or fussy bulbil division, a little warmth from below can make a huge difference. A seedling heat mat placed under your trays provides gentle, consistent warmth that encourages germination and root development.
- Air Circulation is Vital: Good airflow around your new baby plants is crucial. If you’re propagating indoors, consider using a small fan on a low setting for a few hours a day. This helps prevent fungal diseases from setting in, especially if you’ve had to water a little more than intended.
Aftercare & Troubleshooting
Once your bulbils are planted or seeds have sprouted, it’s time for tender loving care.
- Watering: Keep the soil consistently moist but not soggy. Allow the top inch of soil to dry slightly between waterings. I check by sticking my finger in the soil – if it feels dry an inch down, it’s time to water.
- Light: Once they’ve sprouted, they’ll need bright, indirect light. A sunny windowsill is often ideal.
- Transplanting: When your new Earthnuts have developed a good root system and a few sets of leaves, you can transplant them into slightly larger pots. They usually appreciate a bit more room to grow.
Now, what if things go wrong? The most common issue you’ll encounter is rot. This typically happens when the soil is too wet and there isn’t enough air circulation. If you see a bulbil looking mushy or developing dark spots, remove it immediately to prevent it from affecting others. Don’t be discouraged if you lose a few; it’s all part of the learning process!
Keep Growing!
Propagating Bunium bulbocastanum is a delightful journey. It requires a touch of patience and a keen eye for detail, but the reward of multiplying these charming plants for your garden is immense. Enjoy the process, learn from every step, and soon you’ll have a whole new patch of fragrant Earthnuts to admire. Happy gardening!
Resource:
https://identify.plantnet.org/k-world-flora/species/Bunium%20bulbocastanum%20L./data