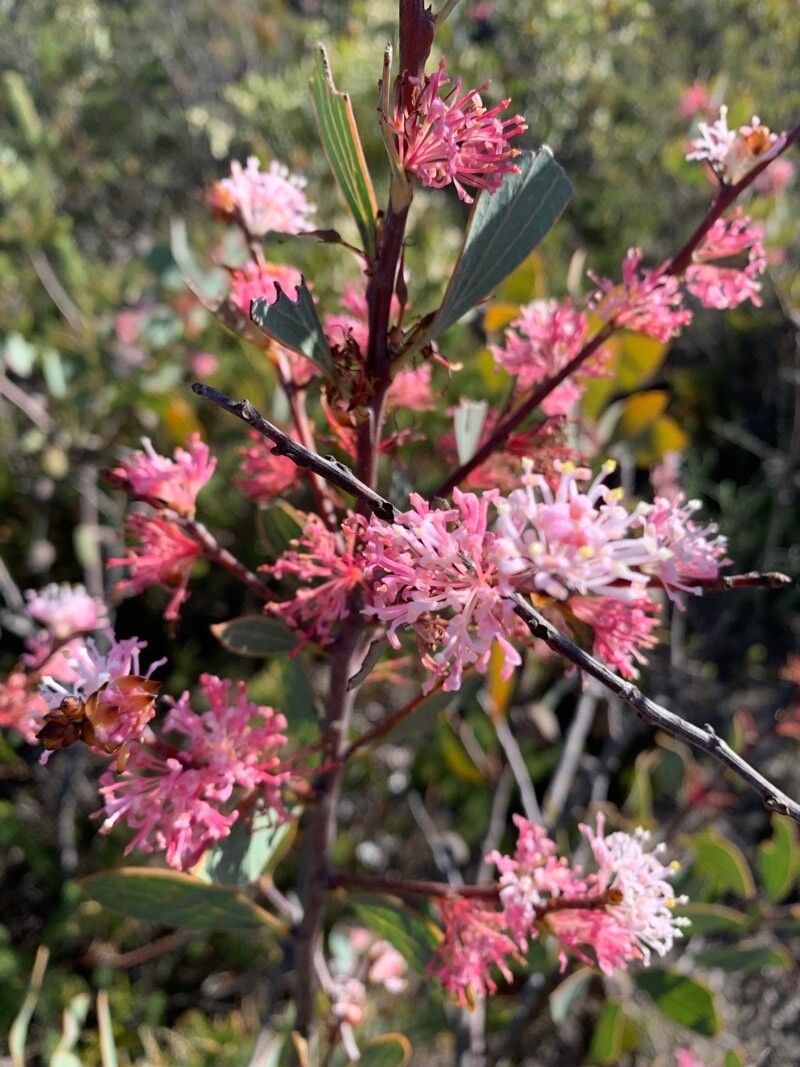
Oh, Hakea neurophylla! Isn’t it just a dream? Those lovely, soft, grey-green leaves, often with a hint of pink on the new growth. And the flowers! Delicate little clusters of white, sometimes with a whisper of blush, appear in late winter or early spring, just when the garden needs a lift. It’s a plant that brings a touch of understated elegance, a real jewel for any Australian native enthusiast.
Propagating these beauties can feel a bit special, like you’re coaxing a little bit of magic into being. And trust me, when it works, it’s incredibly satisfying. Now, I’ll be honest, Hakea neurophylla isn’t always the easiest plant to get going from scratch, especially for a first-timer. But that’s okay! With a little understanding and a dash of patience, we can absolutely make it happen. Think of it as a rewarding challenge, rather than an impossible hurdle.
The Best Time to Start
When it comes to getting your Hakea neurophylla cuttings to root, spring is usually your best bet. That’s when the plant is really getting into its growing season, full of vigor. You want to take cuttings from new, semi-hardwood growth. This means it’s not brand new and floppy, but not yet old and woody either. It should be firm to the touch, but still have a bit of flexibility. Think of it as being in that sweet spot – not too soft, not too hard.
Supplies You’ll Need
To set yourself up for success, gather these bits and bobs:
- Sharp, clean pruning shears or a craft knife: Cleanliness is key to preventing disease.
- Potting mix: A well-draining mix is non-negotiable. I like to use a blend of coarse sand, perlite, and a good quality native potting mix. About a 50/50 sand and perlite to potting mix ratio is a good starting point.
- Small pots or seed trays: With good drainage holes, naturally.
- Rooting hormone: This is a helpful booster. Look for one that contains IBA (Indole-3-butyric acid).
- Plastic bags or a propagator lid: To create a humid environment.
- Labels and a permanent marker: Don’t forget to label your precious cuttings!
- Water sprayer: For gentle misting.
Propagation Methods
For Hakea neurophylla, stem cuttings are generally the most reliable method. We’ll focus on that one.
- Select Your Cuttings: Head out to your Hakea when the new growth is ready. Look for stems that are about 10-15 cm long. Gently snap one off – if it snaps cleanly, that’s a good sign. If it bends, it might be too soft. Remove any lower leaves, being careful not to damage the stem.
- Prepare the Cuttings: Using your clean pruning shears or knife, make a clean cut just below a leaf node. This is where a lot of the root-forming hormones are concentrated. I like to trim any leaves that are larger than a thumbnail to reduce water loss, especially if you’re not using a fancy propagator setup.
- Apply Rooting Hormone: Dip the cut end of the stem into the rooting hormone powder. Tap off any excess – you don’t want thick clumps.
- Planting: Make a hole in your potting mix using a pencil or a dibber. This prevents rubbing off the rooting hormone. Gently insert the cutting into the hole, ensuring at least one leaf node is buried in the soil. Firm the mix gently around the stem.
- Create Humidity: Water the pots gently to settle the soil. Then, place a clear plastic bag over the pot, supported by stakes or twigs, or put the pots inside a propagator with a lid. This creates a mini-greenhouse effect, keeping humidity high, which is crucial for cuttings that can’t yet absorb water through roots.
- Placement: Find a bright spot, but out of direct sunlight. Too much sun will scorch those tender cuttings. A warm windowsill is often ideal.
The “Secret Sauce” (Pro Tips)
Here are a couple of things I’ve learned over the years that can really make a difference:
- Don’t let the leaves touch the water! If you’re struggling with rot, it’s often because the leaves are sitting in stagnant water. Make sure your humidity dome or bag is well-ventilated enough, or trim your leaves effectively. For Hakea, I rarely use water propagation at all – I find the cuttings get a bit too soggy. Always aim for that well-draining soil.
- Bottom heat is your friend. If you have a heat mat designed for seedlings and cuttings, placing your pots on it can significantly speed up root formation. Hakeas love a bit of warmth to encourage those roots to get going.
Aftercare & Troubleshooting
Once your cuttings have started to sprout new growth, that’s a good sign, but roots take time. Be patient! You can gently tug on a cutting after about 6-8 weeks. If there’s resistance, you’ve got roots!
Once roots are established, it’s time to gradually acclimatize them to normal conditions. Start by opening the propagator lid or plastic bag for a few hours each day, increasing the duration over a week or so. Then, you can pot them up into individual, slightly larger pots with a good native potting mix. Keep them in a protected spot, out of harsh sun and strong winds, for a few more weeks before planting them out in their permanent home.
If you see your cuttings wilting and shrivelling, or turning black and mushy at the base, that’s usually a sign of root rot. This is often caused by overwatering or poor drainage. Unfortunately, once that sets in, it’s very difficult to save them. It’s a good reminder to always err on the side of under-watering when starting cuttings.
A Gentle Encouragement
Propagating plants, especially those a little trickier like Hakea neurophylla, is a journey. There will be times when some cuttings don’t make it, and that’s perfectly alright. Every attempt is a learning opportunity. So, take a deep breath, gather your supplies, and give it a go. Enjoy the quiet satisfaction of nurturing life, and happy gardening!
Resource:
https://identify.plantnet.org/k-world-flora/species/Hakea%20neurophylla%20Meisn./data