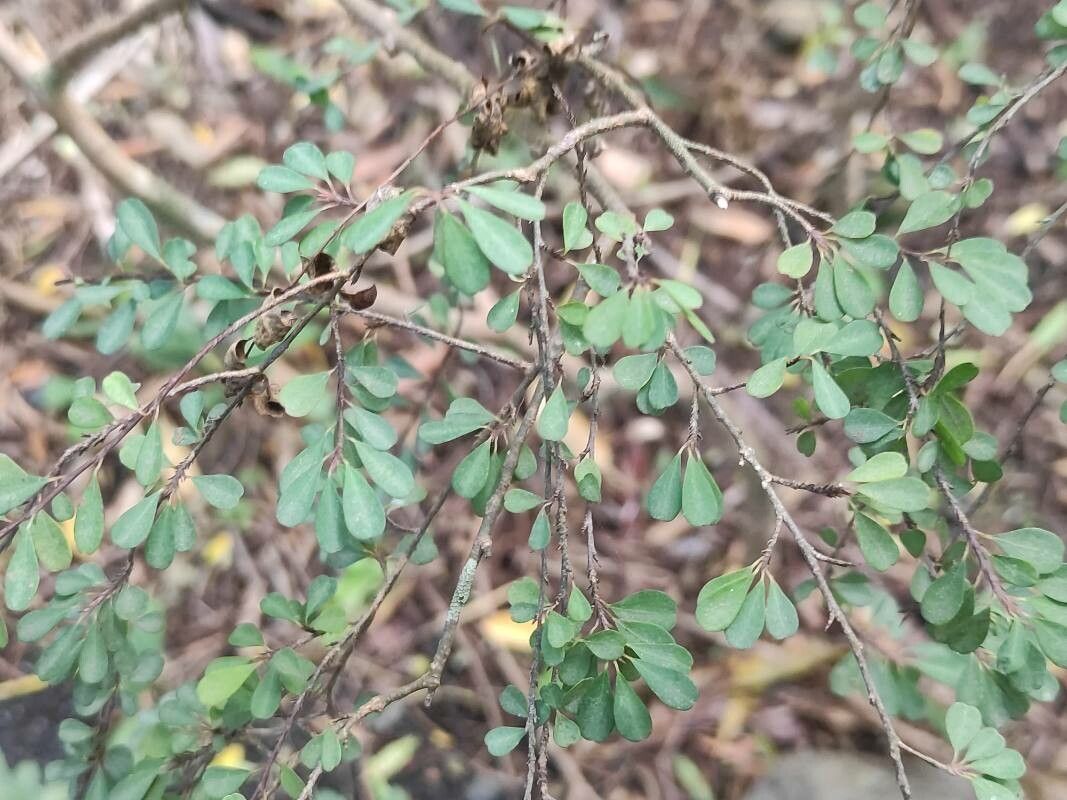
Oh, hello there! Grab yourself a cuppa, and let’s chat about a truly special gem for the garden: Erythroxylum hypericifolium. You know, the one with those lovely, bright red fruit that look like tiny jewels? It’s a plant that brings a bit of sunshine and a whole lot of charm, and I’ve always found propagating it incredibly rewarding. It’s not quite a beginner’s “set it and forget it” plant, but with a little attention and these tips, you’ll be well on your way!
The Best Time to Start
My favorite time to get my hands dirty with Erythroxylum hypericifolium propagation is in the late spring or early summer. This is when the plant is really hitting its stride, pushing out new, healthy growth. You’ll have plenty of tender shoots to work with, and the warmer temperatures really help them establish themselves quickly. Aim for when the plant is actively growing, not when it’s stressed or dormant.
Supplies You’ll Need
Before we dive in, let’s gather our trusty tools. Having everything ready makes the whole process so much smoother:
- Sharp, clean pruning shears or a sharp knife: For taking clean cuttings.
- A well-draining potting mix: I like a blend of equal parts peat moss, perlite, and coarse sand. This ensures good aeration and prevents waterlogging.
- Small pots or seedling trays: Washed thoroughly, of course.
- Rooting hormone (optional but helpful): A powder or gel can give your cuttings a good boost.
- A plastic bag or propagator lid: To create a humid environment.
- Watering can with a fine rose attachment: For gentle watering.
- Optional: Bottom heat mat: This can significantly speed up root development.
Propagation Methods
There are a couple of ways to go about this, but stem cuttings are my go-to for Erythroxylum hypericifolium.
Stem Cuttings
This is my most reliable method. Here’s how I do it:
- Take Your Cuttings: Look for new, semi-hardwood growth. You want stems that are flexible but not floppy. Snap off a piece about 4-6 inches long. Aim for stems that have at least a couple of leaf nodes. Cut just below a leaf node, as this is where roots tend to form.
- Prepare the Cuttings: Gently remove the lower leaves. Leave just a couple of leaves at the very top. If your leaves are large, you can even cut them in half horizontally to reduce water loss through transpiration.
- Apply Rooting Hormone (Optional): Dip the cut end of the stem into your rooting hormone, tapping off any excess. This step isn’t always necessary, but I find it gives a nice edge, especially if the wood is a little tougher.
- Plant Your Cuttings: Fill your small pots with your prepared potting mix. Using a pencil or your finger, make a hole in the center for your cutting. Gently insert the cutting, ensuring the leaves aren’t buried.
- Water Gently: Water thoroughly but gently until the soil feels moist.
- Create Humidity: This is crucial! Pop your pots into clear plastic bags, tying them loosely around the top, or cover them with a propagator lid. The goal is to trap moisture and create a mini-greenhouse effect.
The “Secret Sauce” (Pro Tips)
Now, for those little extra touches that make a big difference:
- Don’t let the leaves touch the water if you decide to try water propagation. While some plants are happy to root in water, Erythroxylum hypericifolium can be prone to rot if the foliage sits in the water. Stick to soil for best results with this one.
- Bottom heat is your best friend. If you can get your hands on a bottom heat mat, use it! Placing your pots on a gentle heat source (around 70-75°F or 21-24°C) will dramatically speed up root formation. It mimics that lovely spring soil warmth.
- Be patient with pruning: When taking cuttings, think of it as a summer prune. You’re shaping and encouraging new growth on the parent plant while propagating!
Aftercare & Troubleshooting
Once your cuttings have been planted and tucked into their humid home, it’s time for a little aftercare.
- Placement: Keep them in a bright, indirect light spot. Direct sun will scorch those delicate new leaves.
- Watering: Check the soil moisture regularly. Keep the soil consistently moist, but not waterlogged. Lift the plastic bag or propagator lid occasionally to allow for some air circulation and prevent fungal issues.
- Checking for Roots: This can take anywhere from 4 to 8 weeks, sometimes longer. Gently tug on a cutting. If there’s resistance, you’ve got roots! You might also see new growth emerging, which is a great sign.
- Troubleshooting: The most common issue is rot. If your cuttings turn mushy or have a foul smell, they’ve likely succumbed to rot. This usually happens due to too much moisture combined with poor air circulation. Discard affected cuttings and revise your watering and ventilation approach. Another sign of failure is if the cutting wilts and never recovers – this could be due to being too dry or not enough humidity.
A Little Patience Goes a Long Way
Watching a new plant sprout from a small cutting is such a magical experience. It takes time and a little bit of faith, but the reward of seeing your own Erythroxylum hypericifolium flourish is truly worth it. Don’t get discouraged if your first few attempts aren’t perfect. Gardening is all about learning and growing alongside our plants. Happy propagating!
Resource:
https://identify.plantnet.org/k-world-flora/species/Erythroxylum%20hypericifolium%20Lam./data