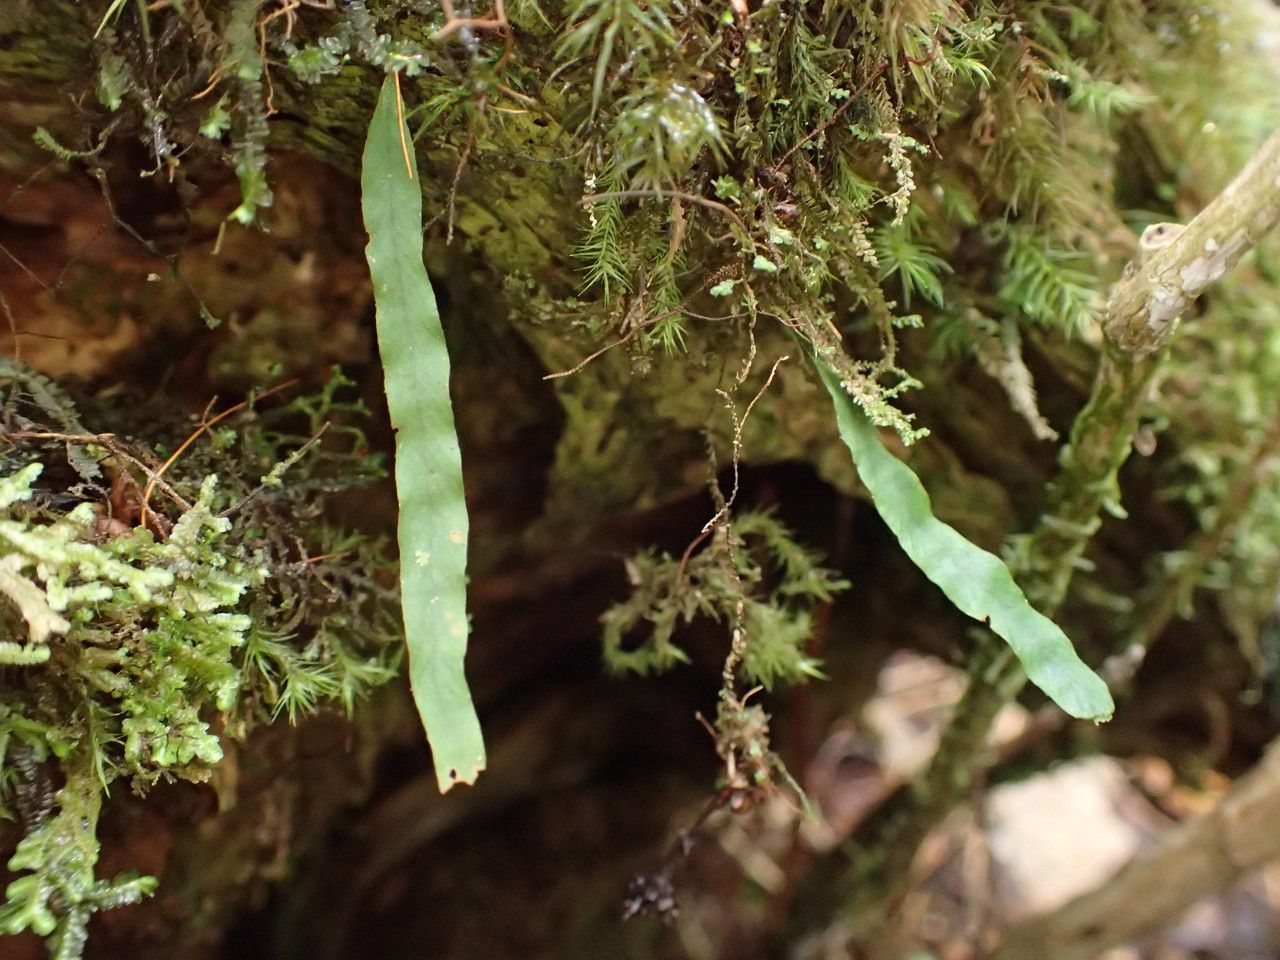
Oh, hello there! Pull up a chair. Let’s talk about Grammitis parietina. If you’re anything like me, you adore those delicate, almost lace-like fronds of this little fern. They bring such a wonderful textural element to shaded corners, terrariums, or even nestled among larger plants. And the best part? Sharing that beauty with others by propagating your own! It’s truly one of the most satisfying things a gardener can do. Now, Grammitis parietina can be a tad on the finessier side. It’s not the most forgiving plant for absolute beginners, but with a little patience and attention to detail, you’ll be well on your way to success.
The Best Time to Start
For Grammitis parietina, I’ve found the spring and early summer months are absolutely magical for propagation. This is when the plant is really waking up, brimming with that fresh, vigorous growth. You’ll have prime material to work with, and the warmer temperatures will encourage those cuttings to root much faster. Aim for when new fronds are unfurling, not when the plant is stressed or has stopped growing.
Supplies You’ll Need
Gathering your tools beforehand makes the whole process so much smoother. Here’s what I always have on hand:
- Sharp pruning shears or a clean, sharp knife: For making clean cuts.
- A well-draining potting mix: I like a blend of equal parts coco coir, perlite, and a bit of orchid bark. This provides aeration and moisture retention without getting waterlogged.
- Small pots or propagation trays: Clean ones are a must to prevent disease.
- Plastic bags or a propagation dome: To create a humid environment.
- Rooting hormone (optional but recommended): A liquid or powder rooting hormone can give your cuttings a helpful boost.
- A spray bottle: For misting.
- A label and marker: To keep track of what you’ve propagated and when.
Propagation Methods
Grammitis parietina is best propagated through division and spore propagation. Stem cuttings aren’t really its strong suit.
Division: The Most Reliable Way
This is my go-to for Grammitis parietina. It’s like getting a bonus plant right from your existing one!
- Gently remove the parent plant from its pot. You might need to loosen the soil around the edges first.
- Examine the root ball. You’re looking for natural breaks where a new plant is already forming, with its own set of roots.
- Using your clean hands or a gentle wrist flick, carefully tease apart the sections. If it’s a bit stubborn, you can use your knife to make a clean cut through the rhizomes, ensuring each division has plenty of healthy roots and at least one tiny frond.
- Pot each division into its own small pot filled with your specialized potting mix.
- Water lightly to settle the soil.
- Place the newly potted divisions in a bright, indirect light location and maintain high humidity.
Spore Propagation: For the Patient Gardener
This is a more involved process, but incredibly rewarding. Fern spores are tiny!
- Harvesting Spores: Look for sporangia on the underside of mature fronds. These are usually clustered in brown or reddish sori. When they look dry and dusty, they are ready. You can carefully cut the frond and place it in a paper bag, spore-side down, for a few days to let them release.
- Sterilizing: This is critical. You’ll need sterilized pots filled with a very fine, sterile potting mix (I use a mix of fine orchid bark and peat moss). Moisten the mix thoroughly, then allow excess water to drain.
- Sowing: Gently sprinkle the collected spores onto the surface of the moist medium. Don’t bury them!
- Creating a Humid Chamber: Place the pots into a clear plastic bag or a propagation dome.
- You’ll need patience here. It can take weeks or even months for the spores to germinate and form tiny prothalli (heart-shaped structures).
The “Secret Sauce” (Pro Tips)
Here are a few little tricks I’ve learned over the years that make a big difference:
- Don’t let the fronds touch water: If you’re using water propagation for any fern (though not ideal for G. parietina directly), ensure the cut ends are submerged, but the fronds stay dry. This prevents mold. For divisions, always water the soil, not the plant.
- Bottom heat is your friend: For spore propagation particularly, placing your trays on a heat mat can significantly speed up germination. Ferns love being warm and cozy to get started.
- Think like a fern when choosing a spot: These beauties thrive in consistent moisture and high humidity with low light. Mimic a shady, damp forest floor, and you’re halfway there.
Aftercare & Troubleshooting
Once your divisions are established or your spores have germinated, think about creating their permanent home. Keep them in bright, indirect light and m aintain high humidity. Mist them regularly, especially after division. If you see wilting, it could be a sign they need more humidity or a bit more water, but be careful not to overwater, as this is a sure way to invite rot. Look for mushy stems or leaf bases – that’s rot, and it’s tough to come back from. Discard any infected material immediately. If you see no new growth after several weeks, don’t despair! Some ferns can be slow to establish. Give them time, consistent conditions, and be patient.
So there you have it! Propagating Grammitis parietina is such a rewarding journey. It teaches you to observe, to be patient, and to appreciate the tiny miracles happening all around us. Don’t be afraid to try, and remember to enjoy the process! Happy growing!
Resource:
https://identify.plantnet.org/k-world-flora/species/Grammitis%20parietina%20(Klotzsch)%20Fée/data