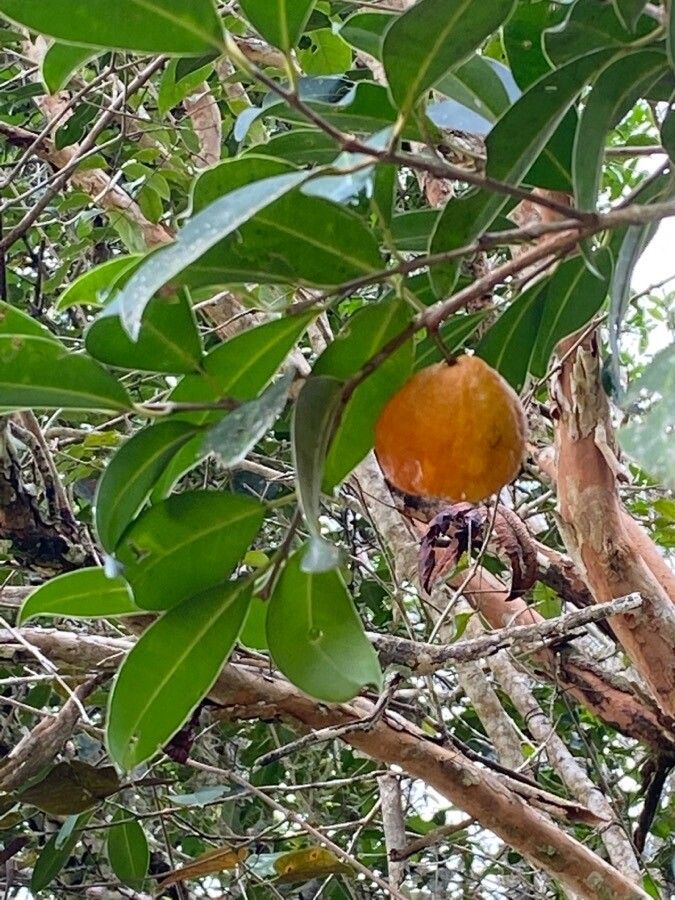
Oh, Eugenia dichroma! What a beauty. Those glossy, dark green leaves and that delightful flush of red on new growth – it’s a stunner in any garden. If you’ve ever admired this plant and wished you had more, or perhaps wanted to share its charm with a friend, you’re in luck! Propagating it is a wonderfully rewarding way to expand your collection. I’ve found it to be a relatively forgiving plant, a good one to get your propagation feet wet with.
The Best Time to Start
For Eugenia dichroma, the sweet spot for propagation is when the plant is actively growing. I find that late spring through early summer, as the new growth is tender but starting to firm up a bit, offers the best chance of success. This is when the plant has the most energy to put into forming new roots. Avoid trying this during the heat of deep summer or when the plant is stressed.
Supplies You’ll Need
Here’s what I always have on hand when I’m looking to make new Eugenia dichroma babies:
- Sharp Pruning Shears or a Knife: Cleanliness is key!
- Rooting Hormone (Powder or Gel): This is a game-changer.
- Well-Draining Potting Mix: A good blend of peat moss or coco coir, perlite, and a bit of compost works wonders. You can also buy specific “cutting mixes.”
- Small Pots or Propagation Trays: Clean ones, of course.
- Plastic Bags or a Propagator: To create a humid environment.
- Watering Can or Spray Bottle: For gentle watering.
- Labels and a Pen: Don’t forget to label what you planted and when!
Propagation Methods
The most reliable way I’ve found to propagate Eugenia dichroma is through stem cuttings. It’s straightforward and yields lovely results.
- Select Your Cuttings: Look for healthy, current-season growth. You want stems that are semi-hardwood – they shouldn’t be floppy and green, but also not fully woody and mature. Aim for pieces about 4-6 inches long.
- Make the Cut: Using your clean shears, make a clean cut just below a leaf node. This is where roots are most likely to form. Remove any lower leaves that would be submerged in soil or water.
- Apply Rooting Hormone: Dip the cut end into your rooting hormone, giving it a good coating. Tap off any excess.
- Pot Them Up: Fill your pots with moist, well-draining potting mix. Gently insert the hormone-coated end of the cutting into the soil, making sure at least one leaf node is buried. Firm the soil around the stem.
- Create Humidity: Water the soil gently. Then, I usually pop a clear plastic bag loosely over the pot, or place the pots in a propagator. This traps humidity, which is crucial for preventing the cuttings from drying out before they root. Make sure the leaves aren’t touching the plastic if possible.
- Provide Light and Warmth: Place your cuttings in a bright spot, but out of direct sunlight. A little warmth from the bottom can really speed things up, so if you have a heat mat, now’s the time to use it!
The “Secret Sauce” (Pro Tips)
Here are a couple of things I’ve learned over the years that really make a difference:
- Bottom Heat is Your Friend: As I mentioned, a gentle bottom heat source genuinely encourages root development. It mimics that lovely warm soil of springtime and gives the cuttings a real boost. You can find inexpensive seedlings mats online, or even just place pots on top of a warm appliance (but be careful!).
- Don’t Rush the Mist: While humidity is vital, don’t overwater. The idea is to keep the soil consistently moist, but not soggy. A light misting every day or two, or just checking the soil moisture, is usually sufficient. Soggy conditions are a fast track to rot.
Aftercare & Troubleshooting
Once your cuttings have successfully developed roots – you can gently tug on them and feel some resistance, or you might even see roots peeking out of the drainage holes – it’s time for a little more care.
Gradually acclimate them to normal conditions. Remove the plastic bag or propagator for increasingly longer periods over a week. Keep them in bright, indirect light and water them when the top inch of soil feels dry. You can start feeding them with a diluted liquid fertilizer once you see new growth appearing.
The signs of failure are usually pretty obvious. Wilting and yellowing leaves can indicate too little water or light. Blackening stems or mushy bases almost always point to rot, which is usually caused by overwatering and poor drainage. If you see rot, sadly, it’s best to discard the affected cutting to prevent it from spreading. Don’t get discouraged – it happens to all of us!
A Encouraging Closing
Propagating Eugenia dichroma is a journey, and like any good garden project, it requires a little patience and observation. Don’t be afraid to experiment! Every cutting is a chance to learn. Keep at it, enjoy the process of nurturing these little green lives, and soon you’ll have a whole legion of these lovely plants to enjoy. Happy propagating!
Resource:
https://identify.plantnet.org/k-world-flora/species/Eugenia%20dichroma%20O.Berg/data