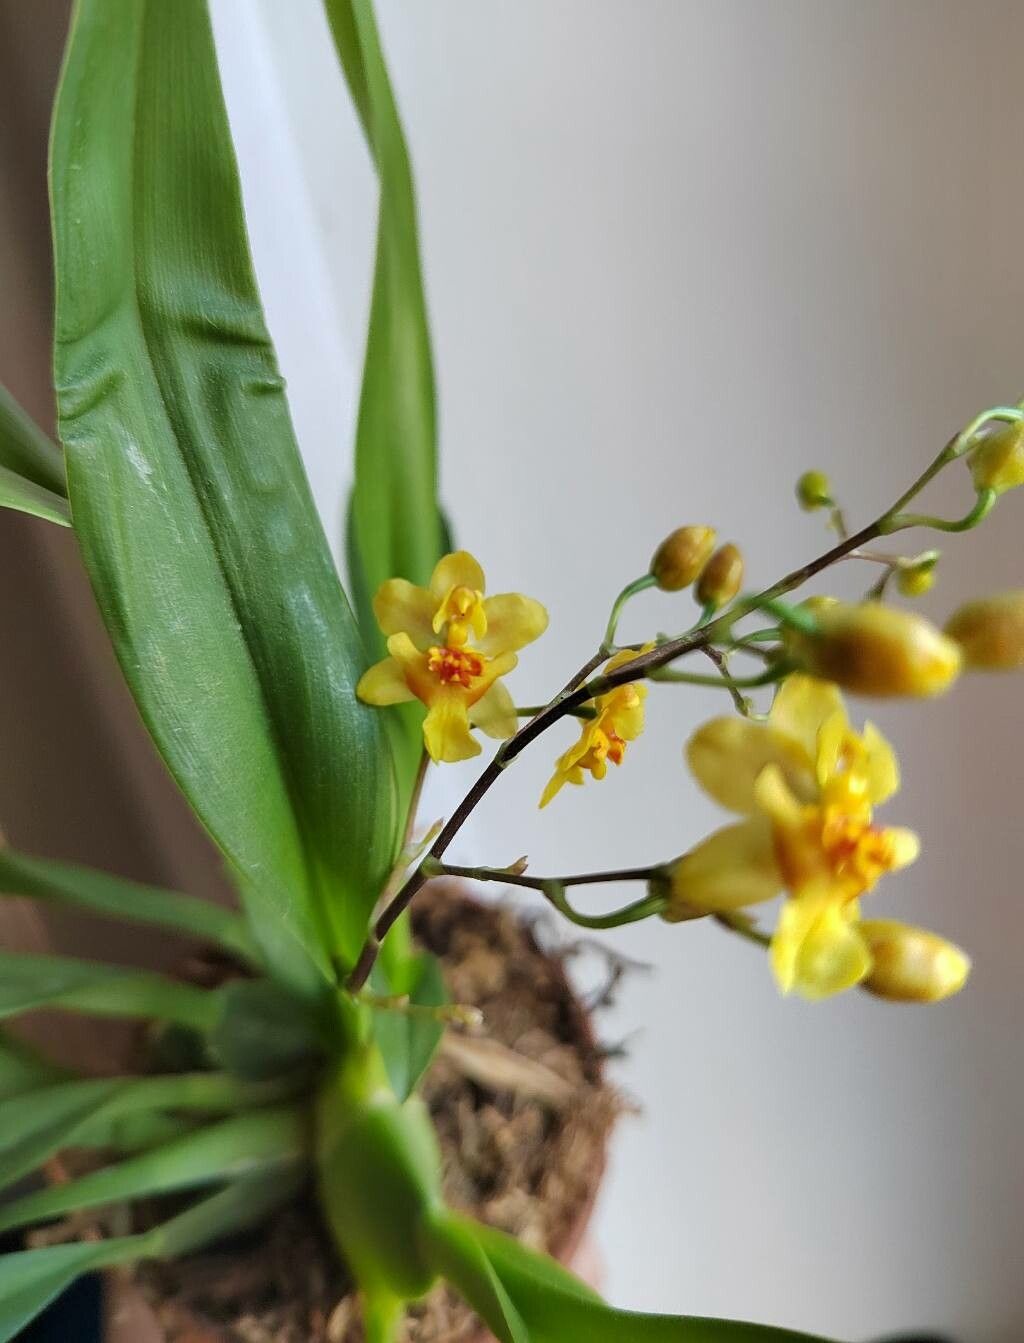
Hello there, fellow plant lovers! Today, I want to chat about a truly delightful orchid, Gomesa flexuosa. You know, the one with those charming, cascading yellow blooms that smell faintly sweet, like honey? It’s a real showstopper in the orchid world, and honestly, propagating it feels like unlocking a special kind of magic. Seeing a new little plant sprout from a piece of a parent is just incredibly rewarding. If you’re new to orchid propagation, Gomesa flexuosa can be a little bit of a learning curve, but with a few key tips, you’ll be well on your way.
The Best Time to Start
For Gomesa flexuosa, the golden window for propagation is generally after the plant has finished flowering and is entering its active growth phase. This is usually in the late spring or early summer. The plant has built up its energy stores, and it’s just itching to get growing again. Starting your cuttings or divisions then gives them the best chance to establish quickly before the cooler weather sets in.
Supplies You’ll Need
To get your propagation party started, gather these essentials:
- Sharp, sterile pruning shears or a clean knife: For making clean cuts.
- Orchid Potting Mix: A chunky, well-draining mix is crucial. Think bark, charcoal, and perlite.
- New Pots or Containers: Small ones, suitable for young orchid growths.
- Rooting Hormone (Optional, but helpful): A powder or gel can encourage root development.
- Spray Bottle: For maintaining humidity.
- Clear Plastic Bags or a Propagator: To create a humid environment for cuttings.
- Perlite or Sphagnum Moss: For covering the base of cuttings.
Propagation Methods
Gomesa flexuosa is primarily propagated by division. It typically forms new growths (called pseudobulbs) that are attached to the main plant.
Division:
- Assess Your Plant: Gently remove your Gomesa flexuosa from its pot. You’re looking for sections of the plant that have at least two or three mature pseudobulbs and some healthy-looking roots.
- Clean Up: Carefully remove as much of the old potting mix as you can. You want to see all the connections between the pseudobulbs and roots clearly.
- Make the Cut: Using your sterile pruning shears or knife, carefully separate the divisions. Try to make a clean cut between the sections, ensuring each piece has roots. It’s okay if a few tiny roots are damaged; the plant is resilient!
- Allow to Dry: This is a vital step to prevent rot. Let the cut surfaces of each division air dry for at least 24 hours, or until they form a callous. You can place them in a dry, airy spot.
- Potting Up: Prepare your new pots with fresh, well-draining orchid mix. Place each division in its own pot, making sure the roots are spread out and the base of the pseudobulbs are roughly at the surface of the mix. Don’t pack the mix too tightly; orchids like air around their roots.
The “Secret Sauce”
Here are a couple of little tricks I’ve picked up over the years:
- The “Sleeping Beauty” Trick: Sometimes, dividing a plant can shock it. If you notice a division looking a bit sad, don’t despair! I often find that tucking them into a slightly more humid environment, perhaps with a very loose plastic bag tent over the pot, can really encourage them to perk up and start rooting. Just ensure there’s still some airflow to prevent fungal issues.
- Patience with Water: When you first water a newly divided plant, don’t drench it. Just give the potting mix a gentle watering or misting. You want the roots to absorb moisture gradually. Overwatering is the quickest way to invite rot.
Aftercare & Troubleshooting
Once your divisions are potted up, place them in a location with bright, indirect light. Avoid direct sun, which can scorch their leaves. Water when the potting mix is almost dry, which will likely be less frequent than you water your established plants. You can mist the leaves occasionally to help maintain humidity, but ensure good air circulation to prevent disease.
The main thing to watch out for is rot. If you see pseudobulbs turning black and mushy, it’s a sign of too much moisture or poor air circulation. If this happens, try to remove the rotted portion with your sterile knife and allow the healthy part to dry out thoroughly. Sometimes, a badly rotted section is past saving, but don’t be discouraged!
A Final Encouraging Word
Propagating Gomesa flexuosa is a journey, not a race. Enjoy the process of nurturing these new plants. There will be successes, and there might be a few little hiccups along the way, but that’s all part of the learning curve. Be patient with your new divisions, and before you know it, you’ll have your very own little orchid family spreading joy. Happy growing!
Resource: