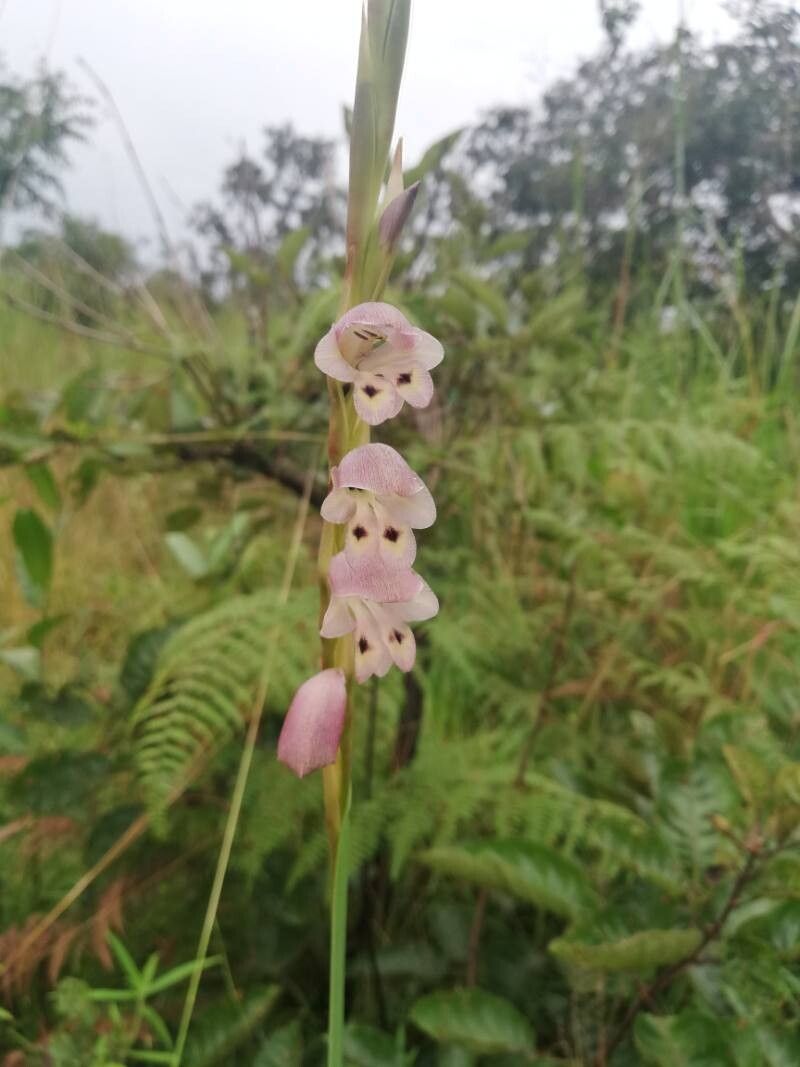
Oh, those gorgeous Gladiolus gregarius! They truly are a garden showstopper with their graceful spikes of vibrant blooms. I’ve spent countless happy hours admiring them, and let me tell you, sharing their beauty by propagating them yourself is incredibly rewarding. It’s like multiplying the joy! For beginners, I’d say Gladiolus gregarius are moderately easy to propagate. A little patience and following a few key steps will get you a long way.
The Best Time to Start
The absolute sweet spot for propagating Gladiolus gregarius is in late spring or early summer, just as the plant is finishing up its bloom cycle or starting to put on new growth. You want to catch them when they’re full of energy. Trying to take cuttings too early in the spring or too late in the fall can be a bit like asking a sleepy teenager to do chores – they’re just not quite ready!
Supplies You’ll Need
Gathering your tools beforehand makes the whole process so much smoother. Here’s what I like to have on hand:
- Sharp, clean pruning shears or a sharp knife: Essential for making clean cuts.
- Well-draining potting mix: A good blend of perlite, peat moss, and compost works wonders.
- Small pots or trays: Clean ones are key to preventing disease.
- Rooting hormone (optional but recommended): This really gives your cuttings a boost.
- Spray bottle: For keeping things lightly moist.
- Clear plastic bags or a propagation dome: To create a mini-greenhouse effect.
- Gloves (optional): Especially if you have sensitive skin.
Propagation Methods
For Gladiolus gregarius, I’ve found the division method to be the most reliable and straightforward. While stem cuttings are possible for some gladiolus, these beauties tend to do best by increasing their underground bulbs, or corms.
Division of Corms:
- Gently excavate: In late spring or early summer, carefully dig up your existing Gladiolus gregarius plant. The goal is to expose the corm without damaging it. Loosen the soil around the base with a trowel and then gently lift the whole clump.
- Locate the corms: You’ll see the main, larger corm and likely some smaller cormels (baby corms) attached or nestled around it. These cormels are what we want to separate.
- Carefully separate: Using your fingers or a clean, sharp knife, gently twist or cut the smaller cormels away from the parent corm. Make sure each cormel has at least one “eye” or bud on it. If a cormel looks underdeveloped or is just a husk, it’s best to leave it.
- Allow to air dry (briefly): Lay the separated cormels out on a dry surface in a well-ventilated area for a day or two. This helps any cut surfaces heal and reduces the risk of rot.
- Planting: Fill your clean pots with your well-draining potting mix. Plant each cormel about 2-3 inches deep, with the pointy end (where the eye is) facing up. Water gently.
The “Secret Sauce” (Pro Tips)
Alright, let’s talk about a couple of things that make a real difference, things you might not find in every guide:
- Don’t be afraid of a little dirt: When you’re separating cormels, a bit of the old soil clinging to them can actually be beneficial. It contains helpful microbes that can aid in the rooting process. Just ensure the cormels aren’t waterlogged.
- The magic of bottom heat (if you have it): If you’re serious about getting your cormels off to a strong start, placing your pots on a gentle seedling heat mat can significantly speed up germination and root development. It mimics that lovely warm soil feeling they crave.
Aftercare & Troubleshooting
Once your cormels are planted, keep them lightly moist but never soggy. Think of it like a wrung-out sponge – damp, but not dripping. Place the pots in a bright location, but avoid direct, scorching sun until they’ve started to sprout.
The most common sign of failure is rot. If you see soft, mushy spots on your cormels or a moldy appearance, it’s likely due to overwatering or poor drainage. Unfortunately, if rot sets in, it’s usually too late to save that particular cormel.
You should start to see tiny shoots emerge within a few weeks. Once your new plants have a few true leaves, you can treat them like any other young Gladiolus – continue to water them when the top inch of soil feels dry and provide plenty of sunlight. You can transplant them into larger pots or their final garden spot once they are a few inches tall.
A Encouraging Closing
Propagating Gladiolus gregarius is a journey, and like any good garden project, it’s about patience and observation. Don’t get discouraged if not every single attempt is a roaring success. Each year, you’ll learn a little more, and soon you’ll be surrounded by an abundance of these beauties. Enjoy the process, and happy gardening!
Resource:
https://identify.plantnet.org/k-world-flora/species/Gladiolus%20gregarius%20Welw.%20ex%20Baker/data