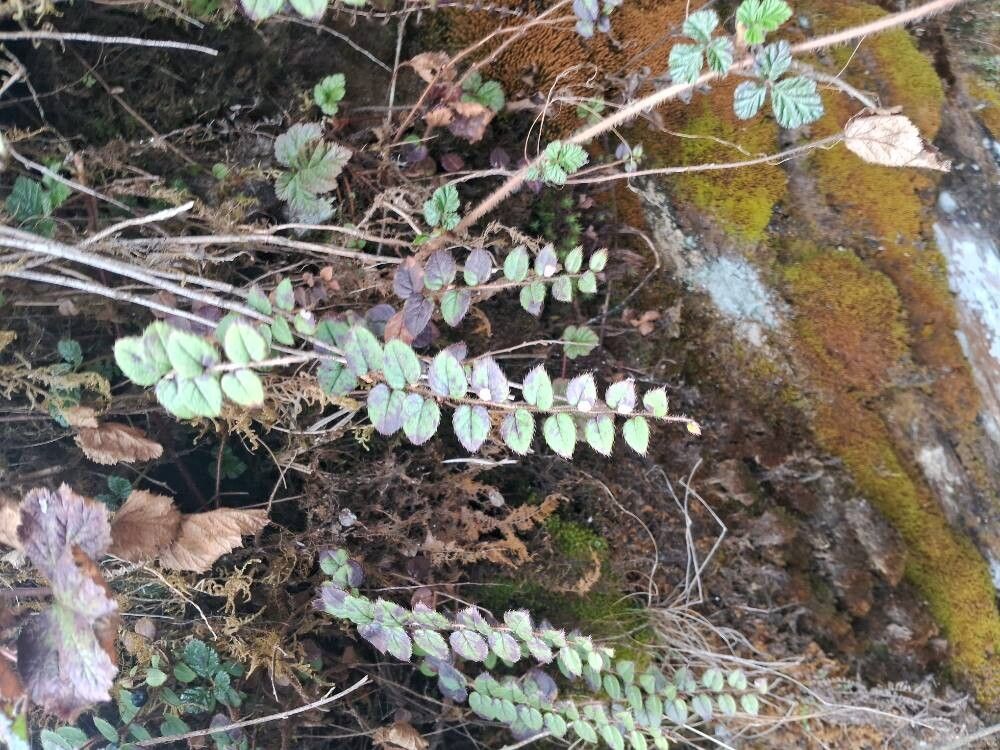
Hey there, fellow plant lovers! I’m so excited to chat with you today about a real gem in the garden: Gaultheria nummularioides. If you love low-growing, creeping evergreen groundcovers with charming little bell-shaped flowers and attractive foliage, then this one’s for you. It’s got this wonderfully wild, natural feel that’s hard to beat.
Propagating this beauty might sound a little technical, but trust me, it’s a surprisingly rewarding journey. You get to witness new life emerge right before your eyes, and before you know it, you’ve got more of these delightful plants to spread around your garden, or even share with friends. While it’s not something I’d call difficult, it does require a bit of patient observation. Let’s dig in!
The Best Time to Start
For the highest success rate with Gaultheria nummularioides, I always find the late spring to early summer to be the sweet spot. This is when the plant is actively growing, and the new, semi-hardwood stems have a good chance of rooting. Think of it as your plant bursting with life and ready to share it!
Supplies You’ll Need
Gathering your tools beforehand makes the whole process smoother. Here’s what I usually have on hand:
- Sharp, clean pruning shears or a sharp knife: Essential for making clean cuts.
- Rooting hormone (optional but recommended): A little boost never hurt anyone! Look for one with IBA.
- Small pots or seed trays: With good drainage holes, of course.
- Well-draining propagation mix: I often use a 50/50 mix of perlite and peat moss or coco coir. Some fine bark can also be great.
- Plastic bags or a propagator lid: To create a humid environment.
- Watering can with a fine rose: For gentle watering.
- Labels and a permanent marker: To keep track of what’s what!
Propagation Methods
Let’s talk about how to get those new Gaultheria nummularioides babies going. For this plant, stem cuttings are my go-to method.
- Take Your Cuttings: In late spring or early summer, select healthy, non-flowering stems. Use your sharp shears to cut pieces that are about 4-6 inches long. Try to cut just below a leaf node (where a leaf attaches to the stem) – this is where the magic of rooting often happens.
- Prepare the Cuttings: Gently remove the lower leaves from the bottom half of each cutting. This prevents them from rotting once they’re in the soil or water. You can leave the top few leaves to help photosynthesis.
- Apply Rooting Hormone (Optional): If you’re using rooting hormone, dip the cut end of each stem into the powder, tapping off any excess. If you’re using a liquid, follow the product’s instructions.
- Plant Your Cuttings: Fill your pots or trays with your propagation mix. Make a small hole with a pencil or your finger and gently insert the cuttings, making sure the leaf nodes you removed are below the soil surface. Firm the mix gently around the stems.
- Create Humidity: Water the mix gently. Then, cover the pots with a clear plastic bag or a propagator lid. This will help keep the humidity high, which is crucial for cuttings to root.
The “Secret Sauce” (Pro Tips)
Here are a few things I’ve learned over the years that can really boost your chances of success:
- Don’t Overcrowd: Give your cuttings some breathing room. If they’re packed too tightly, air circulation suffers, and that’s a recipe for fungal issues.
- Light and Warmth, Not Heat: Place your cuttings in a bright spot, but avoid direct, scorching sunlight. A warm windowsill is usually perfect. If your home is on the cooler side, a gentle bottom heat mat specifically designed for seedlings can work wonders, but it’s not strictly necessary for this plant.
- Observe, Observe, Observe: This is key! Keep an eye on the moisture level. The soil should stay consistently moist but not waterlogged – think of a wrung-out sponge.
Aftercare & Troubleshooting
Once your cuttings have found their footing (which can take anywhere from 4 to 8 weeks, sometimes longer!), you’ll start to see signs of new growth. This is when you know they’ve rooted!
- Gradual Acclimatization: When you see that lovely new foliage, you can gradually start to remove the plastic cover, giving the new plants a chance to adjust to less humid air. Do this over a few days.
- Potting Up: Once they have a good root system and a few sets of new leaves, it’s time to pot them up into individual, slightly larger pots with your regular potting mix.
- What to Watch For: The most common issue you might encounter is rot. If you see stems turning black and mushy, or if cuttings simply fail to root and wilt, it’s usually a sign of too much moisture and not enough air circulation. If you notice something amiss, it’s often best to discard the affected cutting to prevent it from spreading. Don’t be discouraged; just try again!
A Little Encouragement
Propagating plants is a lesson in patience and observation. Sometimes they take off, and sometimes they just don’t, and that’s perfectly okay. Don’t be afraid to experiment, learn from each attempt, and most importantly, enjoy the process of nurturing new life. Happy gardening!
Resource:
https://identify.plantnet.org/k-world-flora/species/Gaultheria%20nummularioides%20D.Don/data