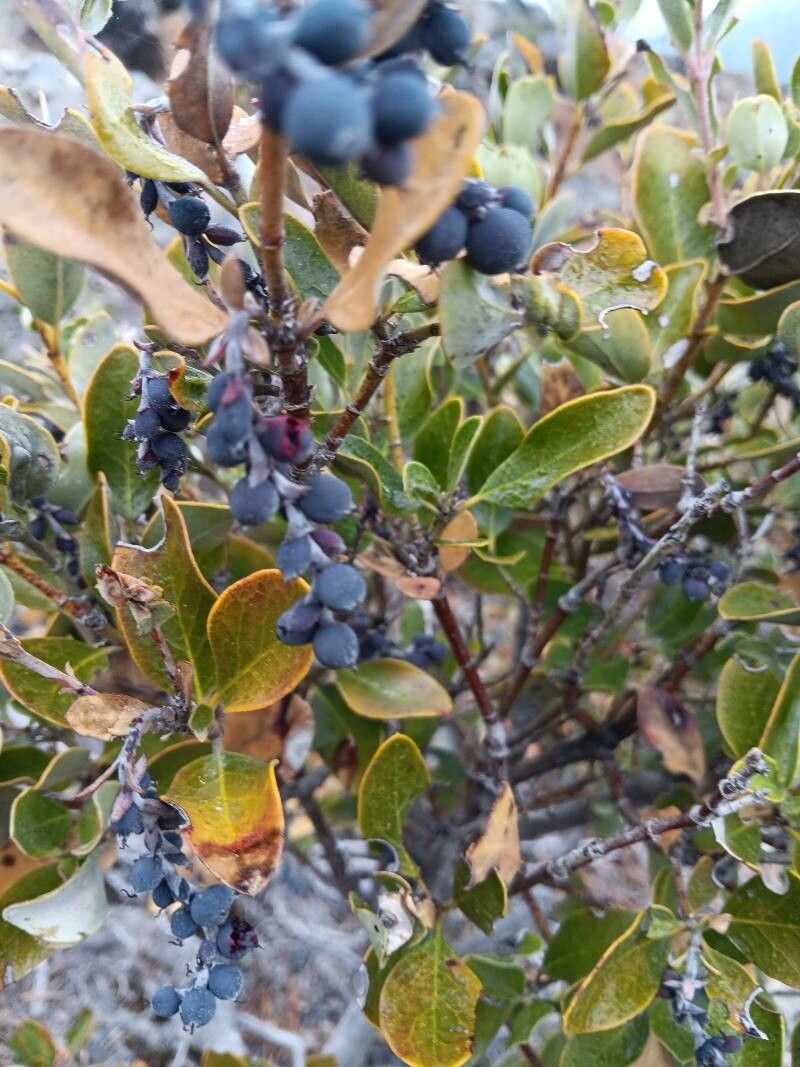
Oh, hello there! Come on in, let’s chat about propagation. Today, we’re diving into the wonderful world of Garrya ovata, or as some of us affectionately call it, the Coast Silktassel. This little gem is just lovely with its elegant, cascading catkins that bring a whisper of late winter or early spring beauty to the garden. If you’ve ever admired its graceful form and thought, “I wish I had more of those!” then you’re in the right place. Propagating Garrya ovata is a truly rewarding experience, and while it has a bit of a reputation for being a tad fussy, I promise, with a little care, it’s absolutely achievable, even for those of you who are just starting out on this green journey.
The Best Time to Start
My personal favorite time to get started with Garrya ovata is late spring to early summer. This is when the plant is actively growing, and the new shoots are strong and healthy, making them ideal candidates for cuttings. You’re looking for softwood or semi-hardwood cuttings – essentially, stems that are still flexible but have started to firm up a bit. Think of it like a pencil: not so soft it bends easily, but not so hard it snaps.
Supplies You’ll Need
Gathering your supplies beforehand makes the whole process so much smoother. Here’s what I always have on hand:
- Sharp Pruning Shears or a Knife: For clean cuts that heal faster. Sterilize them first, please!
- Rooting Hormone: A powder or gel specifically designed for cuttings. It really gives them a boost.
- Potting Mix: A well-draining blend is crucial. I often use a mix of perlite, peat moss, and a bit of compost, or a good quality seed starting mix.
- Small Pots or Trays: With drainage holes, of course!
- Plastic Bag or Humidity Dome: To create a mini-greenhouse effect.
- Watering Can with a Fine Rose: For gentle watering.
- Labels: So you don’t forget what you planted where!
Propagation Methods
Now, let’s get our hands dirty! For Garrya ovata, stem cuttings are generally the most successful and straightforward method.
Stem Cuttings:
- Take Your Cuttings: Select healthy, non-flowering shoots from your established plant. Using your sterilized shears, take cuttings that are about 4 to 6 inches long. Make your cut just below a leaf node (where a leaf attaches to the stem).
- Prepare the Cuttings: Gently remove the lower leaves from each cutting, leaving just a few at the top. This is important to prevent them from rotting in the soil. If you’re feeling fancy, you can even make a small slit on one side of the bottom inch of the stem to encourage more rooting.
- Apply Rooting Hormone: Dip the cut end of each stem into your rooting hormone, tapping off any excess.
- Plant Your Cuttings: Fill your pots or trays with your prepared well-draining potting mix. Make a small hole with your finger or a pencil and insert the prepared end of the cutting, ensuring the leaves are above the soil line. Firm the soil gently around the base.
- Water Gently: Give your cuttings a light watering to settle the soil.
- Create a Humid Environment: Cover the pots with a plastic bag or a humidity dome. If using a bag, you can stake it up so it doesn’t touch the leaves. Place the pots in a bright location, but out of direct sunlight.
The “Secret Sauce” (Pro Tips)
Here are a few little tricks I’ve picked up over the years that really make a difference:
- Bottom Heat is Your Friend: If you can, place your pots on a heating mat. This gentle warmth encourages root development from below, giving your cuttings a significant advantage. It’s like giving them a nice warm foot soak!
- Don’t Overwater! This is probably the biggest mistake new propagators make. The soil should be consistently moist but never soggy. Let the surface of the soil dry out slightly between waterings. Soggy soil is a recipe for rot.
- Patience is a Virtue (and a Necessity): Garrya ovata can be a bit slow to root. Don’t be tempted to pull them up after a few weeks to check. It can take anywhere from 6 weeks to a few months to see significant root growth. Resist the urge!
Aftercare & Troubleshooting
Once you start to see little signs of life – perhaps new leaf growth appearing at the top – it’s a good indicator that roots are forming. You can give a cutting a very gentle tug; if there’s resistance, roots have likely developed.
Gradually acclimate your rooted cuttings to normal conditions by removing the plastic bag or dome for increasing periods over a week or two. Continue to keep the soil moist and out of direct, harsh sunlight. Once they’re established, you can pot them up into slightly larger containers.
The most common problem you might encounter is rot. If your cuttings start to look mushy or discolored, it’s usually a sign of too much moisture. Unfortunately, if rot sets in, it’s difficult to save them. This is why that well-draining soil and careful watering are so vital.
A Little Something to Grow On
So there you have it! Propagating Garrya ovata might seem a bit daunting at first, but it’s a wonderfully satisfying process. Remember to be patient, keep things clean, and don’t be afraid to experiment. Each cutting is a little promise of future beauty for your garden, and the joy of watching something you’ve grown from a small piece of stem flourish is truly immeasurable. Happy propagating!
Resource:
https://identify.plantnet.org/k-world-flora/species/Garrya%20ovata%20Benth./data