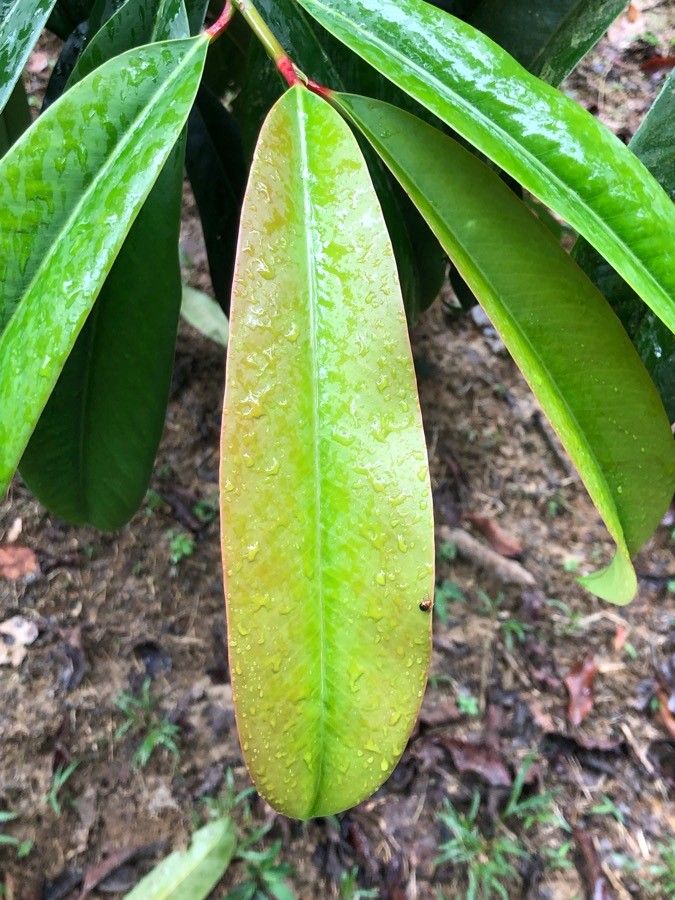
Oh, hello there! Come on in, grab a mug. Let’s chat about something I’m always excited to share: propagation. Today, we’re diving into the wonderful world of Garcinia atroviridis, or as it’s more commonly known, the Asam Gelugur or Asam Keping.
Why Grow Garcinia atroviridis?
This tropical beauty is more than just a pretty face. The fruit, a striking lime-green to yellow, ripens to a deep orange or reddish-brown and is used extensively in Southeast Asian cuisine for its sour, lemony flavor – think of it as a natural citrus enhancer! Plus, the tree itself can be quite ornamental. Sharing this plant with friends or family by propagating it yourself? That’s pure gardening joy. Now, is Garcinia atroviridis a walk in the park for absolute beginners? Honestly, it can be a bit of a challenge, but definitely rewarding once you get the hang of it! Don’t let that deter you; with a little patience and these tips, you’ll be well on your way.
The Best Time to Start
For the highest success rate, aim to propagate your Garcinia atroviridis during its active growing season, which is typically late spring through summer. This is when the plant has the most energy to produce new growth and heal from any disturbances. Look for brand-new shoots that are still somewhat flexible, not brittle wood.
Supplies You’ll Need
You don’t need a fancy greenhouse to get started, just a few essentials:
- Sharp Pruning Shears or a Serrated Knife: Cleanliness is key to prevent disease.
- Rooting Hormone: This is a must-have for stem cuttings. Look for one containing IBA (Indole-3-butyric acid).
- Well-Draining Potting Mix: A good blend of peat moss, perlite, and a little bit of sand works wonders. You want something that drains freely but still retains a bit of moisture.
- Small Pots or Seedling Trays: Preferably with drainage holes.
- Clear Plastic Bag or Humidity Dome: To create a humid environment around your cuttings.
- Optional: Heating Mat: This can significantly speed up root development.
Propagation Methods
While Garcinia atroviridis can be a bit stubborn, stem cuttings are generally the most successful method.
Stem Cuttings:
- Select Your Cuttings: From a healthy, mature plant, choose semi-hardwood cuttings that are about 6-8 inches long. These are shoots that have started to harden but are still a bit pliable. Pinch off any flowers or developing fruits.
- Prepare the Cuttings: Using your clean shears, make a clean cut just below a leaf node (where the leaves attach to the stem). Remove the leaves from the bottom half of the cutting. If the remaining leaves are very large, you can cut them in half horizontally to reduce water loss through transpiration.
- Apply Rooting Hormone: Dip the cut end of the stem into your rooting hormone powder or gel, ensuring it’s coated up to the lowest leaf node. Tap off any excess.
- Plant Your Cuttings: Gently insert the hormone-coated end into your prepared potting mix. Make sure the potting mix is slightly moist but not soggy. The cuttings should stand upright on their own.
- Create the Humid Environment: Water the potting mix lightly to settle it around the cuttings. Then, cover the pots or tray with a clear plastic bag or a humidity dome. You can use stakes to keep the plastic from touching the leaves.
- Provide Warmth and Light: Place the pots in a warm spot with bright, indirect light. If you have a heating mat, place the pots on it. This gentle bottom heat is a game-changer for root development.
The “Secret Sauce” (Pro Tips)
Here are a few things I’ve learned over the years that can make a real difference:
- Don’t Be Afraid to Experiment with Different Cutting Types: While semi-hardwood is usually best, I’ve had success with slightly softer new growth too, especially if they are consistently watered.
- Bottom Heat is Your Friend: I cannot stress this enough! A consistent temperature of around 70-75°F (21-24°C) at the root zone encourages faster and more robust root formation. It’s like giving your little cuttings a warm bath.
- Consider a “Wound”: For slightly tougher cuttings, I sometimes gently scrape a thin sliver of bark off one side of the base of the cutting (about 1 inch long). This “wound” can sometimes signal the plant to produce roots more readily at that spot when treated with rooting hormone. Do this very lightly and avoid damaging the wood underneath too much.
Aftercare & Troubleshooting
Once your cuttings are potted, the real waiting game begins. Keep the potting mix consistently moist but never waterlogged. The plastic cover should maintain high humidity.
Signs of Roots: After several weeks to a couple of months, you should see new leaf growth. This is a strong indicator that roots have formed. You can also gently tug on a cutting; if it resists, it likely has roots.
Troubleshooting: The most common problems are rot and drying out. If you see mold or mushy stems, it’s usually due to too much moisture and poor air circulation. In this case, remove the damp plastic cover, let things air out for a bit, and ensure your potting mix is draining well. If the leaves are wilting and the potting mix is dry, give it a gentle watering. Patience is key here!
Keep Planting, Keep Growing!
Propagating Garcinia atroviridis might take a little extra effort, but the satisfaction of nurturing a new plant from a cutting is incredibly rewarding. Don’t get discouraged if your first attempt isn’t a runaway success. Every gardener learns through practice. Enjoy the process, observe your cuttings, and soon you’ll be sharing your homegrown Asam Gelugur with pride. Happy planting!
Resource: