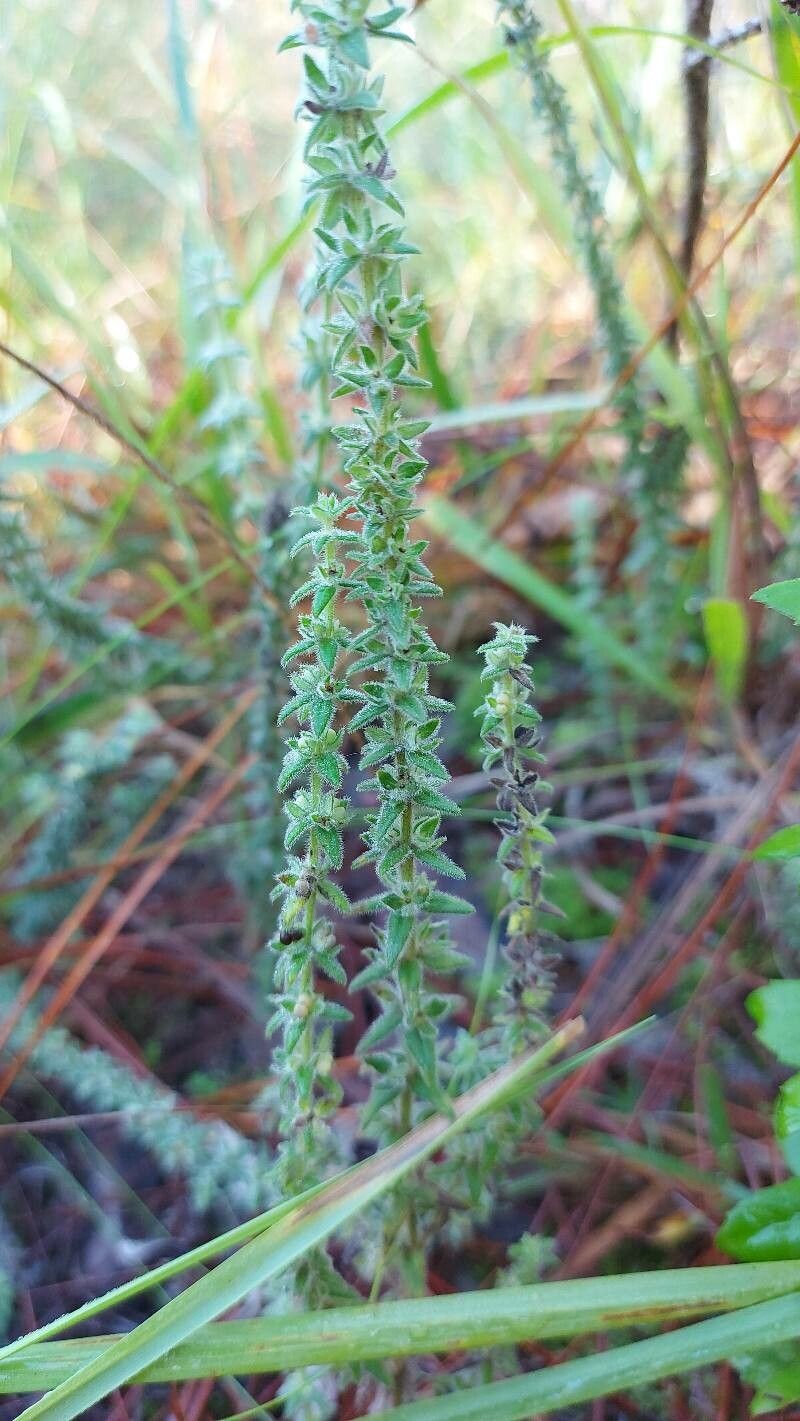
Oh, hello there, fellow plant lover! Pull up a chair, let’s chat about a little garden gem: Galium hirtum. You know, the sweet, delicate little plant that carpets your sunny spots with a froth of tiny white flowers? It’s just delightful, isn’t it? And the best part? You can easily multiply this charm for your own garden or to share with friends. Honestly, propagating Galium hirtum is a truly rewarding experience, even for those just dipping their toes into the world of plant parenthood. Don’t let any perceived complexity scare you; it’s genuinely a pretty straightforward process.
The Best Time to Start
For the highest success rate with Galium hirtum, I always recommend working with softwood cuttings taken in late spring or early summer. This is when the plant is actively growing and full of youthful vigor. You want stems that are bendy and green, not tough and woody. Waiting until this period gives your cuttings the best shot at developing strong roots before the season slows down.
Supplies You’ll Need
Here’s a little kit to get you started:
- Sharp, clean pruning shears or a sharp knife: Essential for making neat cuts.
- Pots or trays with drainage holes: Small to medium-sized ones work best.
- Well-draining potting mix: A good quality seed-starting mix or a blend of equal parts peat moss, perlite, and sand is perfect.
- Rooting hormone (optional but helpful): This can give your cuttings a little boost. Get one formulated for herbaceous cuttings.
- Clear plastic bag or propagation dome: To create a humid environment.
- Watering can or spray bottle: For gentle watering.
- Small labels or markers: So you don’t forget what you planted where!
Propagation Methods
Let’s get our hands dirty! The most effective way I’ve found to propagate Galium hirtum is through stem cuttings.
-
Gather Your Cuttings: In late spring or early summer, select healthy, non-flowering stems. Look for growth that is at least 4-6 inches long. Using your clean shears, make a clean cut just below a leaf node. A leaf node is where a leaf attaches to the stem. This is where the magic happens for root development.
-
Prepare the Cuttings: Gently remove the lower leaves from the stem, leaving just the top 2-3 sets of leaves intact. If the leaves are quite large, you can even trim them in half to reduce water loss. You should end up with several cuttings, each with a bit of bare stem at the bottom.
-
Apply Rooting Hormone (Optional): Dip the cut end of each stem into your rooting hormone, tapping off any excess. This step isn’t strictly necessary for Galium hirtum, as they’re quite amenable to rooting, but it can speed things up and increase your success rate, especially if you’re trying a larger batch.
-
Plant Your Cuttings: Fill your chosen pots or trays with your well-draining potting mix. Make small dibbles (holes) in the soil with a pencil or your finger. Gently insert the cut end of each Galium hirtum cutting into a dibble, ensuring the leaf nodes are buried in the soil. Firm the soil gently around the base of each cutting.
-
Create Humidity: Water the soil gently until it’s moist but not waterlogged. Then, cover the pots with a clear plastic bag or a propagation dome. This traps moisture and creates the humid environment your cuttings need to root. Insert a couple of skewers or sticks into the soil to keep the plastic from touching the leaves, which can cause rot.
The “Secret Sauce” (Pro Tips)
Here are a couple of little tricks I’ve picked up over the years that make a difference:
- Bottom Heat is Your Friend: If you have a seedling heat mat, placing your pots on it provides gentle warmth to the soil. This warmth encourages root formation much faster than ambient room temperature alone. It’s like giving your cuttings a cozy, encouraging environment to get their roots going.
- Don’t Overwater, Ever: This is a cardinal rule for any propagation. Excess moisture is the quickest way to invite damping off disease, which can wipe out your precious cuttings before they even have a chance. Aim for consistently moist, but never soggy, soil.
Aftercare & Troubleshooting
Once your cuttings have rooted – you’ll usually see new leaf growth and feel a gentle tug when you lightly pull on a stem – it’s time to transition them. Gradually acclimate your new plants to less humid conditions by lifting the plastic bag or dome for longer periods each day before removing it completely. Continue to water them carefully, allowing the soil surface to dry slightly between waterings.
The most common problem you’ll encounter is rot. If a cutting turns mushy, black, and falls apart, it’s usually a sign of too much moisture or inadequate drainage. Don’t be discouraged! Simply discard the rotted cutting and check your watering habits for the remaining ones. You might also see some yellowing leaves initially; this is often normal as the cutting directs its energy into root development.
A Encouraging Closing
And there you have it! Propagating Galium hirtum is such a joy. Be patient with this process. It might take a few weeks for those roots to establish themselves. Just keep an eye on them, offer gentle care, and you’ll soon have a whole new patch of these lovely little plants to enjoy. Happy gardening!
Resource:
https://identify.plantnet.org/k-world-flora/species/Galium%20hirtum%20Lam./data