Oh, hello there! Pull up a chair and let’s chat about one of my favorite little finds. You know, the garden is always full of surprises, and propagating plants is like unlocking their secrets. Today, we’re diving into the wonderful world of Fumaria gaillardotii.
Why Grow and Propagate Fumaria gaillardotii?
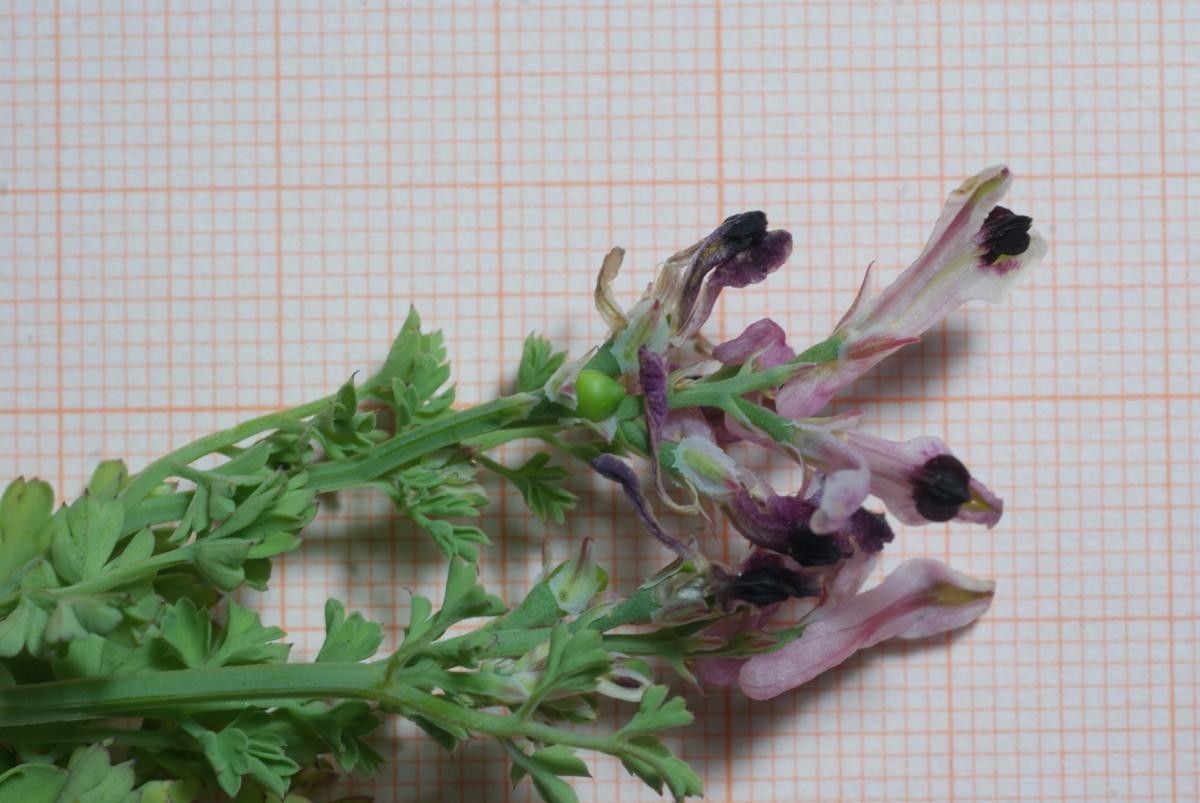
If you’re looking for a plant that brings delicate charm to your garden, Fumaria gaillardotii is a real gem. Its airy, finely cut foliage and pretty, ephemeral flowers create such a lovely, almost wispy effect amongst other plants. It’s one of those understated beauties that you’ll find yourself drawn to again and again.
Now, as for propagating it, I’d say Fumaria gaillardotii is moderately easy. It’s not quite as straightforward as a simple geranium cutting, but with a little attention and the right approach, you’ll be rewarded with plenty of new plants to share or expand your collection. It’s a wonderfully satisfying process, watching tiny roots emerge and a new life begin.
The Best Time to Start
For the highest success rate with Fumaria gaillardotii, I’ve found the late spring or early summer to be ideal. This is when the plant is actively growing and has plenty of good, healthy stem material to work with. You want to capture that youthful vigor! Trying to propagate from dormant material won’t usually yield the same enthusiastic results.
Supplies You’ll Need
Here’s what I always have on hand when I’m getting ready to propagate:
- Sharp pruning shears or a clean knife: For taking clean cuts.
- Small pots or seed trays: Cleanliness is key here!
- Well-draining potting mix: A good blend of peat moss, perlite, and a bit of compost works wonders. You can also buy specific cutting mixes.
- Rooting hormone (optional but recommended): This gives your cuttings a real boost.
- Watering can with a fine rose: For gentle watering.
- Plastic bag or propagation dome: To create a humid environment.
- Labels: So you don’t forget what you planted!
Propagation Methods
I primarily rely on stem cuttings for Fumaria gaillardotii. It’s reliable and gives you a good return.
-
Taking the Cuttings: The first step is to find healthy, non-flowering stems. Look for stems that are about 3-4 inches long. Using your clean shears or knife, make a clean cut just below a leaf node. A leaf node is where a leaf joins the stem – that’s where rooting hormones are concentrated. Remove the lower leaves, leaving just a few at the top.
-
Applying Rooting Hormone (Optional): If you’re using rooting hormone, dip the cut end of the stem into the powder, tapping off any excess. This step is like giving your cutting a little encouragement to get started.
-
Planting the Cuttings: Fill your clean pots or trays with your prepared potting mix. Gently insert the cut end of each stem into the mix, ensuring the lower leaf nodes are covered. You want the soil to be snug around the stem.
-
Creating a Humid Environment: Water the soil gently until it’s evenly moist. Then, cover the pots with a clear plastic bag or a propagation dome. This creates a mini-greenhouse effect, keeping the humidity high, which is crucial for cuttings to root. Make sure the leaves aren’t touching the plastic if possible to prevent rot. Pop the pots in a bright spot, but out of direct, scorching sunlight.
The “Secret Sauce” (Pro Tips)
Here are a couple of things I’ve learned over the years that can make a real difference:
- Bottom Heat is Your Friend: If you can, place your pots on a gentle heating mat. This provides warmth from below, which encourages root development much faster than relying on ambient air temperature alone. It’s not strictly necessary, but it’s a game-changer.
- Don’t Overwater! This is a big one. While your cuttings need moisture, soggy soil is the fastest way to invite rot. Water when the top inch of soil feels dry to the touch, and ensure your pots have good drainage. I prefer to err on the side of slightly too dry than too wet.
Aftercare & Troubleshooting
Once your cuttings have successfully rooted – you’ll know because you’ll see new growth and feel a gentle tug when you very cautiously try to lift a cutting – it’s time to transition them. Gradually remove the plastic cover over a few days to acclimate them to normal humidity. Continue to water them when the soil starts to dry out. Once they’ve developed a good root system, you can transplant them into individual small pots.
The most common issue you might encounter is rot. If you see stems turning mushy and black, it’s usually a sign of too much moisture and not enough air circulation. Unfortunately, once rot sets in, it’s hard to save the cutting. This is why paying attention to watering and humidity is so important. Another sign of trouble could be a wilting cutting that doesn’t perk up after watering, suggesting the roots haven’t formed.
Enjoy the Journey!
Propagating Fumaria gaillardotii is such a rewarding way to grow your garden. Be patient, my friend. Sometimes it takes a few weeks, sometimes a bit longer. Don’t get discouraged if not every cutting takes. The joy is in the process, the learning, and the wonderful feeling of nurturing new life. Happy gardening!
Resource:
https://identify.plantnet.org/k-world-flora/species/Fumaria%20gaillardotii%20Boiss./data