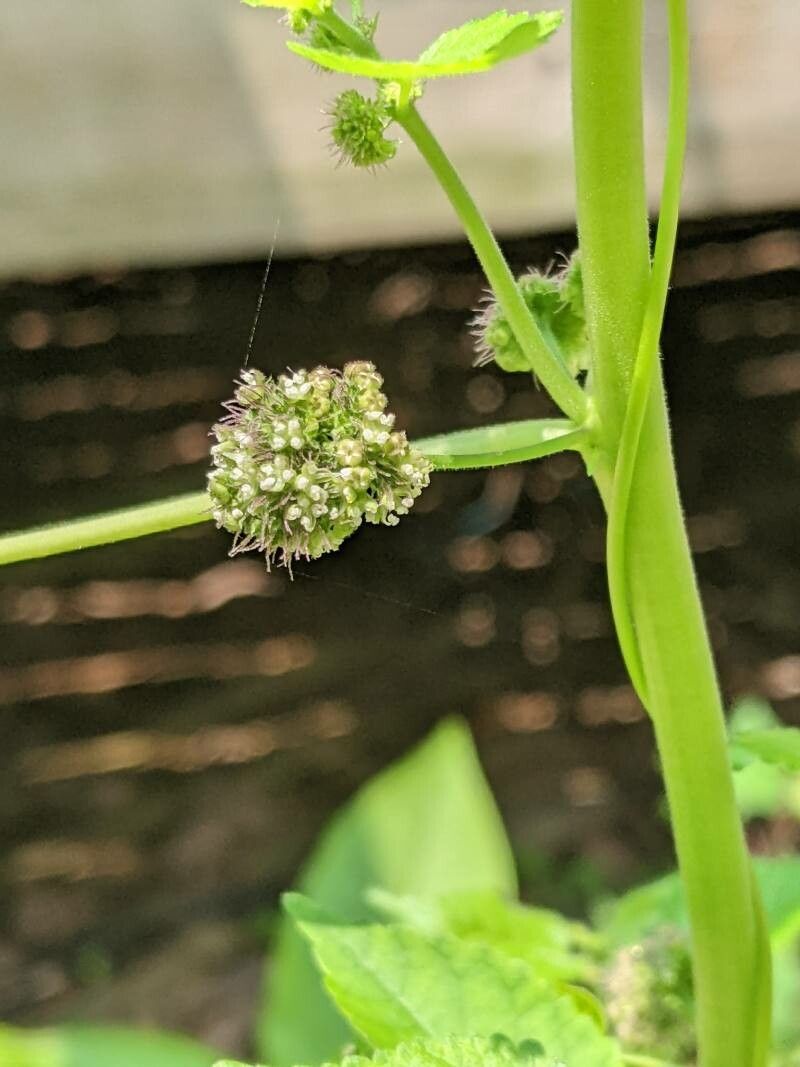
Oh, hello there! Grab yourself a mug, and let’s chat about a truly delightful plant: Fatoua villosa. You might know it by its common name, the hairy fig. It’s a charmer, with its fuzzy, textured leaves and a graceful, somewhat wild habit that just begs to be admired. If you’re looking to fill out your indoor jungle or share a bit of green with friends, propagating this little beauty is incredibly rewarding. And the best part? It’s a pretty forgiving plant, which makes it a fantastic choice, even if you’re just starting your propagation adventure.
The Best Time to Start
For Fatoua villosa, the sweet spot is usually late spring or early summer. This is when the plant is in its most active growth phase. New growth is generally more eager to root, and the warmer temperatures provide that cozy environment for success. You can try later in the season, but you might find things a bit slower going.
Supplies You’ll Need
Here’s what I like to have on hand:
- Sterile potting mix: A good blend for houseplants, often with perlite for drainage.
- Small pots or trays: Clean ones are key to preventing disease.
- Sharp pruning shears or a clean knife: For taking cuttings cleanly.
- Rooting hormone (optional but helpful): A powder or gel really gives cuttings a boost.
- Plastic bag or clear dome: To create a mini-greenhouse effect.
- Watering can or spray bottle: For gentle watering.
Propagation Methods: Let’s Get Our Hands Dirty!
The most straightforward way to multiply your Fatoua villosa is through stem cuttings. Here’s how:
- Find a healthy stem: Look for a piece of new growth that’s about 4-6 inches long. Ideally, it should have a few sets of leaves.
- Make a clean cut: Using your sharp shears or knife, make a cut just below a leaf node. This is where roots are most likely to form. Remove any lower leaves that might end up submerged in soil or water.
- Apply rooting hormone (if using): Dip the cut end into your rooting hormone, tapping off any excess.
- Plant your cutting: Stick the cut end about an inch deep into your prepared potting mix. Gently firm the soil around it.
- Water gently: Moisten the soil thoroughly, but don’t drench it. We don’t want soggy roots right from the start.
- Create humidity: Cover the pot loosely with a plastic bag or a clear dome. This is crucial for keeping the cutting from drying out while it’s trying to grow roots.
You can also try water propagation, though I find stem cuttings in soil often have stronger root systems. If you do opt for water:
- Take your cutting as described above, removing lower leaves.
- Place the cutting in a clean jar or glass of water, ensuring no leaves are submerged. This is a biggie – leaves in water will rot and can take your cutting down with them.
- Change the water every few days to keep it fresh and oxygenated.
- Once you see good root development (an inch or two long), you can carefully transplant it into soil.
The “Secret Sauce” (Pro Tips)
Now, a couple of things I’ve learned over the years that can really make a difference:
- Don’t be afraid to take a bit of the older stem: Sometimes, a cutting with a tiny sliver of the older, woodier stem attached can root more vigorously than pure new growth from the very tip. It’s a bit of a gamble, but often pays off.
- Bottom heat is your friend: If you have a heat mat designed for seedlings or cuttings, placing your pots on top of it can speed up root formation significantly. It mimics that lovely warmth that encourages growth. Just make sure the soil isn’t drying out too quickly if you use a heat mat.
Aftercare & Troubleshooting
Once you start seeing new leaf growth, that’s a good sign roots are forming! You can gently tug on the cutting to feel for resistance – that means it’s anchored. Gradually acclimate your new plant to drier air by opening the plastic bag a little more each day over a week or so.
The most common issue you’ll face is rot. If your cutting turns mushy and black, or the leaves go limp and brown very quickly, it’s usually a sign of too much moisture and not enough air circulation. If you see this, try to take a healthy section of the stem and start again, ensuring your soil drains well and you’re not overwatering. Yellowing leaves can sometimes mean it needs a bit more light, but usually, it’s a sign of stress. Be patient!
A Little Encouragement
Propagating plants is all about patience and observation. Don’t get discouraged if every cutting doesn’t make it. Each attempt is a learning experience. Enjoy the process, watch your little cuttings grow, and soon you’ll have more of these fuzzy figs to enjoy and share. Happy propagating!
Resource:
https://identify.plantnet.org/k-world-flora/species/Fatoua%20villosa%20(Thunb.)%20Nakai/data