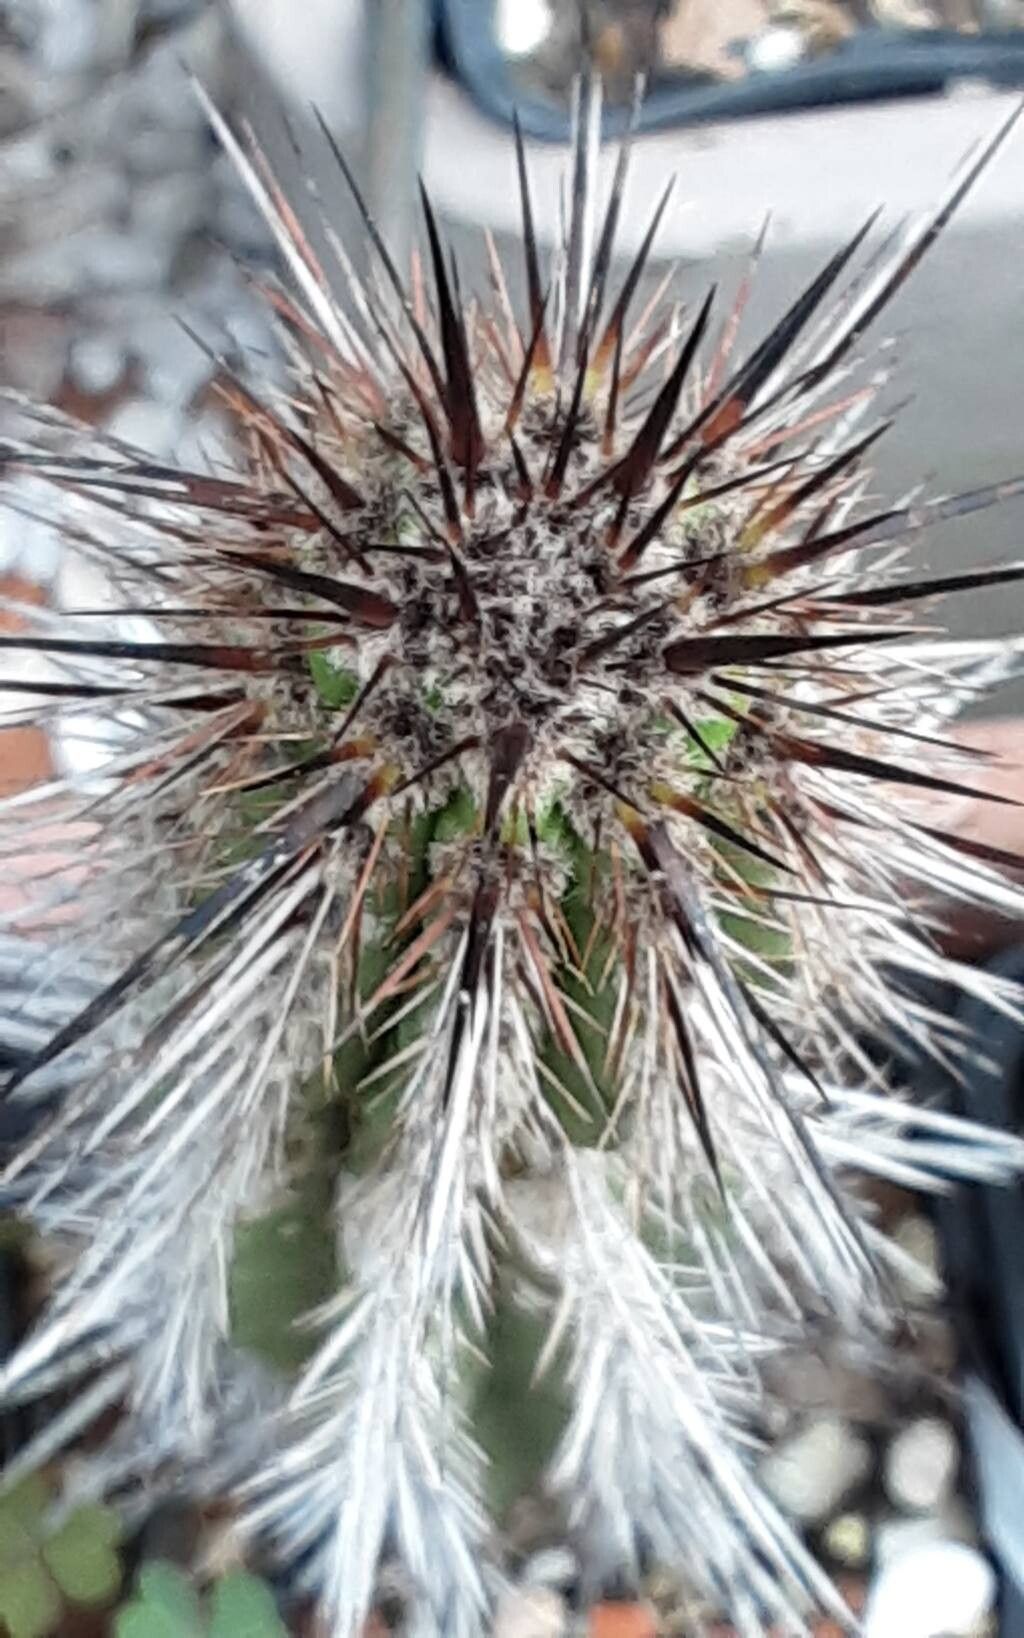
Hello fellow plant lovers! It’s so good to have you here. Today, we’re diving into the wonderful world of propagating Eulychnia taltalensis, a truly unique cactus that’s been capturing my heart for years. Its columnar form and striking, often silvery-blue spination make it a real statement piece in any collection. And the best part? Sharing this beauty is incredibly rewarding. I’ll be honest, Eulychnia taltalensis isn’t the absolute easiest plant for a complete beginner to propagate, but with a little patience and these tips, you’ll be well on your way to success.
The Best Time to Start
Timing is everything in the garden, and that’s certainly true for our Eulychnia friend. The ideal time to take cuttings is during its active growing season, which typically falls between late spring and early summer. This is when the plant has the most energy to put into root development. You want to select stems that are firm and healthy, not soft or spindly.
Supplies You’ll Need
Having your tools ready makes the whole process smoother. Here’s what I recommend having on hand:
- Sharp, clean pruning shears or a sharp knife. Sterilize them with rubbing alcohol before and between cuts.
- A well-draining soil mix. I like a blend of cactus/succulent soil mixed with perlite or pumice for excellent drainage. About a 50/50 ratio usually works wonders.
- Rooting hormone (optional but highly recommended). This can give your cuttings a real head start.
- Small pots or trays with drainage holes.
- A spray bottle for gentle misting.
- Gloves – those spines can be prickly!
- A clear plastic bag or propagate box to create a humid environment.
Propagation Methods
While you can technically try to grow them from seed, taking stem cuttings is by far the most common and reliable method for home gardeners.
Stem Cuttings:
- Select your cutting: Choose a healthy, mature stem section that is at least 4-6 inches long. Avoid any sections that look damaged or diseased.
- Make the cut: Using your clean shears or knife, make a clean cut just above a joint or where a smaller branch meets the main stem. This is where new roots are most likely to form.
- Callus over: This is a crucial step for cacti. You need to let the cut end dry and form a callus. This prevents rot when you plant it. Place your cutting in a dry, well-ventilated spot out of direct sunlight for at least 3-7 days, sometimes longer for thicker stems. You’ll see a dry, paper-like layer form over the cut.
- Apply rooting hormone (optional): Once callused, dip the cut end into rooting hormone powder, tapping off any excess.
- Plant the cutting: Fill your small pot with your well-draining soil mix. Make a hole in the center with your finger or a pencil. Gently insert the callused end of the cutting into the hole, ensuring it’s deep enough to stand upright but not so deep that young roots will struggle to emerge.
- Don’t water immediately: Resist the urge to water right away! Wait a few days after planting to allow the cut end to further acclimate to the soil.
- Water sparingly: When you do water, water deeply but allow the soil to dry out completely between waterings. The soil should be barely moist.
- Create humidity: Place the pot inside a clear plastic bag or propagator, ensuring the bag doesn’t touch the cactus. You can prop it up with a stake if needed. This will create a humid microclimate. Open the bag for a few minutes daily to allow for air circulation and to prevent fungal issues.
The “Secret Sauce” (Pro Tips)
Here are a couple of things I’ve learned over the years that really make a difference:
- Bottom heat is your friend: Cacti roots love warmth. Placing your pots on a gentle heating mat designed for propagation can significantly speed up root development. Just make sure it’s not too hot – you don’t want to cook your cutting!
- Watch for the “wiggle test”: After several weeks to a couple of months, you can gently tug on your cutting. If there’s resistance, congratulations! You have roots. Don’t pull too hard; you just want a slight give.
- Don’t over-mist: While humidity is good, letting the stem itself stay constantly wet can encourage rot. Aim to mist the air around the cutting or very lightly mist the soil surface when it’s completely dry.
Aftercare & Troubleshooting
Once your cutting shows signs of rooting, you can gradually acclimate it to slightly drier conditions and increase light exposure. Continue to water only when the soil is thoroughly dry.
The most common issue you’ll encounter is rot. If you see your cutting turning mushy, brown, or black, it’s usually a sign of too much moisture or inadequate callusing. If it’s caught early, you might be able to cut away the rotted section and try again, ensuring better drying time next time. Another sign of failure is no new growth or roots after many months – this could mean the cutting wasn’t viable or conditions weren’t right. Don’t be discouraged; gardening is often a process of trial and error!
A Encouraging Closing
Propagating Eulychnia taltalensis is a journey, and each cutting is a little experiment. Be patient with yourself and the process. Enjoy the satisfaction of watching new life emerge from a piece of your own plant. Happy propagating!
Resource: