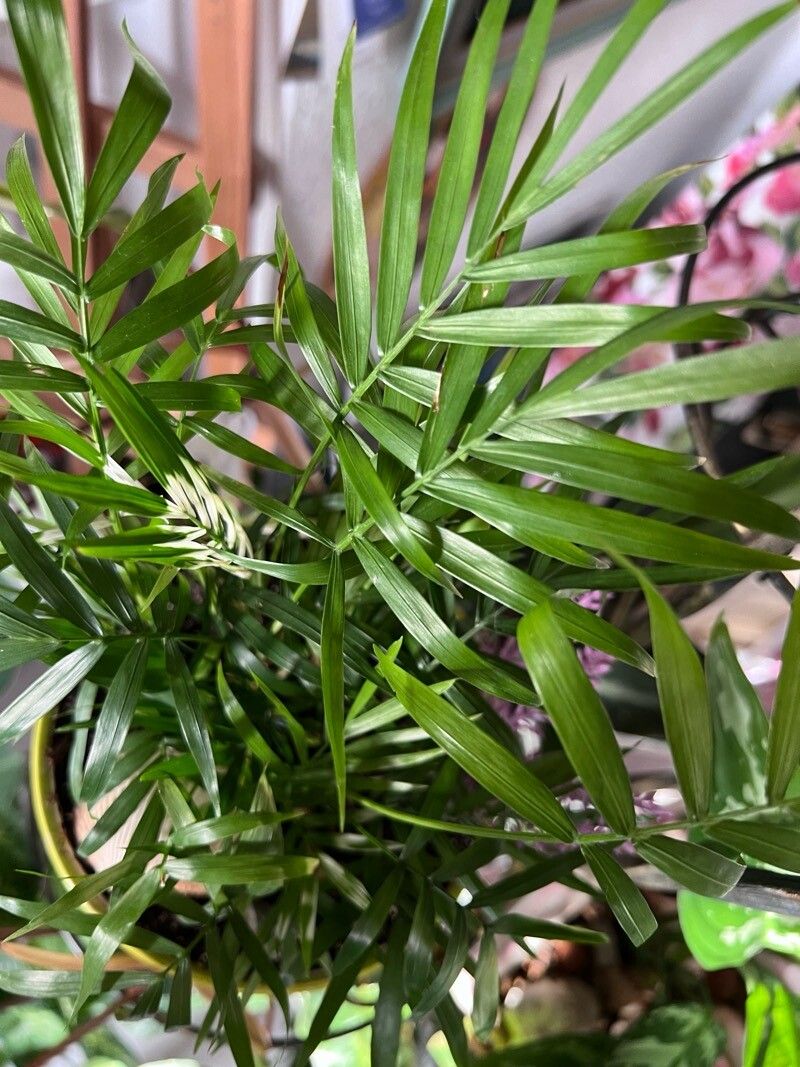
Hello there, my fellow plant lovers! It’s wonderful to have you join me today. We’re diving into the charming world of Chamaedorea elegans, often called the parlour palm. You know, that elegant, graceful palm that brings a touch of the tropics right into our homes? It’s not just beautiful; it’s a relatively easy-going companion that thrives in many indoor spaces. And for me, there’s a special kind of joy in creating new life from an existing plant. Propagating them is a truly rewarding experience, and I’m excited to share how you can do it too. Don’t worry, this isn’t a daunting task at all; even if you’re just starting out, this is a great plant to practice with!
The Best Time to Start
So, when is the magical moment to get propagating? For Chamaedorea elegans, spring and early summer are your best bets. This is when the plant is actively growing, meaning it has the energy reserves and the natural urge to produce new roots and shoots. I usually wait until after the plant has had a good flush of growth in the warmer months. You’ll notice new fronds unfurling – that’s a sign your plant is feeling robust and ready to share!
Supplies You’ll Need
Gathering your tools beforehand makes the whole process much smoother. Here’s what I recommend having on hand:
- Sharp Pruning Shears or a Clean Knife: For making clean cuts. Sterilize them with rubbing alcohol before and after use to prevent disease.
- Potting Mix: A well-draining mix is crucial. I use a blend of peat moss, perlite, and a bit of coarse sand for my parlour palms. You can also buy a good quality houseplant mix and amend it with extra perlite.
- Small Pots or Seed Trays: Whatever you have that will house your new cuttings. Make sure they have drainage holes!
- Rooting Hormone (Optional but Recommended): This is particularly helpful for stem cuttings. It’s not strictly necessary for division, but it can give those cuttings a boost.
- Watering Can or Mister: For keeping things consistently moist.
- Clear Plastic Bag or Humidity Dome: To create a mini greenhouse effect.
Propagation Methods
Chamaedorea elegans is best propagated through division or, if you’re feeling adventurous, by stem cuttings. Let’s look at how we can do this.
Division: The Most Reliable Method
This is hands down the easiest and most successful way to propagate your parlour palm. You’re essentially separating pups or offsets that have naturally grown from the base of the parent plant.
- Gently Remove the Plant from its Pot: Carefully tip the pot on its side and coax the plant out. Avoid yanking it, as you don’t want to damage the root system.
- Inspect the Root Ball: Look for smaller plants, or ‘pups’, growing alongside the main stem. You’ll see they have their own root systems.
- Separate the Pups: With your fingers or a clean knife, carefully separate each pup from the mother plant, trying to keep as much of its root system intact as possible. Don’t be afraid if a few roots break; the plant is resilient!
- Pot Up the New Plants: Fill your small pots with your prepared potting mix. Plant each pup, burying the roots and ensuring the plant is stable.
- Water Gently: Water thoroughly, allowing excess water to drain away.
Stem Cuttings: A Little More Patience Required
This method involves taking cuttings from the main stem. It’s a bit trickier with parlour palms as they don’t readily sprout from just any part of the stem, but with the right conditions, it’s possible!
- Identify a Healthy Stem: Look for a mature, healthy stem on your plant that has at least one healthy frond.
- Make a Clean Cut: Using your sterilized shears or knife, cut a section of stem about 4-6 inches long. Aim to include at least one node (where a leaf emerges from the stem) and a couple of healthy fronds.
- Prepare the Cutting: Remove any lower leaves that would be submerged in water or soil. This prevents rot.
- Option 1: Water Propagation: Place the cutting in a jar filled with clean water. Ensure the node is submerged, but do not let any leaves touch the water. Place the jar in bright, indirect light. Change the water regularly (every few days) to keep it fresh. You should see roots begin to form in a few weeks.
- Option 2: Soil Propagation: If you prefer to go straight to soil, dip the cut end of the stem into rooting hormone. Then, plant the cutting about an inch or two deep in your well-draining potting mix.
- Create a Humid Environment: Whichever method you choose, cover the pot or jar with a clear plastic bag or a humidity dome. This is crucial for cuttings, as they lose moisture through their leaves until they can establish roots. Place it in a warm spot with bright, indirect light.
The “Secret Sauce” (Pro Tips)
Okay, time for a few little tricks I’ve picked up along the way that can make a big difference:
- Don’t Over-Pot New Pups: When dividing, it’s tempting to put them straight into large pots. Resist this urge! Small plants get stressed in too much soil. Use small pots that barely fit their root ball. They’ll grow out of them soon enough.
- Bottom Heat is Your Friend (for Cuttings): If you’re propagating stem cuttings and want to speed things up, a gentle heat mat placed under the pot can work wonders. It mimics the warmth of spring and encourages root development. Just a gentle warmth, mind you!
- Observe, Don’t Fiddle: I know it’s hard, especially when you’re excited to see roots, but try to resist the urge to constantly pull up cuttings to check for roots. You’ll damage those delicate new growths. Trust the process!
Aftercare & Troubleshooting
Once your pup has developed a decent root system (you’ll see new growth appearing on the top!), or your cutting has rooted and is showing signs of life, it’s time to transition to its permanent pot.
- Gradual Acclimation: If you used a plastic bag, gradually acclimate your new plant to lower humidity over a week or two by opening the bag for longer periods each day.
- Watering: Water your new plant when the top inch of soil feels dry. Avoid overwatering, as this is the fastest way to a sad, rotted root system.
- Light: Continue to provide bright, indirect light. Direct sun will scorch those young leaves.
Common Signs of Trouble:
- Yellowing Leaves: This can simply be transplant shock, or it could indicate overwatering or underwatering. Assess your watering habits.
- Wilting or Drooping: Again, often a sign of watering issues. If the soil is dry, water it. If it’s soggy, you may have root rot setting in.
- Rotting Stems or Leaves: This is the dreaded rot! It’s usually caused by too much moisture and poor air circulation. If you see this, quickly remove the affected parts with a clean knife and try to improve drainage and airflow. For cuttings, removing rotten parts and replanting in fresh, dry medium (and ensuring better airflow next time) is your best bet.
A Little Patience Goes a Long Way
And there you have it! Propagating Chamaedorea elegans is a wonderfully rewarding endeavor. Remember, nature takes its time, so be patient with your new green babies. Enjoy watching them grow and thrive. This journey of creating new life is truly one of the greatest joys of gardening. Happy propagating!
Resource:
https://identify.plantnet.org/k-world-flora/species/Chamaedorea%20elegans%20Mart./data