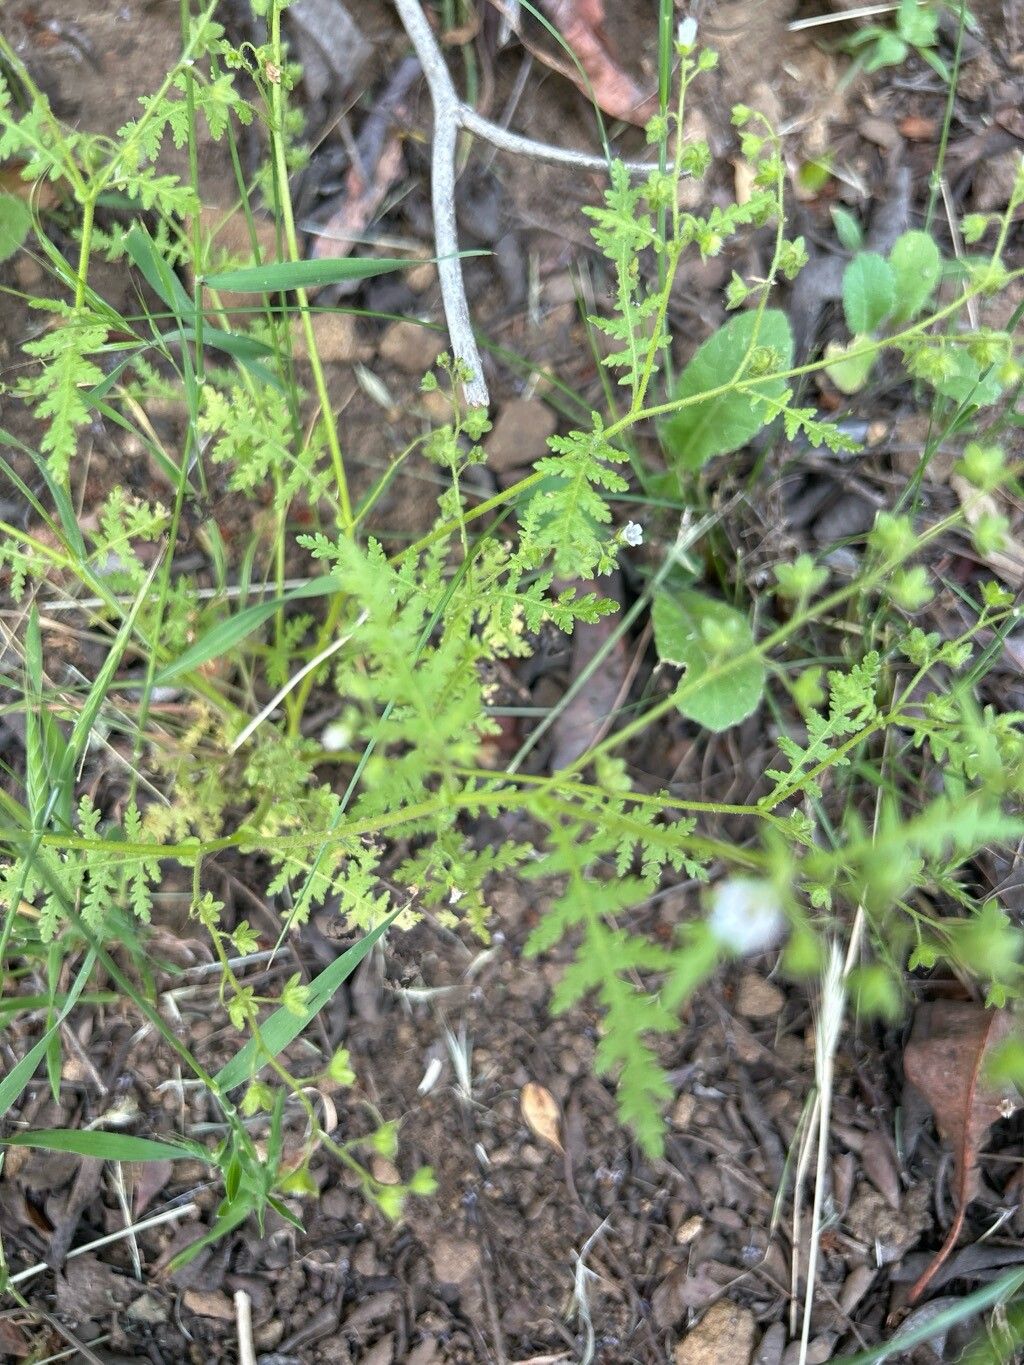
Oh, hello there! Come on in, grab a mug of your favorite brew. Today, we’re going to chat about a real gem for the garden: Eucrypta chrysanthemifolia. You know, the one with those beautiful, daisy-like flowers that just seem to glow. I’ve had this plant gracing my garden for years, and every time I see those cheerful blooms, it just makes my heart sing.
If you’re looking for a plant that brings a lovely splash of color and has a subtle, sweet fragrance, Eucrypta chrysanthemifolia is a wonderful choice. And the best part? It’s surprisingly rewarding to propagate! For the most part, I’d say it’s moderately easy, making it a satisfying project for keen beginners and seasoned gardeners alike. The thrill of nurturing something from a tiny cutting or division into a flourishing plant is a feeling that never gets old.
The Best Time to Start
When it comes to getting the most bang for your buck, so to speak, late spring to early summer is your golden window. That’s when the plant is actively growing, and new shoots are full of vigor. Starting your propagation efforts during this period means your cuttings or divisions will have plenty of time to establish themselves before the cooler weather rolls in.
Supplies You’ll Need
Gathering your supplies beforehand makes the whole process so much smoother. Here’s what I usually have on hand:
- Sharp, clean pruning shears or a knife: This is crucial for making clean cuts to avoid damaging the plant. Sterilize them with rubbing alcohol between plants!
- Rooting hormone (optional but recommended): A little dip in rooting hormone can really boost your success rate, especially for trickier cuttings.
- A good quality seed-starting mix or a blend of peat moss and perlite: You want something that drains well but still holds a bit of moisture.
- Small pots or trays with drainage holes: Clean pots are a must to prevent disease.
- A spray bottle: For gently misting your cuttings.
- Clear plastic bags or a propagator lid: To create a humid environment.
Propagation Methods
There are a couple of ways you can propagate Eucrypta chrysanthemifolia, and both are pretty effective.
1. Stem Cuttings: The Classic Approach
This is my go-to method and usually yields fantastic results.
- Select your cuttings: Look for healthy, non-flowering stems that are about 4-6 inches long. Make your cut just below a leaf node – that little bump where a leaf grows from the stem. This is where the magic happens and roots tend to form.
- Prepare the cuttings: Gently remove the lower leaves, leaving just a couple at the very top. This prevents them from rotting in the soil and encourages the plant to focus its energy on root development.
- Dip in rooting hormone (optional): If you’re using rooting hormone, dip the cut end of the stem into the powder, tapping off any excess.
- Plant your cuttings: Fill your small pots with your chosen soil mix. Make a little hole with your finger or a pencil and insert the cutting, ensuring the leaf nodes are below the soil line. Gently firm the soil around the base.
- Water and cover: Water the soil gently until it’s evenly moist. Then, cover the pot with a clear plastic bag or place it inside a propagator, securing the lid. This creates a mini-greenhouse effect, keeping the humidity high.
2. Division: For Established Plants
If you have a mature, well-established clump of Eucrypta chrysanthemifolia, division is a great way to get new plants and also invigorate the parent plant.
- Tease apart the root ball: Gently dig up the plant. You can either carefully pull clumps apart with your hands or use a clean trowel to help you. Ideally, each division should have some healthy roots and a few shoots.
- Replant immediately: Plant your divisions into their new spots in the garden or into pots filled with good soil. Water them well.
The “Secret Sauce” (Pro Tips)
Over the years, a few little tricks have saved me a lot of frustration and boosted my propagation success.
- Don’t let the leaves touch the water (if water propagating): While I mainly use soil for Eucrypta chrysanthemifolia, if you ever try water propagation for other plants, remember that submerged leaves are a one-way ticket to rot. Always keep them above the water line.
- Bottom heat is your friend: For stem cuttings, a little warmth from below can significantly speed up root formation. A heat mat designed for propagating plants is perfect for this. Just place your pots on top of it.
- Patience is key with soil moisture: It’s a fine line. You want the soil to be consistently moist but never waterlogged. Too dry, and your cuttings will wither. Too wet, and they’ll rot. I like to check the soil moisture by gently poking my finger about an inch deep.
Aftercare & Troubleshooting
Once you start to see new growth or feel a gentle tug when you lightly pull on a cutting (that’s a good sign of roots!), it’s time to gradually acclimate your new plant.
- Introduce to fresh air: If your cuttings are under plastic, start by opening the bag or propagator lid for a few hours each day, gradually increasing the time over a week.
- Light and water: Place your new plants in a bright spot but avoid direct, scorching sun for the first few weeks. Water them when the top inch of soil feels dry to the touch.
- Common issues: The biggest culprit for failure is usually rot, often caused by overwatering or poor drainage. If you see your cuttings turning mushy and black at the base, it’s likely rot. Unfortunately, there’s usually no coming back from that, so it’s a learning experience to adjust your watering and soil mix for next time. Wilting can also happen if the cuttings dry out too much, so keep an eye on that moisture level.
A Little Encouragement to Finish
Propagating Eucrypta chrysanthemifolia is such a lovely way to fill your garden with these delightful blooms and share them with friends. Don’t be discouraged if your first attempt isn’t perfect. Every gardener has their learning curve! Just enjoy the process, observe your plants, and celebrate every tiny success. Happy gardening!
Resource: