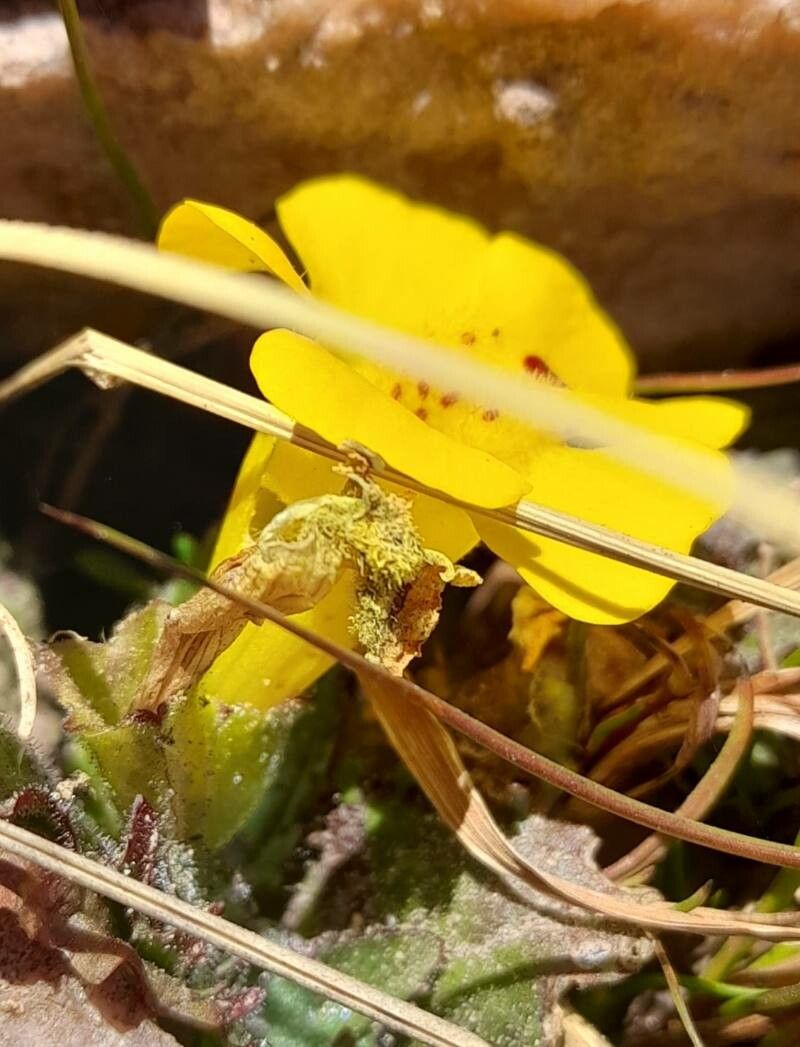
Hello, fellow plant lovers! Today, we’re diving into the delightful world of Erythranthe depressa, a little groundcover with a lot of charm. If you’ve ever admired its delicate blooms and creeping habit spilling over the edges of pots or a garden bed, you’re in for a treat. Propagating Erythranthe depressa is a wonderful way to share its beauty and expand your own green collection.
While some plants can be a bit persnickety, Erythranthe depressa is generally quite forgiving. I’ve found it to be a good choice for those new to propagation, offering a satisfying sense of accomplishment without too much fuss.
The Best Time to Start
For the highest success rate, I like to start my propagation efforts in late spring or early summer. This is when the plant is actively growing and has plenty of energy to put into developing new roots. You’ll be working with fresh, healthy growth, which always makes the process smoother.
Supplies You’ll Need
Before we get our hands dirty, let’s gather our tools and materials. Having everything ready makes the whole experience much more enjoyable:
- Sharp pruning shears or a clean knife: For making precise cuts.
- A well-draining potting mix: I like to use a blend of equal parts perlite, coco coir, and a general-purpose potting soil. This gives great aeration and moisture retention.
- Small pots or trays: Clean ones are key to preventing disease.
- Rooting hormone (optional but recommended): A powder or gel can give your cuttings an extra boost.
- A watering can with a fine rose or a spray bottle: For gentle watering.
- A clear plastic bag or a propagation dome: To create a humid environment.
Propagation Methods
Erythranthe depressa is wonderfully versatile, and I’ve had great luck with a couple of methods.
Stem Cuttings: My Go-To Method
This is my favorite way to multiply Erythranthe depressa. It’s straightforward and incredibly effective.
- Find a healthy stem: Look for a stem that’s about 3-4 inches long and has at least a few sets of leaves. Avoid stems that are very woody or have any signs of stress.
- Make clean cuts: Using your sharp shears or knife, make a cut just below a leaf node (where a leaf attaches to the stem). This is where roots are most likely to form.
- Prepare the cutting: Gently remove the lower leaves from the cutting, leaving just one or two sets at the top. This prevents them from rotting once planted.
- Apply rooting hormone (optional): If you’re using rooting hormone, dip the bottom inch of the cutting into it, tapping off any excess.
- Plant your cuttings: Gently insert the cuttings into your prepared potting mix, making sure the leaf nodes are buried. They should stand upright.
- Water gently: Lightly water the soil to settle it around the cuttings.
- Create humidity: Cover the pot or tray with a clear plastic bag or propagation dome. This traps moisture and creates the perfect humid environment for roots to develop.
- Place in bright, indirect light: Find a warm spot that gets plenty of bright, indirect sunlight. Avoid direct sun, which can scorch your delicate cuttings.
Division: For Established Plants
If you have a more mature, well-established clump of Erythranthe depressa, you can also propagate it through division.
- Gently remove the plant from its pot or garden bed: Be careful not to disturb the root ball too much.
- Inspect the root system: You’ll likely see multiple crowns or sections.
- Gently pull or cut the plant apart: Using your hands or a clean knife, carefully separate the clump into smaller sections, ensuring each section has roots and some foliage.
- Repot or replant: Plant each divided section into its own pot or back into the garden, watering well.
The “Secret Sauce” (Pro Tips)
Over the years, I’ve picked up a few tricks that seem to make all the difference.
- My absolute favorite tip for stem cuttings is to use bottom heat. Placing your pots on a gentle heating mat designed for plants can significantly speed up root formation. It mimics the warmth of spring soil and gives those little roots a serious nudge.
- When you first plant your cuttings, I honestly find that less is more with watering. You want the soil to be consistently moist, but not soggy. Overwatering is one of the quickest ways to invite rot, and we definitely don’t want that!
- For stem cuttings submerged in water (my less preferred but still viable method), always make sure no leaves are touching the water. Submerged leaves will turn brown and rot, which can spread down to the stem and kill your cutting before it even has a chance to root.
Aftercare & Troubleshooting
Once you start seeing new growth or feel a gentle tug when you lightly wiggle the cutting, it’s a good sign that roots have formed!
- Gradually acclimate: Once roots are established, slowly remove the plastic bag or dome over a week or so. This helps the new plant get used to drier air.
- Water regularly: Continue to water when the top inch of soil feels dry.
- Transition to a larger pot: When your new plant has grown a bit more, you can move it to a slightly larger pot with fresh potting mix.
Now, what if things don’t go as planned? The most common issue I see is root rot. This usually manifests as a mushy, brown stem at the soil line, and the cutting will likely wilt and die. If you see this, it’s best to discard the affected cutting and try again, ensuring better drainage and less frequent watering. Sometimes, cuttings just fail to root – it happens to the best of us! Don’t get discouraged; it’s all part of the learning process.
A Rewarding Journey
Propagating Erythranthe depressa is a truly rewarding experience. It’s a chance to connect with nature on a deeper level, to nurture new life, and to share the beauty of these charming plants. Be patient, enjoy the process, and soon you’ll have a whole little garden of your own Erythranthe depressa to admire! Happy propagating!
Resource: