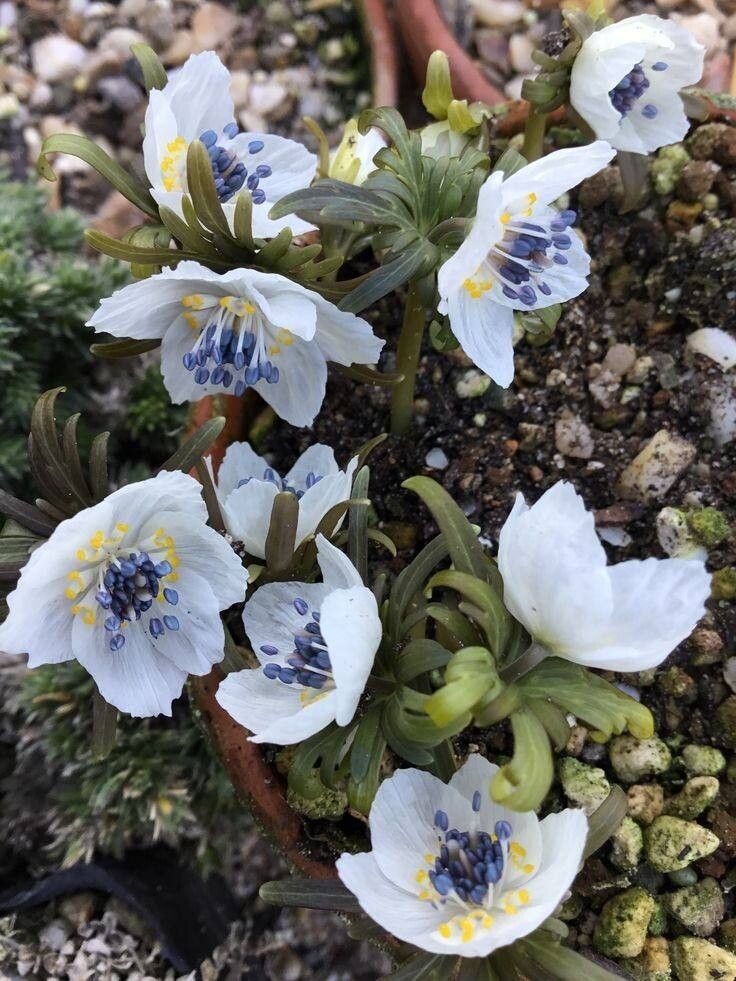
Oh, hello there! Pull up a chair and let’s talk about one of my absolute favorite spring treasures: Eranthis pinnatifida, or as I affectionately call it, the elegant winter aconite. If you’ve ever seen these little golden beauties popping up through the still-chilly soil, you know their charm. They’re like tiny sunbeams, bringing such cheer when the garden is just waking up.
And oh, the joy of multiplying them! It feels like magic, doesn’t it? Turning one plant into a whole constellation of cheerful blooms. Now, some plants can be a bit fussy about propagation, but I’m happy to tell you that Eranthis pinnatifida is generally a rewarding choice, even for those dipping their toes into the world of plant multiplication for the first time.
The Best Time to Start
For Eranthis pinnatifida, timing is everything. The absolute best time to try your hand at propagating is immediately after flowering, once the foliage begins to yellow and die back. This is when the plant is storing energy in its roots for the next season, and they’re easier to handle without damaging the delicate new growth. Avoid disturbing them when they’re actively growing or in full bloom; you’ll just stress them out.
Supplies You’ll Need
Ready to get our hands dirty (in the best way possible)? Here’s what you’ll want to have on hand:
- A clean trowel or small spade for gently lifting the plant.
- Sharp, clean secateurs or pruning shears for any necessary trimming.
- A well-draining potting mix. I like a blend of peat-free compost, perlite, and a little sharp sand. This ensures good aeration and prevents soggy roots.
- Small pots or trays for your divisions. Make sure they have drainage holes!
- Watering can with a fine rose for gentle watering.
- Newspaper or a flat surface to place your lifted clumps on.
Propagation Methods: Division is Key!
With Eranthis pinnatifida, the primary method we’ll focus on is division. These delightful little plants form small clumps of tubers, and that’s precisely what we want to separate.
- Gently Unearth: Once the foliage has died back, carefully dig into the soil around your existing Eranthis pinnatifida clump. Use your trowel to lift the entire plant, including the soil around its base. Be gentle! We don’t want to break those precious tubers.
- Shake Off Excess Soil: Gently knock away the loose soil, revealing the interconnected tubers. You might need to use your fingers to tease away more stubborn bits.
- Identify Natural Breaks: Look closely at the clump of tubers. You’ll often see natural divisions, where clusters of tubers are clearly separated. You want to divide these clumps into smaller sections.
- Make Your Cuts: Using your clean secateurs, carefully cut the clump into smaller divisions. Each division should have at least one healthy, plump tuber and any attached roots. Don’t overthink it too much; if they separate easily with your fingers, that’s even better! Avoid cutting through the tubers themselves if possible.
- Pot Up Your Divisions: Prepare your new pots with your well-draining mix. Make a small hole in the center and place one division in each pot, ensuring the tuber is just below the surface of the soil.
- Water Gently: Water thoroughly but gently. We want the soil to be moist, but not waterlogged.
The “Secret Sauce” (Pro Tips)
Alright, let’s dive into some little tricks I’ve learned over the years that can really give your Eranthis a boost.
- Don’t let them dry out at all after division. Once you’ve divided and potted them up, these newly separated tubers are quite vulnerable. Keep them consistently moist during their dormant period. I often place pots in a tray of water for a short while to ensure the soil is evenly hydrated.
- Think about where they’ll be happiest. Eranthis pinnatifida loves part shade and moist, but well-drained soil. When you’re replanting your divisions (either in pots or directly into the garden), choose a spot that mimics their natural preference. Too much sun and they’ll struggle, too wet and they’ll rot.
- Consider “potting up” in place for a year. If you’re nervous about transplanting them directly into the garden, you can pot up your divisions and keep them in a cool, sheltered spot over the summer. This gives them time to establish without competition. Then, you can plant them out in the autumn as a small, robust plant.
Aftercare & Troubleshooting
Once your divisions are potted, keep them in a cool, sheltered location, out of direct sunlight. Continue to water them regularly to keep the soil consistently moist, but not soggy. For the first year, you’ll mainly be encouraging root development.
The most common issue you might encounter is rot. This happens if the soil stays too wet for too long. If you notice your division looking limp and mushy, or if there’s an unpleasant smell, it’s likely rot. Sadly, there’s not much to be done once rot sets in. It’s a good reminder to always prioritize that good drainage! If a division doesn’t seem to be doing anything after a few weeks, don’t despair. Sometimes they take their time. Just keep an eye on moisture levels.
A Little Patience Goes a Long Way
So there you have it! Propagating Eranthis pinnatifida is a wonderfully accessible way to expand your collection of these cheerful spring flowers. It takes a bit of care and observation, but the rewards are so worth it. Be patient with your new plants, enjoy the process, and before you know it, you’ll have a whole carpet of sunshine to brighten your garden. Happy growing!
Resource:
https://identify.plantnet.org/k-world-flora/species/Eranthis%20pinnatifida%20Maxim./data