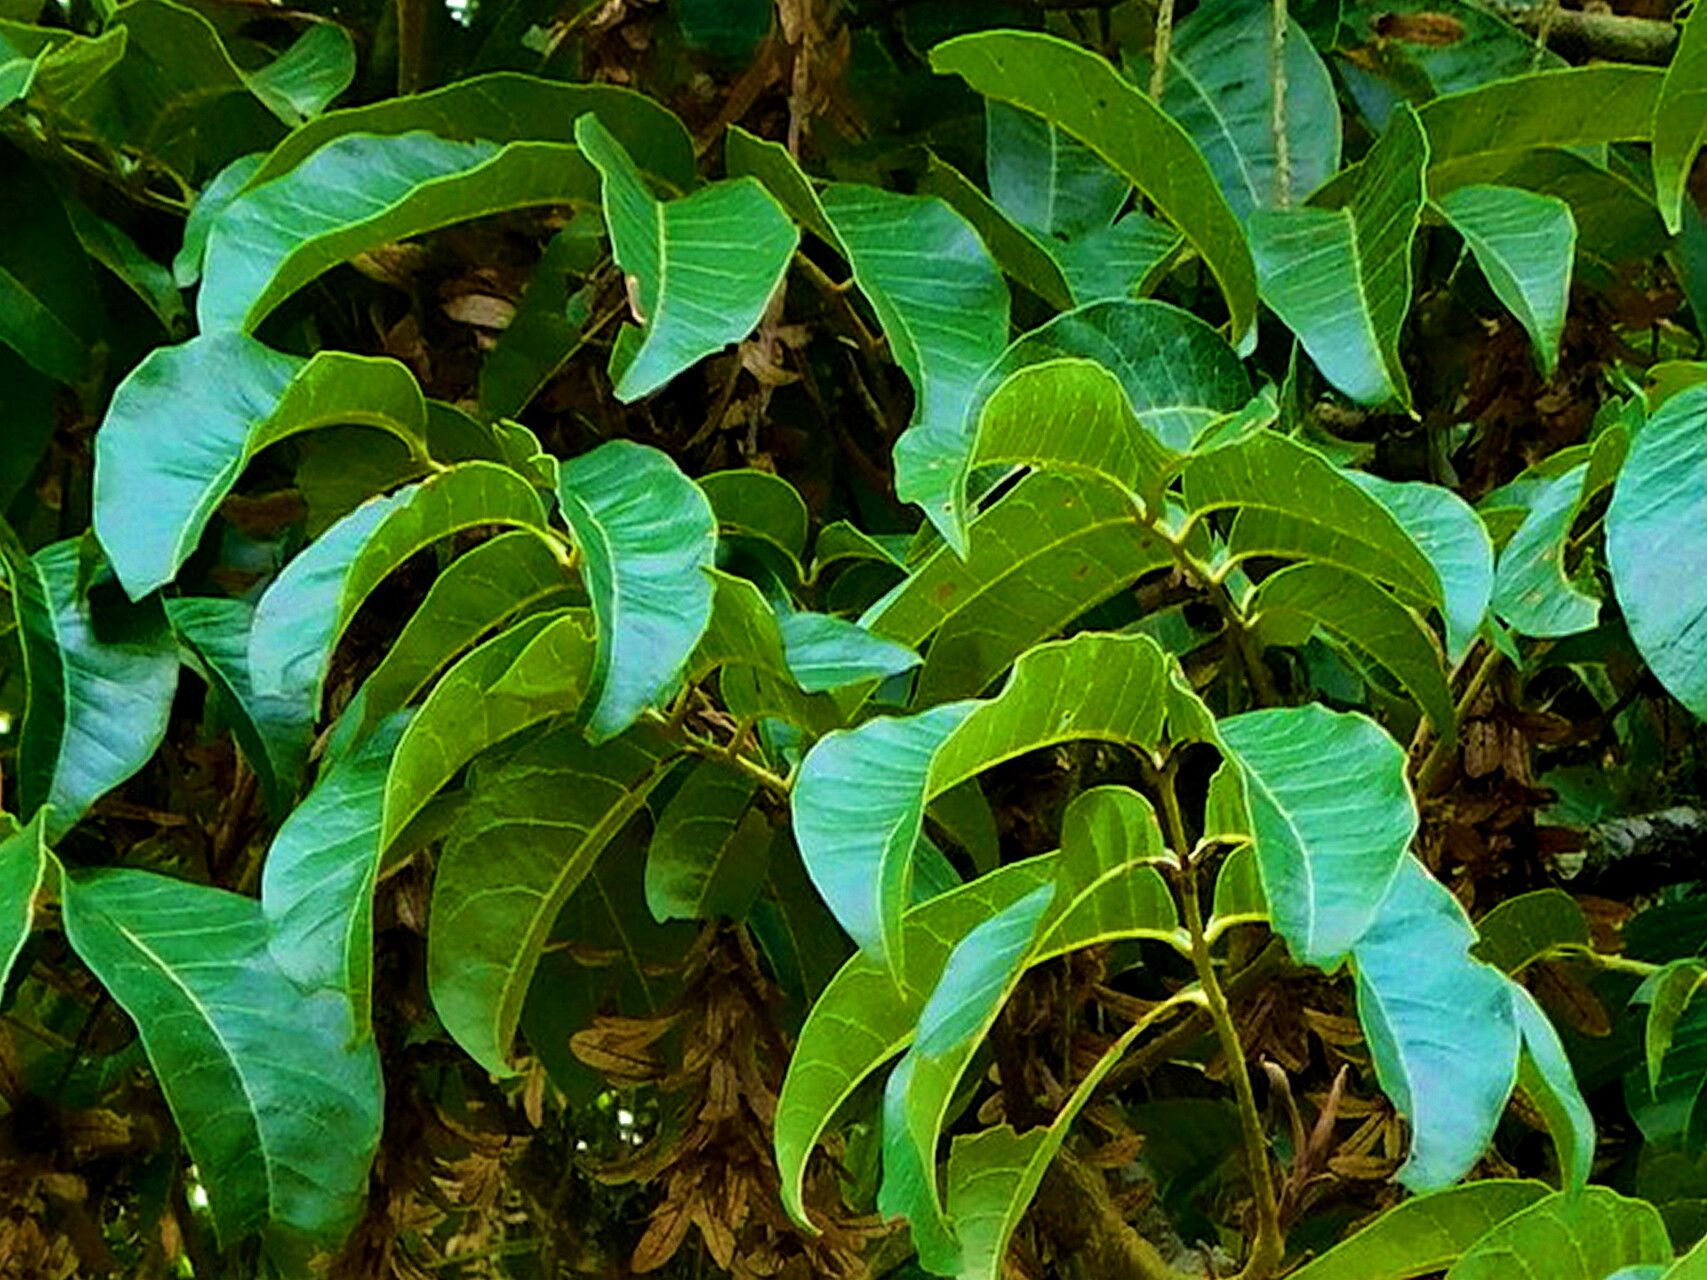
Oh, Engelhardia spicata! If you’re drawn to its elegant, cascading foliage and the way it can add a touch of the exotic to your garden, you’re in for a treat. Propagating these beauties isn’t just about getting more plants; it’s about understanding their life force and coaxing new growth from your favorites. It can be a little bit of a learning curve, but trust me, the satisfaction of seeing a new little Engelhardia sprout is absolutely worth it.
The Best Time to Start
For Engelhardia spicata, I find late spring to early summer is the absolute sweet spot for propagation. This is when the plant is in its most vigorous growth phase. New shoots are plump and full of energy, making them much more likely to root successfully. Think of it like picking the ripest fruit – you get the best results then!
Supplies You’ll Need
Here’s what you’ll want to have on hand before you begin:
- Sharp pruning shears or a clean, sharp knife: For making clean cuts.
- Rooting hormone (optional but recommended): A powder or liquid that encourages root development.
- A well-draining potting mix: I like a blend of equal parts perlite, peat moss, and coco coir. For Engelhardia, you want something that breathes really well.
- Small pots or seed trays: Clean ones are a must!
- Plastic bags or a propagation dome: To create a humid environment.
- Watering can with a fine rose: For gentle watering.
- Potting soil labeled “seed starting mix” or a very fine sifted mix: If you decide to try seeds, which is a bit more advanced.
Propagation Methods
Let’s dive into the most reliable ways to get new Engelhardia plants.
Stem Cuttings: My Go-To
This is my favorite and usually the most successful method for Engelhardia spicata.
- Select your cutting: Look for a healthy, semi-hardwood stem from your established plant. You want a shoot that’s new but not super soft and floppy. Aim for pieces that are about 6-8 inches long.
- Make the cut: Use your clean shears to make a sharp, angled cut just below a leaf node (where a leaf attaches to the stem). This angled cut gives more surface area for root development.
- Prepare the cutting: Gently remove the lower leaves, leaving just a few at the very top. If the remaining leaves are very large, you can even snip them in half to reduce water loss.
- Apply rooting hormone (optional): Dip the cut end into your rooting hormone powder or liquid, tapping off any excess.
- Plant your cutting: Make a small hole in your prepared potting mix with a pencil or your finger. Gently insert the cut end of the stem into the hole, firming the soil around it.
- Create humidity: Water the potting mix lightly. Then, cover the pot with a clear plastic bag, securing it loosely around the rim, or place it under a propagation dome. This creates a mini greenhouse.
- Find a good spot: Place the pot in a warm location with bright, indirect light. Avoid direct sun, which can scorch the tender cuttings.
Water Propagation: A Visual Feast
While I primarily use soil, water propagation can be a fun way to watch the roots grow.
- Prepare the cutting: Follow steps 1-3 from the stem cutting method.
- Place in water: Put the prepared cutting in a clean jar or vase filled with fresh, room-temperature water.
- Keep it clean: Change the water every few days to prevent bacterial growth. Make sure the leaves stay above the water line – this is crucial to avoid rot.
- Location, location, location: Just like with soil cuttings, place the jar in a bright spot with indirect light.
- Potting up: Once you see robust root growth (at least an inch or two long), you can carefully transplant the cutting into your well-draining potting mix, following steps 5-7 from the stem cutting method. Be gentle when handling the new roots.
The “Secret Sauce” (Pro Tips)
- The “Bottom Heat” Trick: If you can, place your pots on a gentle heat mat. This warmth from below significantly speeds up root formation. It mimics the natural warmth of the soil and really gives your cuttings a boost.
- Don’t Be Afraid to Experiment with Cuttings: I’ve found that cuttings taken from different parts of the plant – the tip of a new shoot versus a slightly older stem – can have varying success rates. If one batch doesn’t take, don’t get discouraged. Try again with a different type of stem.
- Patience with the Leaf Drop: Sometimes, a cutting might drop a leaf or two. Don’t panic! This can be normal as the plant redirects its energy to root development. As long as the stem looks firm and green, keep it going.
Aftercare & Troubleshooting
Once you see new leaf growth or feel a gentle pull when you lightly tug on the cutting, it’s a good sign you have roots!
- Acclimatize: Slowly remove the plastic bag or dome over a few days to let the new plant get used to normal humidity levels.
- Watering: Water consistently, keeping the soil evenly moist but not waterlogged. Allow the top inch of soil to dry out slightly between waterings.
- Feeding: Wait until you see active new growth before giving it a very diluted liquid fertilizer.
Troubleshooting:
- Rot: The most common culprit is overwatering or poor drainage. If the stem turns mushy and brown, it’s likely rot. Unfortunately, there’s usually no coming back from this. Prevention is key – ensure excellent drainage and don’t let the cuttings sit in soggy soil.
- No Rooting: This can happen if the cuttings are too soft, too old, taken at the wrong time, or if the environment isn’t humid enough. Again, don’t get discouraged. Learn from it and try again.
Happy Propagating!
Growing new plants from cuttings is one of the most satisfying parts of gardening. It connects you to your plants in a deeper way. Be patient with your Engelhardia spicata, enjoy the process of nurturing these tiny beginnings, and soon you’ll have more of these wonderful trees to share or enjoy yourself. Happy growing!
Resource:
https://identify.plantnet.org/k-world-flora/species/Engelhardia%20spicata%20Lechen%20ex%20Blume/data