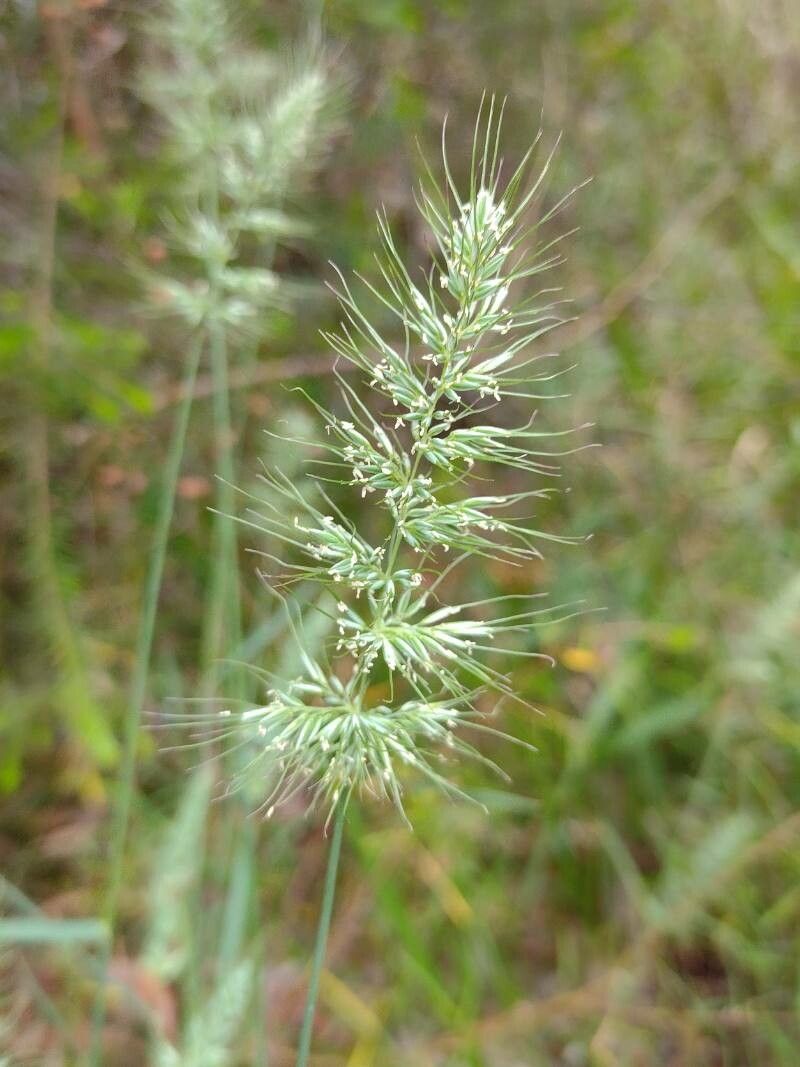
Oh, Echinopogon caespitosus! If you’ve ever admired those lovely clumps of grass, perhaps swaying gently in a breeze, then this is a plant for you. It’s got this wonderful, understated beauty that really shines in drier gardens or when you just want a touch of meadow magic. And guess what? Propagating it is totally doable, and oh-so-satisfying. You get to watch new life spring from a piece of your existing treasure.
Now, I wouldn’t call Echinopogon a complete beginner’s plant for propagation, but it’s certainly not rocket science either. With a little patience and a few key steps, you’ll be well on your way to success.
The Best Time to Start
For Echinopogon caespitosus, spring is your best friend. This is when the plant is really waking up and ready to put on some growth. Aim to take cuttings or divide your plants just as you start seeing new shoots emerge. This gives them plenty of time to establish before the heat of summer or the chill of winter sets in.
Supplies You’ll Need
Here’s what I always have on hand when I’m propagating:
- Sharp pruning shears or a clean knife: We want clean cuts, no tearing!
- Seed Starting Mix or a well-draining potting mix: Something light and airy is crucial. I often mix in some perlite or coarse sand.
- Small pots or trays: Clean ones are a must to prevent disease.
- Rooting hormone (optional but helpful): A little dip can give cuttings a good head start.
- Plastic bags or a propagator: To keep humidity levels up.
- Watering can with a fine rose: Gentle watering is key.
Propagation Methods
There are a couple of ways you can go about this, and I find both work well depending on what you’re after.
Option 1: Stem Cuttings (My Favorite!)
This is how I usually get the most new plants.
- Select your material: Look for healthy, vigorous stems that are not flowering. You want pieces that are firm but still a little flexible.
- Take the cuttings: Using your sharp shears, cut stems about 4-6 inches long. Make the cut just below a leaf node (where a leaf attaches to the stem).
- Prepare the cuttings: Strip off the lower leaves, leaving only a few at the top. This prevents them from rotting when you stick them in the soil. If you’re using rooting hormone, dip the cut end into it now.
- Plant them up: Fill your clean pots with your well-draining mix. Make a small hole with a pencil or your finger and gently insert the cuttings, ensuring the nodes where you removed the leaves are buried. Give them a light pat around the base to secure them.
- Water and cover: Water gently until the soil is moist but not sodden. Then, cover the pots with a plastic bag or place them in a propagator. This creates a mini-greenhouse effect, keeping humidity high. Place them in a bright spot, but out of direct, harsh sunlight.
Option 2: Division (Great for Immediate Results)
This is perfect if you have a mature clump you want to share or just want a bigger plant right away.
- Lift the plant: Carefully dig around the base of your Echinopogon clump. You want to lift the entire plant, roots and all.
- Gently tease apart: This is the key! Instead of hacking it, try to gently tease the root ball apart with your hands or two trowels. You’re looking for natural divisions that already have some roots and shoots attached.
- Pot up or replant: Once you have your divisions, pot them up into their own containers with fresh, well-draining soil, or replant them directly into the garden. Water them well.
The “Secret Sauce” (Pro Tips)
There are a few little tricks that I’ve learned over the years that I think make a real difference:
- Don’t overcrowd your cuttings: Give them a bit of breathing room in their pots. This helps prevent fungal issues and allows air to circulate.
- Bottom heat is your friend: If you have a heated propagator or can place your pots on a heat mat, you’ll often see roots develop much faster. It mimics that lovely warmth you get in spring.
- Sterilize everything! I can’t stress this enough. Clean pots, clean tools, even washing your hands before you start can make a huge difference in preventing diseases from setting in.
Aftercare & Troubleshooting
Once your cuttings have rooted (you can usually tell by new growth, or a gentle tug – they’ll feel resistant), it’s time to transition them.
Gradually introduce them to the outside world. If they’re in a propagator, open the vents a little more each day for a few days. Then remove the cover entirely. Keep them watered, but allow the surface of the soil to dry slightly between waterings.
The most common problem you’ll face is rot. If you see your cuttings wilting, turning mushy, or developing black spots, it’s usually a sign of too much moisture and not enough air circulation. In this case, you might need to start over with fresh cuttings and ensure your soil drains better. Sometimes, it’s just a matter of luck and conditions, so don’t get discouraged if a batch doesn’t make it.
A Little Bit of Patience Goes a Long Way
Propagating, even the “easier” plants, is always an exercise in patience. You’re working with nature, and she has her own rhythm. Just enjoy the process of nurturing these tiny bits of life. Watch them, learn from them, and soon enough, you’ll have a whole collection of your very own Echinopogon caespitosus. Happy gardening!
Resource:
https://identify.plantnet.org/k-world-flora/species/Echinopogon%20caespitosus%20C.E.Hubb./data