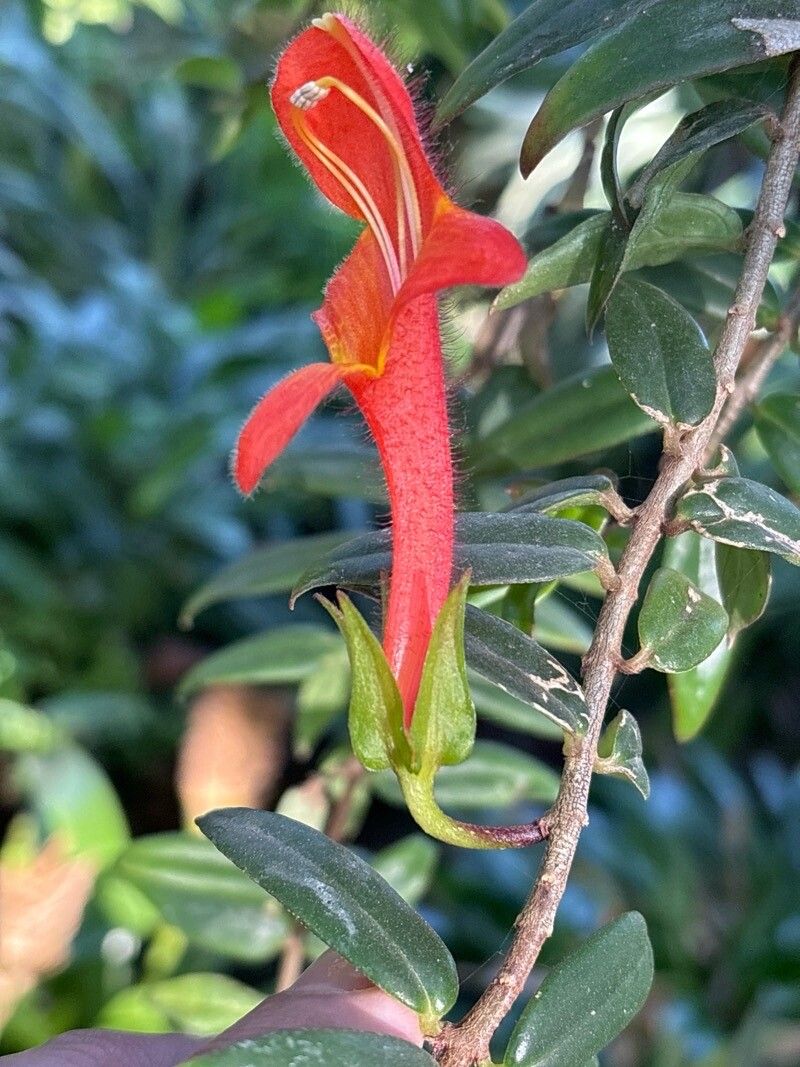
Hello there, fellow plant lovers! If you’ve ever admired the vibrant, trailing beauty of a Columnea hirta, you know exactly why it’s earned its spot in so many homes. Those velvety leaves and their stunning, often tubular, flowers are just pure magic. And the best part? You can easily create more of this gorgeousness for yourself, or to share with friends. Propagating Columnea hirta is a wonderfully rewarding process, and honestly, I think even beginners can have great success with it!
The Best Time to Start
My absolute favorite time to take cuttings from my Columnea hirta is in the late spring or early summer. The plant is usually in a robust growth phase then, meaning it’s actively putting out new shoots that are perfect for propagation. You’ll see lots of tender, new growth that will root much more readily than old, woody stems.
Supplies You’ll Need
Having everything ready makes the whole process so much smoother. Here’s what I always have on hand:
- Sharp Pruning Shears or a Clean Knife: For making nice, clean cuts.
- Rooting Hormone (Optional but Recommended): A powder or gel to give your cuttings a little boost.
- Well-Draining Potting Mix: I like a mix of peat moss, perlite, and a little bit of orchid bark. It keeps things airy.
- Small Pots or Seedling Trays: Clean ones are key to prevent any nasties.
- Plastic Bag or Clear Dome: To create a mini-greenhouse effect for humidity.
- Water: For water propagation enthusiasts!
Propagation Methods
There are a few ways to coax new Columnea hirta plants into existence, but my go-to is stem cuttings, and I’ll also share my favorite for a quick win: water propagation.
Stem Cuttings:
- Select Your Cuttings: Look for healthy, non-flowering stems that are at least 4-6 inches long. Gently remove the lower leaves, leaving a few at the top.
- Make the Cut: Using your sharp shears or knife, make a clean cut just below a leaf node (where a leaf attaches to the stem).
- Apply Rooting Hormone (Optional): Dip the cut end of the stem into your rooting hormone, tapping off any excess.
- Plant Them Up: Fill your small pots with your prepared well-draining potting mix. Make a small hole in the center with your finger or a pencil, and insert the cutting. Gently firm the soil around it.
- Water and Cover: Water the soil lightly. Then, cover the pot loosely with a plastic bag or a clear dome to maintain high humidity. This is crucial for preventing the cuttings from drying out.
- Find a Spot: Place the pots in a warm location with bright, indirect light. Avoid direct sun, which can scorch them.
Water Propagation:
- Prepare Your Cuttings: Follow steps 1 and 2 above for selecting and cutting your stems.
- Place in Water: Put the cuttings in a small jar or glass of clean water.
- The Golden Rule: Here’s a big one: Make sure no leaves are submerged in the water. They will rot quickly and take your cutting with them. I usually strip off the lowest leaves for this very reason.
- Change the Water: Change the water every few days to keep it fresh and oxygenated.
- Patience Pays: Place the jar in a spot with bright, indirect light. You’ll start to see tiny white roots appearing in a few weeks.
The “Secret Sauce” (Pro Tips)
I’ve learned a few things over the years that really seem to make a difference.
- Bottom Heat is Your Friend: If you’re using the soil method, placing your pots on a heat mat designed for seedlings can dramatically speed up rooting. It mimics the warmth of spring soil and gives those roots a real kickstart.
- Don’t Overwater the Soil: While humidity is key, soggy soil is the enemy of cuttings. Water only when the top inch of soil feels dry, and make sure your pots have good drainage. Soggy soil leads to rot, and we don’t want that!
- Air Circulation Matters: Even though we want to create a humid environment, it’s a good idea to vent your plastic bag or dome for a few minutes each day. This prevents fungal issues and gives your cuttings a chance to breathe.
Aftercare & Troubleshooting
Once you start seeing new leaf growth, it’s a good sign that roots have formed! For soil-propagated cuttings, you can gradually acclimate them to lower humidity by opening the plastic bag or dome a little more each day over a week. Once they’re established, treat them like a mature Columnea hirta, with bright, indirect light and consistent watering.
Now, what if things go wrong? The most common culprit is rot. If your cuttings look mushy, dark, or slimy, it’s usually a sign of too much moisture. If you catch it early with soil cuttings, you might be able to salvage healthy parts by taking new cuttings. For water propagation, if the stem turns dark and mushy, it’s best to start over with a fresh cutting. Another sign of trouble is wilting. This can happen if the cutting dries out too much, so ensure that humidity is maintained.
A Little Patience, A Lot of Joy
Propagating plants is a journey, and Columnea hirta is a sweet one to embark on. Don’t be discouraged if your first attempt isn’t perfect. Every gardener has had their share of cuttings that didn’t quite make it. Keep trying, observe what works best for your environment, and most importantly, enjoy the magic of creating new life from a single stem. Happy propagating!
Resource:
https://identify.plantnet.org/k-world-flora/species/Columnea%20hirta%20Klotzsch%20&%20Hanst./data