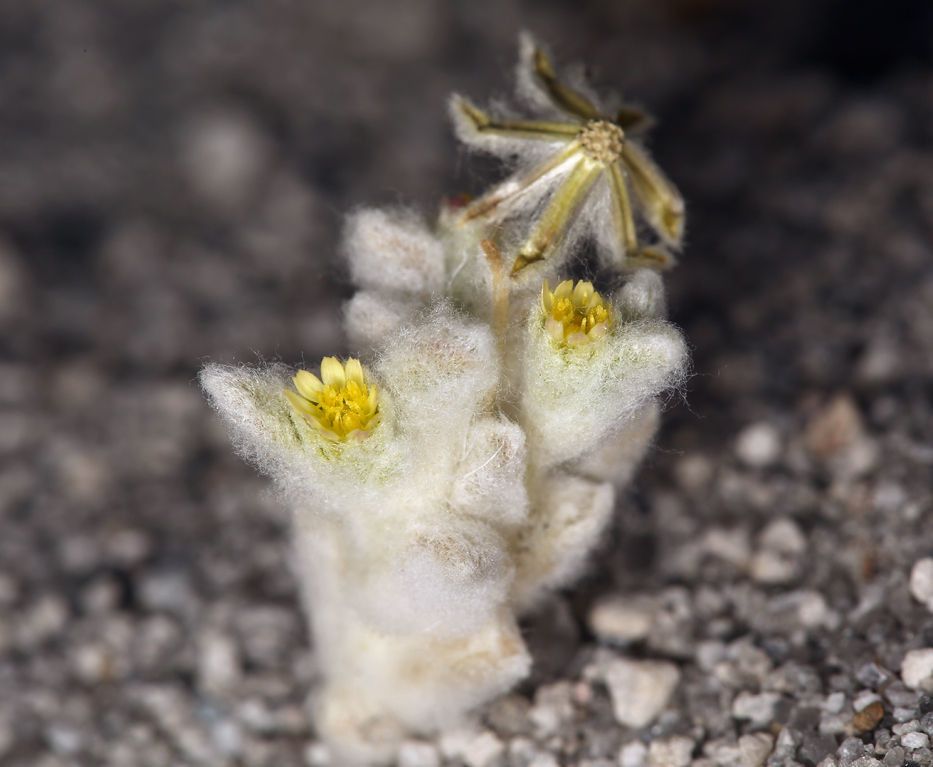
Oh, hello there! Come on in, pull up a chair. I’ve got a fresh pot brewing. Today, we’re diving into something truly special: Eatonella nivea. If you haven’t met this beauty, imagine delicate, snowy white flowers that seem to glow in the garden, often with a lovely, subtle fragrance. It’s a plant that truly brightens up any space, and propagating it yourself? Well, that’s one of the most satisfying gardening adventures you can embark on. Don’t worry, while it has its quirks, it’s absolutely doable, even for those of you just starting out on your green-thumb journey.
The Best Time to Start
For the highest chances of success with Eatonella nivea, I’ve found the late spring or early summer to be your sweet spot. This is when the plant is in its active growth phase, brimming with energy and ready to put out new shoots. You want to be taking your propagules when the growth is vigorous but not yet woody. Think of it as catching the plant at its peak enthusiasm!
Supplies You’ll Need
Gathering your tools beforehand makes the whole process so much smoother. Here’s what you’ll want to have on hand:
- Sharp, clean pruning shears or a sharp knife: This is crucial to avoid crushing stems.
- Rooting hormone (optional but recommended): A good quality powder or gel can give your cuttings a real boost.
- Small pots or seedling trays: Make sure they have good drainage holes.
- Well-draining potting mix: A mix of perlite, peat moss, and a bit of compost works beautifully. You can also buy a commercial seed-starting or propagation mix.
- Plastic bags or a humidity dome: To keep the humidity levels high.
- Watering can or spray bottle: For gentle watering.
Propagation Methods
Eatonella nivea is quite amenable to propagation from stem cuttings. It’s my go-to method for this lovely plant.
Stem Cuttings:
- Select your cuttings: Look for healthy, non-flowering stems on your mature Eatonella nivea. Aim for stems that are about 4-6 inches long. You want to take a piece that includes a few sets of leaves.
- Make the cut: Using your sharp, clean shears or knife, make a clean cut just below a leaf node (where a leaf attaches to the stem). This is where roots are most likely to form.
- Prepare the cutting: Gently remove the lower leaves, leaving just a couple of leaves at the very top. If the remaining leaves are very large, you can even snip them in half to reduce water loss.
- Apply rooting hormone (optional): Dip the cut end of the stem into your rooting hormone, tapping off any excess.
- Plant your cuttings: Make a small hole in your prepared potting mix with a pencil or your finger. Carefully insert the cut end of the stem into the hole and gently firm the soil around it. Make sure no leaves are touching the soil surface.
- Water gently: Water the pot thoroughly until water drains from the bottom.
- Create a humid environment: Cover the pot with a clear plastic bag, securing it around the rim with a rubber band, or place it under a humidity dome. This creates a mini-greenhouse effect, which is vital for cutting success. Place the pot in a bright spot out of direct sunlight.
The “Secret Sauce” (Pro Tips)
Here are a couple of things I’ve learned over the years that really seem to make a difference:
- Don’t crowd your cuttings: Give each cutting a bit of space in its pot. This not only helps prevent the spread of any potential fungal issues but also ensures good air circulation, which they love.
- Consider bottom heat: If you have a heat mat designed for seedlings, placing your pots on it can really speed up root development. It mimics the warmth of spring soil and provides that extra encouragement for roots to form.
- Be patient with leaf drop: Sometimes, a cutting might drop a leaf or two. Don’t panic! If the stem is still firm and green, it’s likely just adjusting. Focus on its overall health.
Aftercare & Troubleshooting
Once your cuttings have been potted, keep them in that bright, indirect light and maintain consistent moisture in the soil. You don’t want it soggy, but it should never dry out completely. After a few weeks, you should start to see new leaf growth, which is a good sign. To check for roots, you can very gently tug on the cutting. If you feel resistance, roots are forming!
The most common issue you’ll encounter is rot. If your cutting turns mushy, black, or starts to wilt dramatically without any new growth appearing after weeks of waiting, it’s likely succumbed to rot. This is often due to overwatering, poor drainage, or a lack of air circulation. If you see this, unfortunately, it’s usually best to discard it and try again, focusing on the tips we discussed.
A Little Encouragement
Propagating plants is a journey, and Eatonella nivea is a wonderful companion on that path. Don’t be discouraged if your first attempt isn’t perfect. Gardening is all about learning and observing. Enjoy the process of nurturing these little bits of life, and before you know it, you’ll have your own little army of these charming beauties. Happy gardening!
Resource:
https://identify.plantnet.org/k-world-flora/species/Eatonella%20nivea%20A.Gray/data