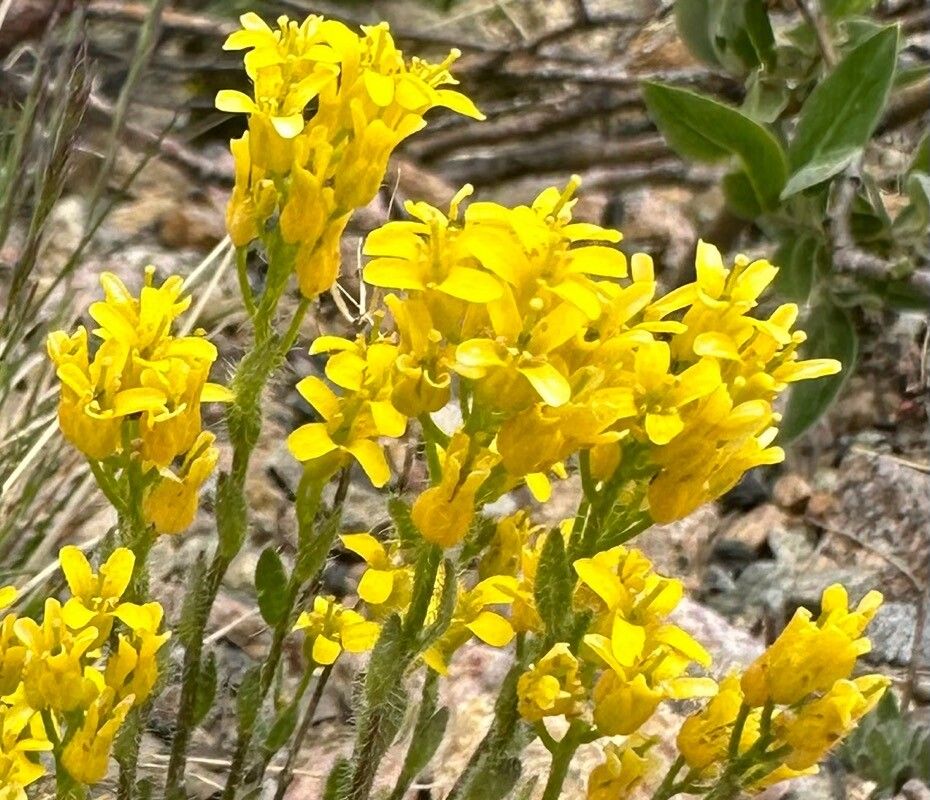
Hey there, fellow garden lovers! I’m so excited to chat with you today about a gem of a plant: Draba spectabilis. If you’ve ever seen this beauty in bloom, you’ll know what I mean. Its delicate, star-shaped flowers, often a vibrant yellow or white, create a carpet of pure joy. And the best part? Getting more of these cheerful plants for yourself isn’t as daunting as you might think. Propagating Draba spectabilis is a wonderfully rewarding process, and I’m here to guide you through it. For a beginner, it’s a manageable project with a little patience.
The Best Time to Start
When it comes to giving your little Draba babies the best chance, timing is everything. I find that the late spring or early summer is your sweet spot. This is when the plant has finished its main flush of flowering and is actively putting on new growth. It’s a time of abundant energy for them, which translates to happier cuttings or divisions getting ready to root.
Supplies You’ll Need
Before we dive in, let’s gather our tools. Think of this as packing a picnic – the right gear makes everything smoother!
- Sharp, clean pruning shears or a sharp knife: For making those crucial cuts. Sterilize them with rubbing alcohol to prevent introducing any nasties.
- Rooting hormone powder or gel: This is optional but can give your cuttings a helpful boost to kickstart root development.
- Well-draining potting mix: I often use a blend of equal parts peat moss or coco coir, perlite, and a bit of compost. You want it light and airy so it doesn’t hold too much moisture.
- Small pots or seed trays: Clean, of course!
- Watering can with a fine rose or a spray bottle: For gentle watering.
- Labels and a marker: Because trust me, you will forget what you planted where.
- For division: A small trowel or sharp spade.
Propagation Methods
Draba spectabilis is pretty adaptable, and I’ve had success with a couple of methods. Let’s break them down.
Stem Cuttings
This is my go-to for increasing my Draba numbers.
- The Cut: On a healthy, non-flowering stem, make a clean cut just below a leaf node. Aim for cuttings that are about 3-4 inches long. Remove the lower leaves, leaving just a couple at the very top.
- Hormone Dip (Optional): If you’re using rooting hormone, dip the cut end into the powder or gel. Tap off any excess.
- Planting: Fill your small pots with your prepared potting mix. Make a small hole with your finger or a pencil and gently insert the cutting, ensuring the leaf nodes you removed are below the soil surface. Firm the soil around the base.
- Watering: Water gently but thoroughly. You want the soil to be moist, not soggy. I like to mist the leaves lightly with a spray bottle too.
- Warmth & Light: Place the pots in a bright location, but out of direct, hot sunlight. They love warmth, so a sunny windowsill is usually perfect. You can even pop them on a heat mat if you have one.
Division
This is a fantastic method as it gives you larger, more established plants right from the start.
- Digging Up: In the early spring or fall, carefully dig up your Draba spectabilis plant. Loosen the soil around it with a trowel or spade.
- Separating: Gently shake away some of the excess soil. You’ll often see that the plant has formed clumps or offsets. You can usually gently pull these apart with your hands. If it’s a bit stubborn, use a clean, sharp knife or spade to cut through the roots. Aim to keep good root systems on each division.
- Replanting: Plant your divisions immediately into their new homes. Again, use that well-draining potting mix. Give them a good watering to settle the soil.
The “Secret Sauce” (Pro Tips)
Here are a few things I’ve learned over the years that seem to make a difference:
- Keep ‘Em Humid: Cuttings need a humid environment to prevent drying out before they can form roots. You can achieve this by placing a clear plastic bag loosely over the pot, creating a mini-greenhouse. Just make sure the leaves aren’t touching the plastic all the time. I’ll often lift the bag for a few minutes each day to let them breathe.
- Bottom Heat is Your Friend: While not strictly necessary, placing your pots on a gentle heat mat can significantly speed up root formation for cuttings. It mimics the warmth of spring soil really effectively.
- Don’t Overwater! This is probably the most common pitfall. Soggy soil is a recipe for rot. Let the top inch of soil dry out slightly between waterings. It’s better to underwater a little than to drown your new babies.
Aftercare & Troubleshooting
Once you spot new growth or a tentative tug on your cutting reveals roots, you’re on your way! Continue to water gently as needed and gradually acclimate your new plants to less humid conditions if you were using the plastic bag method. Thin your seedlings or established divisions once they’ve settled in to give them space to thrive.
The biggest thing to watch out for is rot. If your cutting turns black and mushy, or if your newly divided plant seems to be wilting dramatically and the base is soft and dark, it’s likely rot. This is almost always due to too much moisture. If you see it, try to remove the affected parts, allow the remaining healthy parts to dry out, and replant in fresh, drier soil. Sometimes, it’s a tough lesson, but you learn from it!
A Encouraging Closing
Growing new plants is such a delight, isn’t it? It’s a chance to connect with nature and share the beauty of your garden. Be patient with your Draba spectabilis propagation. Some might take a little longer than others, and that’s perfectly okay. Just enjoy the process, celebrate every little sign of progress, and get ready to fill your garden with even more of those lovely star-shaped blooms! Happy gardening!
Resource:
https://identify.plantnet.org/k-world-flora/species/Draba%20spectabilis%20Greene/data