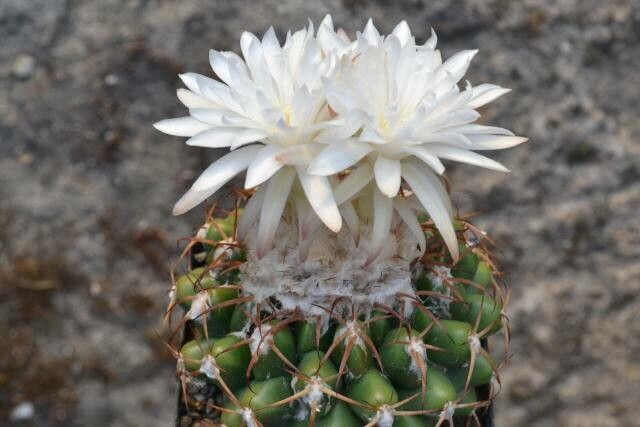
Hello, fellow plant lovers! Today, we’re diving into the beautiful world of Discocactus hartmannii. If you’ve ever admired these fascinating cacti – with their flattened, disc-like bodies and that stunning woolly cephalium on top – you know how special they are. Propagating them might sound a bit intimidating, and I’ll be honest, they can be a little more particular than your average succulent. But with a little know-how and patience, you absolutely can multiply these beauties! It’s incredibly rewarding to see a tiny piece you started from grow into a mature plant.
The Best Time to Start
For Discocactus hartmannii, the sweet spot for propagation is during its active growing season. Think late spring through summer. This is when the plant has the most energy to heal from cutting and to produce new roots. Trying to propagate when it’s cooler or the plant is dormant is just setting yourself up for disappointment.
Supplies You’ll Need
Gathering your tools upfront makes the whole process smoother. Here’s what I always have on hand for these little guys:
- Well-draining potting mix: A cactus and succulent mix is a good start, but I like to amend it with extra perlite or pumice. Aim for something that feels gritty and dries out quickly.
- Sharp, sterilized pruning shears or a clean knife: This is non-negotiable for clean cuts that heal well.
- Rooting hormone (optional but recommended): A little help can speed things up. Look for a powdered or liquid form.
- Small pots or trays: Clean, shallow containers are perfect for starting new plants. Drainage holes are a must!
- Gloves: Cacti are prickly!
- A spray bottle: For gentle misting.
- Optional: A small heating mat: This can give your cuttings a boost.
Propagation Methods
There are a couple of ways we can get more Discocactus hartmannii plants. I find the most success with stem cuttings.
Stem Cuttings
This is my go-to method.
- Identify a healthy stem or pup: Look for a side shoot or a part of the main body that seems robust.
- Make the cut: Using your sterilized shears or knife, make a clean cut where the stem meets the main body or where you want to divide it.
- Let it callous: This is one of the most crucial steps! Place the cutting in a dry, bright spot, out of direct sun, for several days to a week. You want the cut end to dry out and form a protective callus. This prevents rot.
- Apply rooting hormone (optional): Once calloused, you can dip the cut end into rooting hormone, tapping off any excess.
- Plant the cutting: Gently insert the calloused end into your prepared, dry potting mix. Don’t pack it too tightly. Just enough to give it support.
The “Secret Sauce” (Pro Tips)
Here are a few little tricks that have made all the difference for me:
- Resist the urge to water immediately: After planting, I don’t water my cuttings for at least another week. Let the soil dry out completely. When you do water, do so sparingly. Overwatering is the quickest way to lose a new cutting to rot.
- Bottom heat is your friend: If you have one, placing your pot on a gentle heating mat (set to around 70-75°F or 21-24°C) can significantly speed up root development. It mimics the warmth of summer soil.
- Don’t skip the callus! I cannot stress this enough. A well-calloused cutting is a happy cutting. It’s the plant’s natural defense against pathogens when it’s vulnerable.
Aftercare & Troubleshooting
Once your cutting has been in the soil for a few weeks, you can gently tug on it. If you feel resistance, congratulations! You’ve got roots.
- Begin watering gently: Start by watering very lightly. You can use a spray bottle to mist the soil surface. As roots develop, you can water more thoroughly, but always allow the soil to dry out between waterings.
- Provide bright, indirect light: Keep your new plant in a spot with plenty of light, but avoid harsh, direct sun, which can scorch it.
- Watch for rot: The biggest enemy of cuttings is rot, which usually looks like a mushy, brown, or black base. If you see this, it’s best to discard the cutting. Ensure excellent drainage and avoid overwatering.
- Wilting: Sometimes, a cutting will appear a bit wilted. This can be normal as it’s trying to establish roots. If it persists and you aren’t seeing other signs of rot, a tiny bit more moisture might be needed, but proceed with extreme caution.
A Closing Thought
Propagating Discocactus hartmannii is a journey. It requires patience, observation, and a little bit of faith. Don’t be discouraged if your first attempt doesn’t go perfectly. Every plant is a learning experience. Just keep experimenting, keep observing, and most importantly, enjoy the process of nurturing new life. Happy gardening!
Resource: