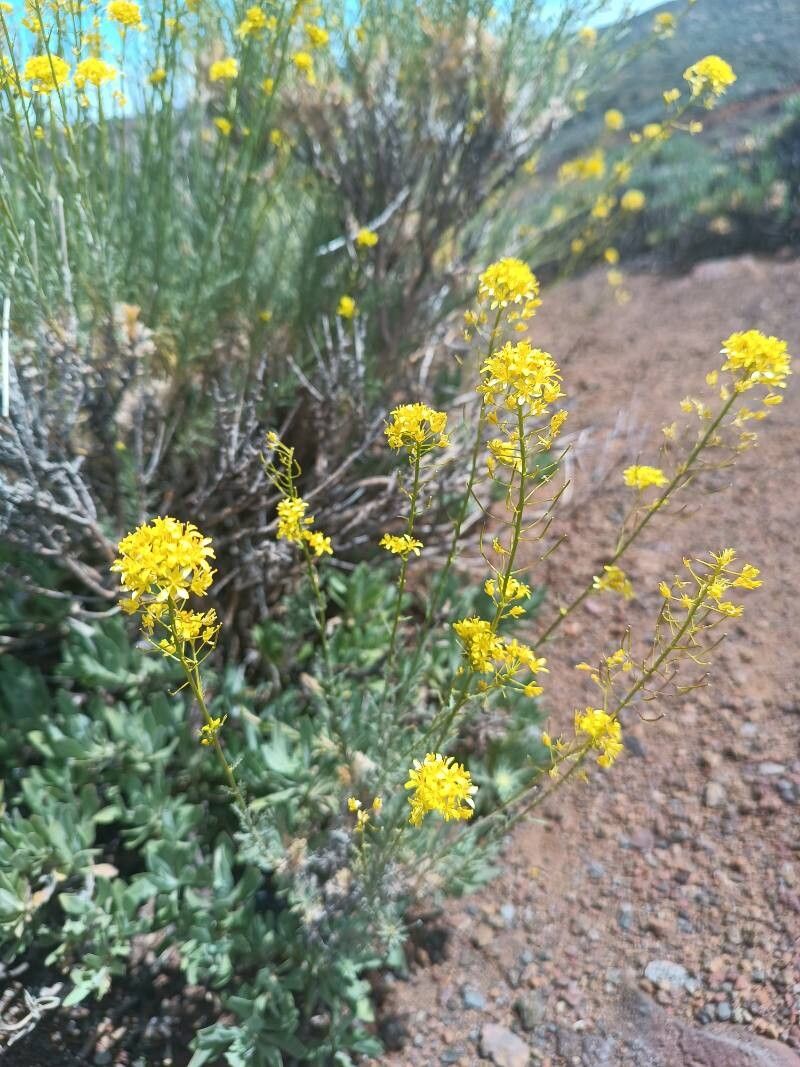
Hello there, fellow plant enthusiasts! You know those plants that just have a certain je ne sais quoi? The ones that catch your eye with their unique charm and make you think, “I’d love more of that in my garden”? For me, Descurainia bourgaeana is one of those gems. Its delicate, almost fern-like foliage and those lovely little blossoms are just delightful. And the best part? Propagating it can be incredibly rewarding, bringing new life into your garden without a trip to the nursery. Now, if you’re a complete beginner, this might be a little bit of a project, but don’t let that deter you! With a bit of patience and these tips, you’ll be well on your way.
The Best Time to Start
Timing is everything, isn’t it? For Descurainia bourgaeana, the sweet spot for propagation is generally late spring to early summer. This is when the plant is actively growing, and newly formed stems have the best chance of taking root. Aim for stems that are semi-hardwood – not brand new and floppy, but not too woody and mature either. Think of it as that perfect, pliable stage.
Supplies You’ll Need
Gathering your supplies beforehand makes the whole process so much smoother. Here’s what you’ll want to have on hand:
- Sharp Pruning Shears or Scissors: Clean cuts are crucial for successful rooting.
- Rooting Hormone (Optional but Recommended): This can give your cuttings a little boost. Look for one formulated for softwood or semi-hardwood cuttings.
- Well-Draining Potting Mix: A good starting point is a 50/50 blend of perlite and peat moss or coconut coir. You can also buy specialized seedling or cutting mixes.
- Small Pots or Propagation Trays: Clean pots work best to prevent disease.
- Plastic Bag or Humidity Dome: To create a humid environment for your cuttings.
- Watering Can with a Fine Rose: For gentle watering.
- Labels: To keep track of your different propagation attempts!
Propagation Methods
I find that stem cuttings are your best bet for Descurainia bourgaeana. It’s generally more reliable than trying to divide established clumps.
Stem Cuttings:
- Select Your Cuttings: Head out to your Descurainia bourgaeana plant with your clean pruners. Look for healthy stems that are about 4-6 inches long.
- Make the Cut: About ¼ inch below a leaf node (where a leaf attaches to the stem), make a clean, angled cut. This is often where roots will emerge.
- Prepare the Cutting: Gently remove the lower leaves from the cutting. You want to be left with 2-3 sets of leaves at the top. If the remaining leaves are very large, I like to cut them in half horizontally horizontally. This reduces water loss while still allowing for photosynthesis.
- Apply Rooting Hormone (If Using): Dip the cut end of the stem into your rooting hormone, tapping off any excess.
- Potting Up: Fill your small pots or trays with your prepared well-draining mix. Make a small hole with your finger or a pencil.
- Insert the Cuttings: Gently place the prepared cutting into the hole, making sure the leaf nodes you removed are below the soil surface. Firm the soil gently around the stem to ensure good contact.
- Water Gently: Water thoroughly but gently using your watering can with the fine rose. You want the soil to be moist but not waterlogged.
- Create a Humid Environment: Place a clear plastic bag over the pot (making sure the leaves don’t touch the sides if possible) or cover the tray with a humidity dome. This traps moisture and keeps your cuttings from drying out.
- Placement: Position your pots in a bright spot that receives indirect sunlight. Avoid direct sun, which can scorch the delicate cuttings.
The “Secret Sauce” (Pro Tips)
Now, for a couple of things I’ve learned over the years that can really make a difference:
- Bottom Heat is Your Friend: If you have a propagation mat or can place your pots on top of a gently warmed appliance (like a cable box, but be cautious!), this can seriously speed up root development. It mimics the warmth of spring soil.
- Don’t Be Afraid to Mist: Even with the plastic bag, I sometimes give the inside of the bag a light misting every few days. This keeps that humidity level nice and consistent, which is key. Just a few spritzes are all you need.
Aftercare & Troubleshooting
Once you start seeing evidence of new growth – tiny leaves unfurling or even a little resistance when you gently tug on the cutting – that’s a good sign roots are forming!
- Acclimation: Once roots have developed (usually after 4-6 weeks, but it can take longer), it’s time to gradually acclimate your new plants to normal room conditions. Start by removing the plastic bag for a few hours each day, then gradually increase the time until they can survive without it.
- Transplanting: Once your cuttings have a decent root system and are growing well, you can transplant them into slightly larger individual pots.
- Signs of Trouble: The most common culprit is rot, often caused by overwatering or poor drainage. If you see your cutting turning mushy or black, it’s likely a goner. Yellowing leaves can sometimes mean too much direct sun or not enough water. It’s a learning process, so don’t get discouraged if a few don’t make it.
Watching a new plant emerge from such a small piece of another is truly one of gardening’s greatest joys. So, take a deep breath, gather your supplies, and give it a go! Be patient with your Descurainia bourgaeana cuttings, and enjoy the magic of watching them grow. Happy propagating!
Resource: