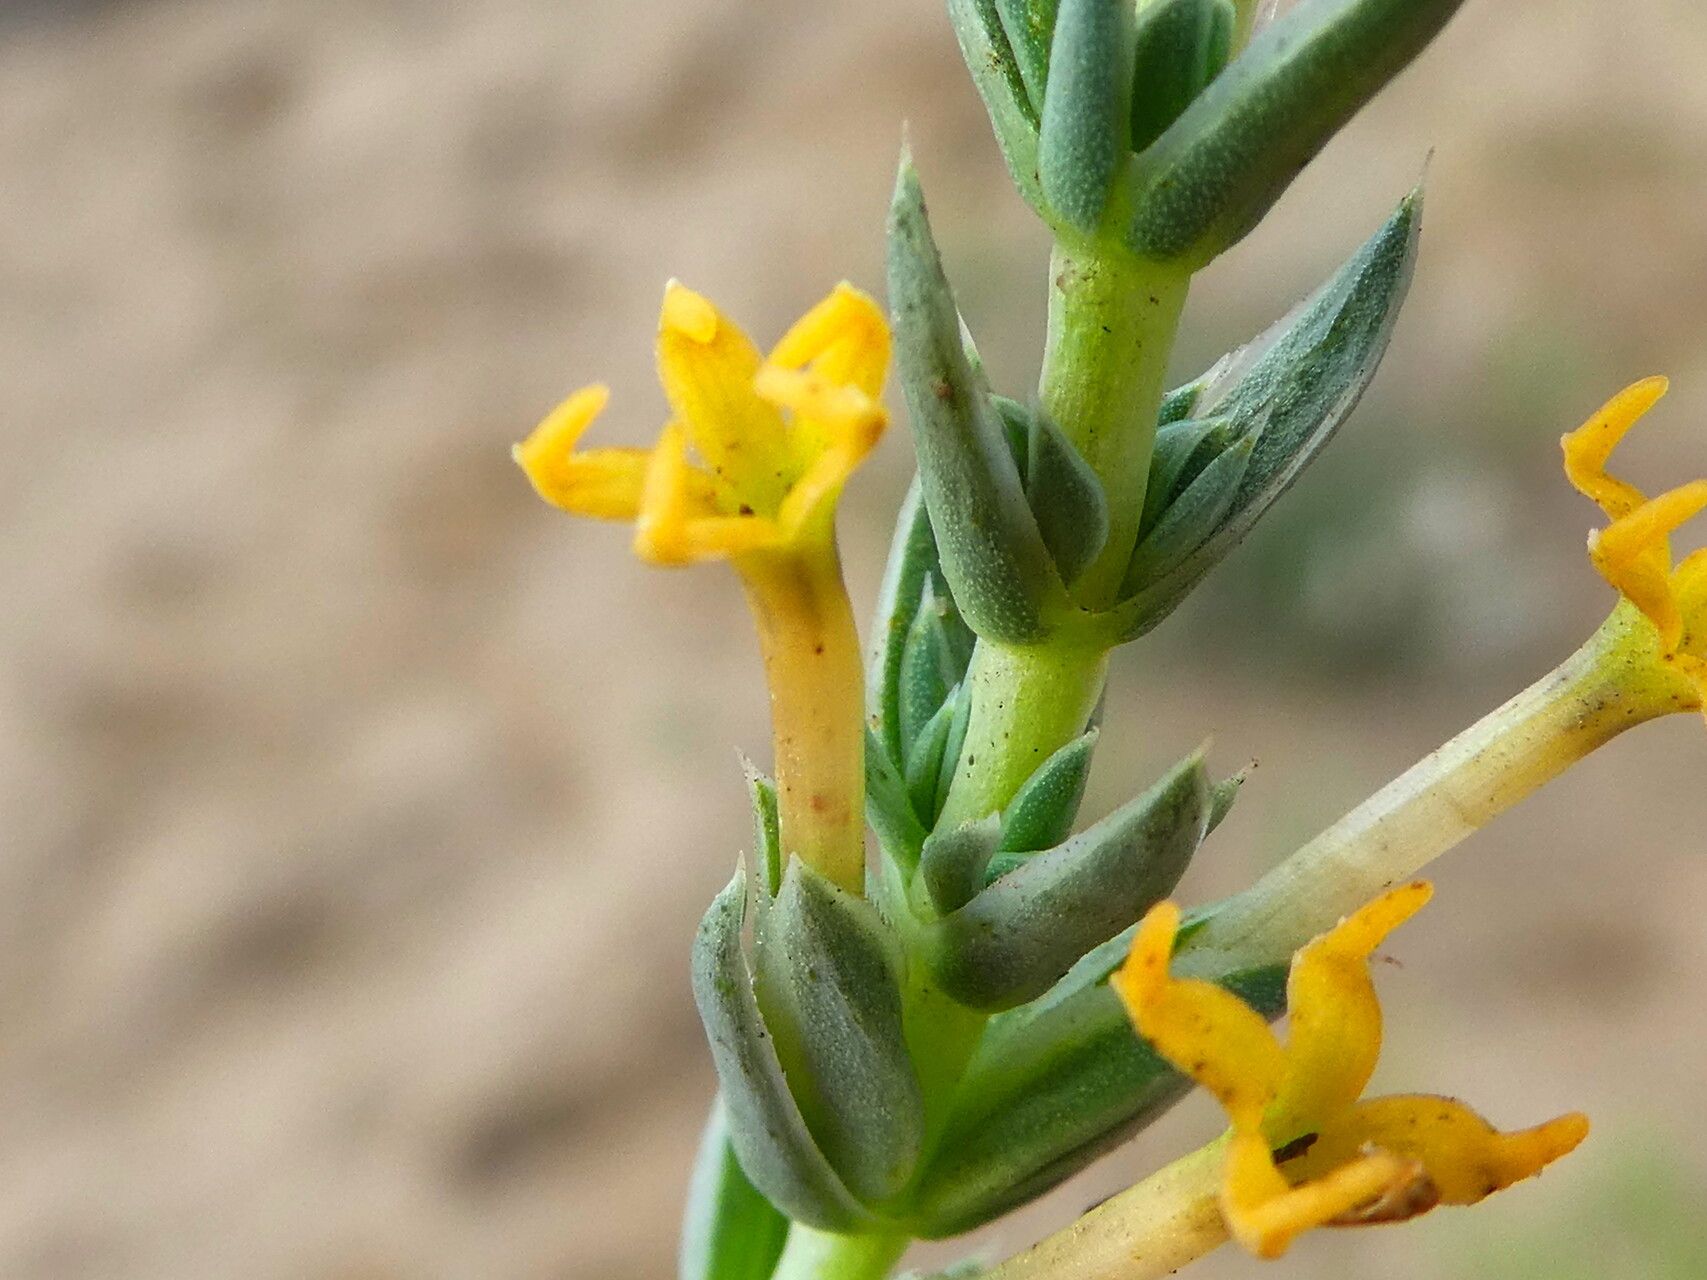
Oh, hello there! Pull up a chair and let’s talk about one of my favorite little coastal charmers: Crucianella maritima. If you’ve ever seen this plant gracing a sunny, seaside garden, you’ll know exactly why I’m so smitten. Its delicate, starry white flowers and wispy foliage are pure enchantment. And the best part? Sharing that magic by propagating it is incredibly rewarding. Now, is Crucianella maritima a breeze for total newbies? I’d say it’s moderately easy. With a little patience and the right touch, you’ll be well on your way to filling your garden with this beauty.
The Best Time to Start
For the highest success rate with Crucianella maritima, you really want to strike when the plant is actively growing. This usually means late spring to early summer. You’re looking for healthy, non-woody stems that are vibrant and full of life. Avoid trying to propagate from stressed or dormant plants; they just don’t have the energy to put into growing new roots.
Supplies You’ll Need
Gathering your tools beforehand makes the whole process so much smoother. Here’s what I usually have on hand:
- Sharp, clean pruning shears or a razor blade. Sterilize them with rubbing alcohol to prevent disease.
- A well-draining potting mix. I often use a blend of equal parts perlite, coarse sand, and peat moss or coco coir. This is crucial for preventing waterlogged roots.
- Small pots or seed trays. Make sure they have drainage holes!
- Rooting hormone (optional, but it can give you a boost). You can find this at most garden centers.
- A spray bottle filled with clean water.
- A clear plastic bag, a propagation dome, or a small greenhouse. This helps maintain humidity.
- Labels for your cuttings – trust me, you’ll thank yourself later!
Propagation Methods
Crucianella maritima is a dream to propagate, and I find stem cuttings to be the most successful and straightforward method.
Stem Cuttings:
- Take the Cuttings: On a bright, cool morning, use your sterilized shears to take stem tip cuttings that are about 3-4 inches long. Make your cut just below a leaf node (where a leaf meets the stem). This is where the magic really happens!
- Prepare the Cuttings: Gently remove the lower leaves from the cuttings, leaving just a few sets of leaves at the very top. This prevents the submerged leaves from rotting. If your cuttings are long, you can even pinch off the top set of leaves to encourage bushier growth later.
- Apply Rooting Hormone (Optional): Dip the cut end of each cutting into the rooting hormone powder, tapping off any excess.
- Plant the Cuttings: Fill your small pots with your well-draining soil mix. Make a small hole in the center of the soil with your finger or a pencil. Gently insert the cut end of the stem into the hole, and firm the soil around it. You can place 2-3 cuttings per pot, ensuring they aren’t touching each other.
- Water and Cover: Water the soil gently until it’s moist but not soggy. Then, cover the pots with a clear plastic bag, propagation dome, or place them in a small greenhouse. This creates a humid microclimate that’s vital for root development.
The “Secret Sauce” (Pro Tips)
After years of playing in the dirt, a few little tricks really make a difference:
- Bottom Heat is Your Friend: Crucianella maritima loves a bit of warmth from below. Placing your pots on a heating mat designed for plants can significantly speed up root formation. It mimics the warmth of a summer soil bed.
- Don’t Drown Your Dreams: While humidity is key, overwatering is the fastest way to kill your cuttings. The soil should feel consistently moist, like a wrung-out sponge, not waterlogged. If you see water pooling, drain it off immediately.
- Patience with the ‘Pinch’: Once you see signs of new growth (tiny leaves unfurling at the top), it’s tempting to remove the cover. Resist this urge for a bit longer! Let the roots establish well before gradually introducing them to drier air. If you see the leaves wilting significantly when you lift the cover, put it back on and ventilate a little more each day.
Aftercare & Troubleshooting
Once you start to see roots emerging from the drainage holes (which you can gently check by giving a stem a very slight tug), your cuttings are well on their way. Carefully remove the plastic cover and continue to water them as needed. They’ll be thirsty!
Keep them in a bright location, but out of direct, scorching sun for the first few weeks. Once they have a good root system and are showing robust new growth, you can gradually acclimate them to more direct sunlight and eventually transplant them into their own pots or their permanent garden spot.
The most common issue you’ll encounter is rot. If your cuttings turn black and mushy, it’s usually a sign of too much moisture and not enough air circulation. Don’t despair! Just toss the rotted ones and try again, paying close attention to your watering and drainage. Sometimes, a bit of wilting can happen as they adjust. If it’s just a little droop and they perk up when misted, they’re likely okay. If they stay wilted and the stems feel limp, they might not have rooted.
So there you have it – a little guide to multiplying your Crucianella maritima! Remember, even experienced gardeners have their failures. It’s all part of the learning journey. Be patient with yourself and your new green babies, and enjoy the absolute thrill of watching something you grew yourself burst into bloom. Happy propagating!
Resource:
https://identify.plantnet.org/k-world-flora/species/Crucianella%20maritima%20L./data