Hello there, fellow plant lovers! I’m absolutely delighted to share a little bit of my gardening passion with you today. We’re going to dive into the wonderful world of propagating Crassula cotyledonis.
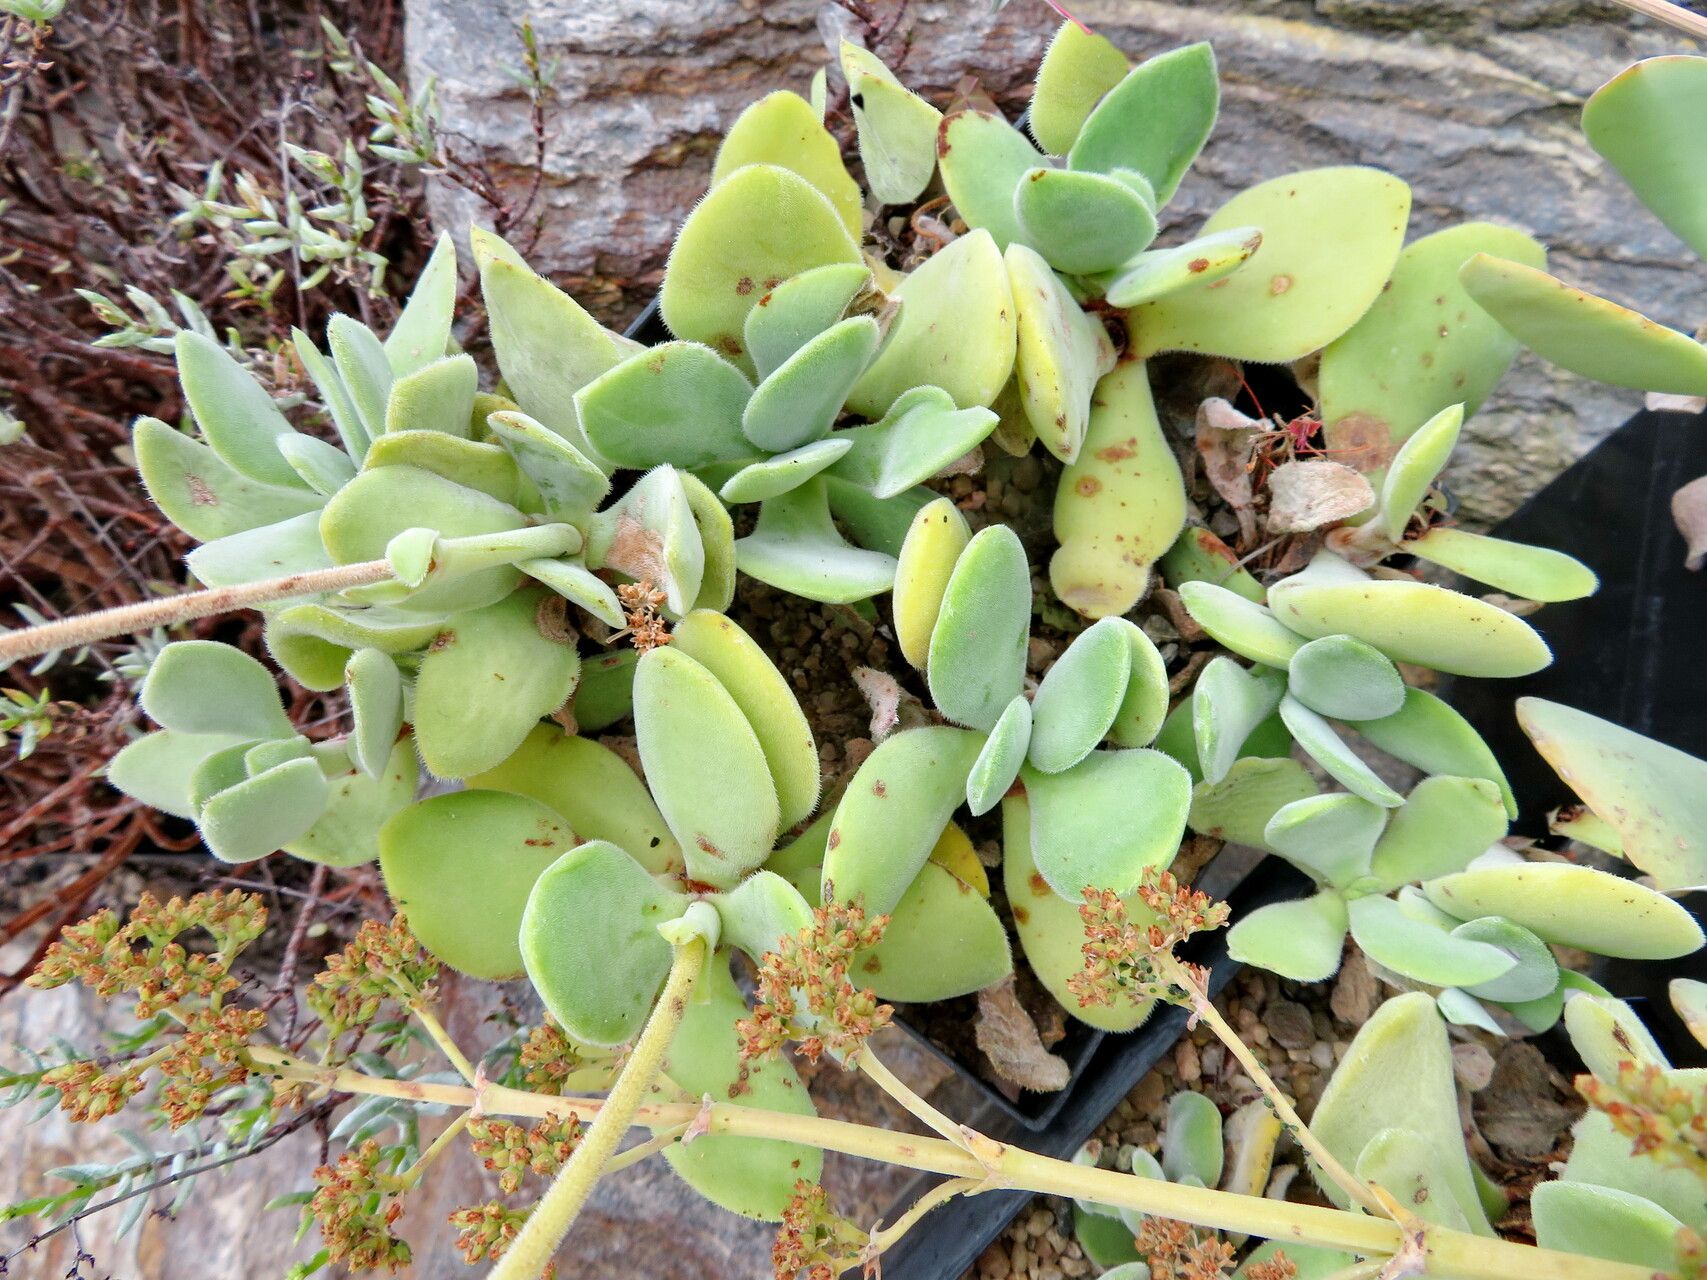
If you’ve ever admired those charming, rosette-forming succulents with their plump, silvery-green leaves, then you’re probably already a fan of Crassula cotyledonis. They have this wonderful way of filling out a pot, and watching them grow feels just like nurturing a little piece of magic. Better yet? Propagating them is surprisingly straightforward, making it a fantastic project for even the newest plant parent. You’ll be rewarded with a whole new little family of these beauties in no time!
The Best Time to Start
Honestly, succulents are pretty forgiving, but if you want the absolute best chance of success, aim for early spring or summer. This is when my Crassula cotyledonis are actively growing and have the most energy to put into developing new roots. It’s like giving them a fresh start with a burst of sunshine.
Supplies You’ll Need
Before we get our hands dirty, let’s gather our tools. This isn’t complicated, I promise!
- Sharp, clean pruning shears or a sharp knife: For making clean cuts that heal well.
- A well-draining potting mix: I usually blend about 50% perlite or pumice with 50% succulent or cactus soil.
- Small pots or trays: Terracotta pots are great because they breathe.
- Rooting hormone (optional but helpful): Especially if you’re a bit nervous about getting roots to form.
- Watering can or spray bottle: For gentle watering.
- A comfy spot with bright, indirect light: Think a sunny windowsill, but not scorching afternoon sun.
Propagation Methods
There are a couple of ways to go about this, and both are quite effective. I find stem cuttings are my go-to, but leaf propagation can also be rewarding if a few leaves drop.
Stem Cuttings
This is my favorite for Crassula cotyledonis because they often send out little baby plants (offsets) from the base, or they can be pruned to create perfect stem cuttings.
- Take a Cutting: Using your sharp, clean shears, make a cut just below a leaf node on a healthy stem. You can also use the offset babies that naturally emerge from the base of the mother plant. Aim for cuttings that are at least 2-3 inches long.
- Let it Callus: This is crucial! Place your cuttings in a dry, airy spot out of direct sunlight for a few days to a week. You’ll see a dry, scab-like layer form over the cut end. This prevents rot.
- Plant Your Cuttings: Once the ends have callused, gently insert the cut end into your prepared, dry well-draining potting mix. You can lightly dampen the soil, but don’t soak it.
- Wait for Roots: Now, the patient part begins. Do not water them again for at least a week. Place them in bright, indirect light. You’ll know they’ve rooted when you see new growth or if you gently tug on the cutting and feel resistance.
Leaf Propagation (If you’re lucky!)
Sometimes, a leaf or two might fall off. Don’t toss them!
- Prepare the Leaf: Once a leaf has fallen, let it callus for a day or two, just like with the stem cuttings.
- Lay on Soil: Lay the callused leaves on top of your well-draining potting mix. You can even gently press the callused end into the soil.
- Misting: Lightly mist the surface of the soil every few days, keeping it just barely moist.
- Patience is Key: New plantlets will eventually sprout from the callused end of the leaf. With time, the original leaf will shrivel and that’s how you know the baby plant is self-sufficient.
The “Secret Sauce” (Pro Tips)
I’ve learned a few tricks over the years that seem to make all the difference.
- Bottom Heat is Your Friend: If you’re keen on really speeding things up, especially if your house is on the cooler side, placing your pots or trays on a heat mat designed for seedlings can significantly encourage root development. It’s like a warm hug for those developing roots!
- Don’t Be Afraid of the Dryness: I know it feels counterintuitive for something that needs to grow, but succulents absolutely hate soggy feet. When propagating, err on the side of too dry rather than too wet, especially in the initial callusing and rooting stages. Rot is the enemy!
Aftercare & Troubleshooting
Once you see signs of rooting—new growth, or that gentle tug resistance—it’s time to start watering.
- Watering: Water the new plants sparingly at first. Let the soil dry out completely between waterings. It’s better to underwater than overwater at this stage.
- Light: Continue to provide bright, indirect light. As the plant grows stronger, you can slowly introduce it to more direct sun, but watch out for scorching.
The most common culprit for failure is rot. If your cutting turns mushy, black, or starts to smell foul, it’s likely rotted. This is usually a sign of too much moisture or not enough ventilation. Don’t despair if a few don’t make it; it’s part of the learning process! Just try again, perhaps adjusting your watering schedule or ensuring better airflow.
A Little Encouragement
Propagating plants is such a rewarding journey. It teaches you patience and gives you a deeper appreciation for the resilience and beauty of the green world. Be patient with your Crassula cotyledonis, offer them a good home, and before you know it, you’ll have plenty of these lovely succulents to admire, gift, or even plant in a larger arrangement. Happy propagating!
Resource:
https://identify.plantnet.org/k-world-flora/species/Crassula%20cotyledonis%20Thunb./data