Oh, hello there! Come on in, pull up a chair. I’ve got a pot of tea brewing, and I thought we could chat about one of my favorite things: spreading the garden love by propagating plants. Today, we’re diving into the wonderful world of Costus lasius.
Why Propagate Costus lasius?
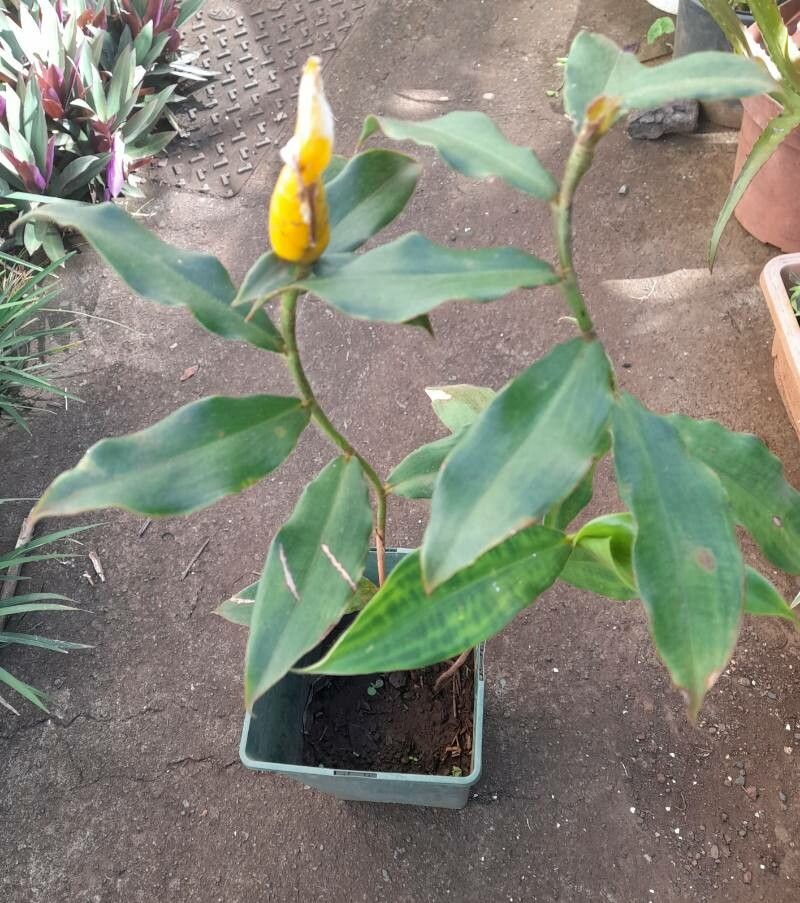
If you’ve ever seen Costus lasius in bloom, you know exactly what a showstopper it is. Those fuzzy, ginger-like flowers are just divine, and the foliage has a lovely elegance to it. The best part? It’s a surprisingly rewarding plant to share. You get to experience the magic of creation, and then, of course, you have extra beauties to pass on to friends or fill in gaps in your own garden. For beginners, I’d say Costus lasius is moderately easy to propagate. It’s not as foolproof as some of the more common houseplants, but with a little attention, you’ll be successful.
The Best Time to Start
Honestly, spring is your best bet for propagating Costus lasius. This is when the plant is just waking up from its winter rest and has plenty of energy to put into new growth. You can also take cuttings in early summer, as long as the weather is warm and humid. Avoid propagating when the plant is stressed or during a heatwave – we want happy, healthy parent material!
Supplies You’ll Need
Before we get our hands dirty, let’s gather our tools:
- Sharp Pruning Shears or a Clean Knife: For making clean cuts that heal well.
- Potting Mix: A well-draining mix is key. I like to use a blend of equal parts peat moss or coco coir, perlite, and a little compost.
- Small Pots or Trays: Whatever you have on hand will do, as long as they have drainage holes.
- Rooting Hormone (Optional but Recommended): A good quality rooting hormone can significantly speed up the process and increase your success rate.
- Plastic Bags or a Humidity Dome: To keep the humidity high around your cuttings.
- Watering Can or Spray Bottle: For gentle watering.
- Labels: So you don’t forget what you planted!
Propagation Methods
Costus lasius is a rhizomatous plant, meaning it grows underground stems. This is usually how we’ll tackle propagation.
1. Division (My Favorite!)
This is the most straightforward method for Costus lasius.
- Gently excavate the parent plant: Carefully dig it up from its pot or the ground. Try not to damage the roots too much.
- Examine the rhizomes: Look for sections of the rhizome that have at least one eye or growth bud and a few healthy roots.
- Make clean cuts: Using your sharp shears or knife, divide the rhizome into smaller sections. Discard any bruised or mushy pieces.
- Pot up the divisions: Plant each division in its own small pot filled with your well-draining potting mix. Bury the rhizome just so it’s covered by about an inch of soil.
- Water gently: Give the soil a good initial watering, but don’t let it get waterlogged.
2. Stem Cuttings (A Bit More Involved)
While rhizome division is easier, you can also take stem cuttings if you want to experiment.
- Select healthy stems: Choose a vigorous stem from the parent plant. Look for sections that are not flowering or too old and woody.
- Make the cut: Using your sharp tool, cut the stem into sections, each about 4-6 inches long. Make sure each cutting has at least two or three nodes (the points where leaves emerge).
- Prepare the cutting: Remove the lower leaves from the cutting, leaving only a couple at the top. This prevents them from rotting in the soil.
- Apply rooting hormone: Dip the cut end of the stem into your rooting hormone, tapping off any excess.
- Plant the cuttings: Stick the prepared cuttings into small pots filled with your potting mix. Make sure the nodes where you removed the leaves are buried in the soil.
- Create a humid environment: Water gently and then cover the pot with a plastic bag or a humidity dome. Prop it up a bit so the leaves don’t touch the plastic.
The “Secret Sauce” (Pro Tips)
Here are a few things I’ve learned over the years that really help:
- Don’t be afraid of “dormant” rhizomes: Sometimes, a rhizome cutting might look a bit bare, but with a little warmth and moisture, those eyes will sprout! Just ensure it has healthy root nubs.
- Bottom heat is your friend: For stem cuttings especially, placing your pots on a gentle heat mat can significantly speed up root development. It mimics the warmth of spring soil and encourages those roots to form.
- Patience is paramount: Costus can be a little slow to show progress, especially with cuttings. Don’t give up if you don’t see new growth in a week or two. It can take much longer!
Aftercare & Troubleshooting
Once your Costus lasius divisions or cuttings show signs of new growth (a tiny leaf unfurling, or resistance when you give a gentle tug on a cutting), it’s time for a little extra pampering. Gradually introduce them to brighter light, but avoid direct afternoon sun. Continue to keep the soil consistently moist but not soggy.
The most common issue you’ll face is rot. This usually happens when cuttings are kept too wet, or if the temperature is too cool. If you see mushy, black stems or rhizomes, sadly, that cutting is likely lost. It’s better to err on the side of slightly too dry than too wet. If you’re using the plastic bag method, open it for an hour or so each day to allow for some air circulation.
Keep Growing!
So there you have it! Propagating Costus lasius is a wonderful way to expand your collection and share a bit of botanical joy. Be patient with the process, celebrate each little bit of new growth, and most importantly, enjoy the journey of nurturing these plants from your own hands. Happy gardening!
Resource:
https://identify.plantnet.org/k-world-flora/species/Costus%20lasius%20Loes./data