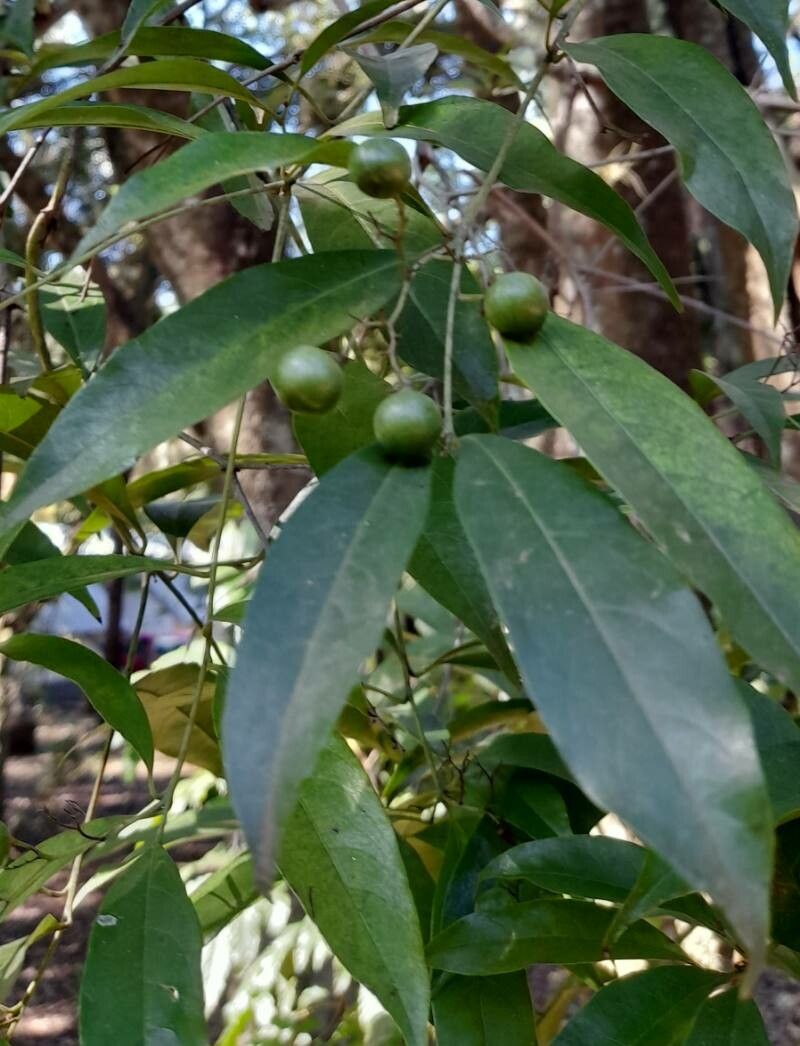
Oh, hello there! Pull up a chair and let’s chat about a truly delightful plant: Cordia ecalyculata. You might know it as “Cherimoya” or “Annabelle Berry,” though it’s not a true cherimoya at all! What I adore about this subtropical beauty is its lovely white, fragrant flowers that eventually give way to delicious, edible fruit. If you’ve ever admired one in a garden or greenhouse, you’ve probably thought about growing your own. And you know what? Propagating Cordia ecalyculata is a wonderfully rewarding way to expand your collection or share this gem with friends. For beginners, I’d say it’s somewhere in the middle – not impossibly difficult, but it does require a little attention to detail.
The Best Time to Start
For the best shot at success, I always recommend taking cuttings in the spring or early summer, just as your plant is entering its active growing season. You’re looking for new, healthy growth that’s firm but not yet woody. Think of it as taking a piece of a vigorous young shoot. Trying to propagate too late in the year, when growth slows, can lead to weaker cuttings and a slower take.
Supplies You’ll Need
Here’s what I like to have on hand before I get started:
- Sharp, clean pruning shears or a sharp knife: Crucial for making clean cuts that heal well.
- Rooting hormone powder or gel: While not strictly essential, it really gives your cuttings a boost.
- A well-draining potting mix: I mix equal parts perlite and peat moss or coco coir. You want something that drains beautifully but also retains some moisture.
- Small pots or trays: Clean, individual pots are best to avoid disturbing delicate roots later.
- A plastic bag or propagation dome: To create a humid environment.
- Water: For misting and for water propagation methods.
- Optional: Heating mat: For bottom heat, which can significantly speed up rooting.
Propagation Methods
There are a couple of tried-and-true ways to get new Cordia ecalyculata plants going.
Stem Cuttings (My Personal Favorite)
This is usually the most successful method for me.
- Select your parent plant: Choose a healthy, vigorous Cordia ecalyculata that’s actively growing.
- Take your cuttings: Using your clean shears, cut 4-6 inch lengths of stem from the tip of a new shoot. Make the cut right below a leaf node (where a leaf attaches to the stem).
- Prepare the cuttings: Gently remove the lower leaves, leaving only one or two at the very top. This prevents them from rotting when buried. If the remaining leaves are very large, you can even cut them in half horizontally to reduce water loss through transpiration.
- Apply rooting hormone: Dip the cut end of each stem into your rooting hormone. Tap off any excess.
- Plant the cuttings: Fill your small pots with your prepared potting mix. Make a small hole in the center with a pencil or skewer. Insert the cut end of the stem into the hole, ensuring the leaf nodes where you removed leaves are below the soil line. Gently firm the soil around the stem.
- Water and cover: Water the soil lightly. Then, place a plastic bag over the pot (making sure the leaves don’t touch the plastic, or use stakes to keep it away) or cover it with a propagation dome. This creates a little greenhouse effect.
- Provide warmth and light: Place the pots in a warm spot with bright, indirect light. If you have a heating mat, place the pots on it.
Water Propagation (For the Patient)
While I prefer soil for Cordia ecalyculata, you can try water propagation if you’re feeling adventurous.
- Take cuttings and prepare them as described above.
- Place the cuttings in a jar or glass of water. Make sure no leaves are submerged below the water line. Any leaves in the water will rot and can kill the whole cutting.
- Place the jar in bright, indirect light.
- Change the water every few days to keep it fresh and prevent bacterial growth.
- Be patient! It can take longer for roots to form in water, and once they do, you’ll need to carefully transplant them into soil once the roots are about an inch long. They can be a bit fussy about the transition.
The “Secret Sauce” (Pro Tips)
Here are a couple of things I’ve learned over the years that can really make a difference with Cordia ecalyculata:
- Humidity is KING: These tropical beauties absolutely love moisture in the air. That plastic bag or propagation dome is your best friend. I even like to mist the cuttings lightly every day or two through the plastic if I’m not using a dome.
- Bottom Heat is a GAME CHANGER: Seriously, if you can get your hands on a heating mat, use it! Providing gentle warmth from below mimics the soil temperature of their natural tropics and encourages root development much faster. You’ll see results in weeks, not months.
- Don’t Rush the Transplant: Resist the urge to poke and prod! With stem cuttings, I wait until I see new leaf growth and feel some resistance when I gently tug on the cutting. This tells me roots have formed. For water cuttings, wait until the roots are at least an inch long.
Aftercare & Troubleshooting
Once your cuttings have rooted and you’ve transplanted them into their own pots, the real fun begins!
- Watering: Keep the soil consistently moist but not waterlogged. Think of it like a wrung-out sponge. Overwatering is the quickest way to kill a new propagation.
- Light: Continue to provide bright, indirect light. Avoid harsh direct sun, which can scorch tender young leaves.
- Fertilizing: Wait at least a month or two after transplanting before giving them their first light feeding with a balanced liquid fertilizer. They’re still establishing themselves and don’t need much.
Now, what if things go wrong? The most common issue is rot. If your cutting turns black and mushy, it’s usually a sign of too much moisture and not enough air circulation, or the presence of bacteria. If you see this, it’s best to discard it and start again, ensuring your soil drains well and you’re not overwatering. Another sign of failure is a cutting that simply looks sad and never develops roots. This could be due to the cutting being too old, not enough light, or a lack of humidity.
A Encouraging Closing
Propagating plants is like a little experiment in nature, and sometimes, not every attempt will be a roaring success. That’s perfectly okay! The most important thing is to be patient, observe your cuttings closely, and enjoy the process. Each new little plant you grow is a testament to your nurturing hands and a beautiful continuation of a plant you love. So gather your supplies, find a nice sunny spot, and give it a go. Happy propagating!
Resource:
https://identify.plantnet.org/k-world-flora/species/Cordia%20ecalyculata%20Vell./data