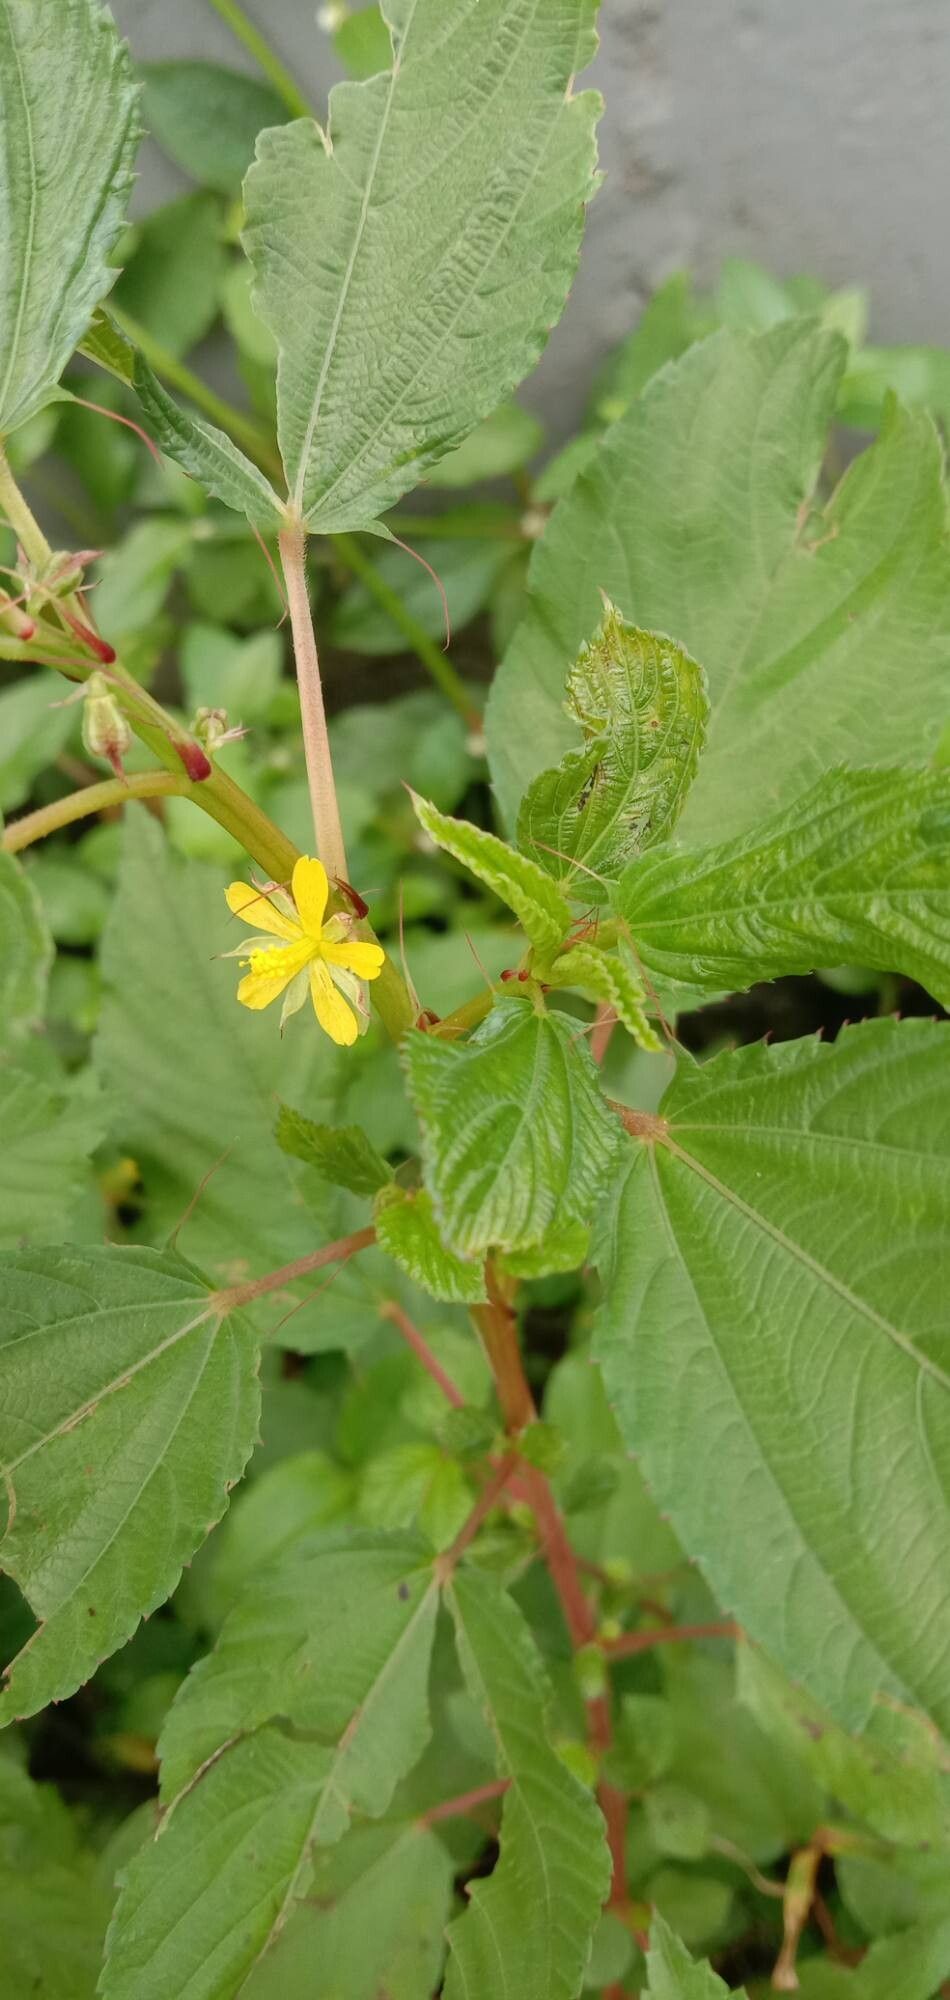
Oh, Corchorus olitorius! You know, the one we often call Molokhia or Jute Mallow. It’s a fantastic plant to have in the garden, not just for its delicious, tender leaves that cook up into that wonderful, comforting dish, but also for how satisfying it is to multiply. Seeing a tiny cutting transform into a thriving plant brings such a sense of accomplishment. Good news for my beginner friends: Corchorus olitorius is wonderfully easy to propagate. You’ll be amazed at how quickly you can fill your pots or garden bed with more of this versatile green.
The Best Time to Start
For Corchorus olitorius, your best bet is to start when the weather is warm and consistently so. Think late spring or early summer. This is when the plant is actively growing, and its stems have a bit of maturity but are still tender enough to root easily. You want a good few months of warm weather ahead to let your new plants establish themselves. Starting just as you’re harvesting the mature plants is a perfect time to gather your cuttings.
Supplies You’ll Need
Gathering your tools beforehand makes the whole process so much smoother. Here’s what I always have on hand:
- Sharp Pruning Shears or Scissors: Cleanliness is key to prevent disease.
- Potting Mix: A light, well-draining mix is essential. I like to use about 70% peat or coco coir mixed with 30% perlite or coarse sand. This ensures good aeration.
- Small Pots or Seed Trays: Clean pots are a must!
- Rooting Hormone (Optional but Recommended): A powder or gelform will give your cuttings a nice boost.
- Watering Can with a Fine Rose: Gentle watering is crucial for delicate new roots.
- Plastic Bag or Dome: To create a humid microclimate.
- Labels and a Marker: To keep track of what you’ve planted.
Propagation Methods
Corchorus olitorius is a gem because it’s so amenable to stem cuttings. It’s the most straightforward way to get more plants, and it works like a charm.
Stem Cuttings
- Take Your Cuttings: On a healthy, vigorous Corchorus olitorius plant, find a stem that’s not too old and woody, but also not brand new and floppy. Aim for pieces about 4-6 inches long.
- Prepare the Cuttings: Gently remove the lower leaves from the bottom 2-3 inches of the stem. This is important so they don’t rot when you plant them. You can leave the top few leaves on, as they’ll help the cutting create energy through photosynthesis. If the top leaves are very large, you can cut them in half horizontally to reduce water loss.
- Apply Rooting Hormone (Optional): If you’re using rooting hormone, dip the cut end of the stem into the powder or gel. Tap off any excess. This step really does encourage quicker and stronger root development.
- Plant Your Cuttings: Fill your clean pots with your prepared potting mix. Make a hole with a pencil or your finger in the center of the soil. Carefully insert about an inch or two of the cutting into the hole, then gently firm the soil around it.
- Water Gently: Water the soil thoroughly but gently, so you don’t dislodge the cuttings. You want the soil to be moist, not waterlogged.
- Create Humidity: Place the pots in a plastic bag, tying it loosely at the top, or cover them with a clear plastic dome. This traps moisture and keeps the humidity high, which cuttings desperately need. Place them in a bright spot, but out of direct, scorching sun.
The “Secret Sauce” (Pro Tips)
Now, here are a few little tricks I’ve learned over the years that make a difference:
- Don’t Let Leaves Touch the Soil (or Water!): This is non-negotiable. Any leaves that are below the soil line will rot, and that rot can spread to your cutting, dooming it before it even has a chance to root. Always trim them off cleanly. If you were to try water propagation (which is tougher for this plant, honestly, but some do it), always ensure no leaves are submerged.
- Bottom Heat is Your Friend: If you find your cuttings are taking a while to root or you’re in a cooler spell, a little gentle bottom heat makes a huge difference. You can get inexpensive propagation mats that sit under your trays or pots. This keeps the root zone warm and energized, encouraging faster root formation.
- Mist Regularly, But Let Them Breathe: While humidity is key, you don’t want stagnant, stale air, as that can encourage fungal issues. Open your plastic bag or dome daily for a few minutes to allow for air circulation. A light misting of the leaves on very warm, dry days can also help, but avoid a constant deluge.
Aftercare & Troubleshooting
Once your cuttings have been in their humid little environment for a few weeks, you’ll start to see signs of life. You can gently tug on a cutting; if you feel resistance, that means roots have formed! You’ll also see new leaf growth.
- Acclimatize Slowly: Once rooted, gradually remove the plastic bag or dome over a week. Do this by opening it a little more each day. This helps the new plant adjust to normal household humidity.
- Watering: Water when the top inch of soil feels dry. Again, don’t let it sit in soggy soil.
- Transplanting: When the roots have filled the pot (you’ll see them peeking out the drainage holes), it’s time to transplant them into slightly larger pots or their final garden spot.
The most common issue you’ll face is rot. If a cutting turns black and mushy, it’s usually because the soil was too wet, there wasn’t enough air circulation, or the removed leaves were left to decay. Don’t be discouraged if a few don’t make it – it’s all part of the learning process! Just pull out the failed ones, check your methods, and try again.
So there you have it! Propagating Corchorus olitorius is a truly rewarding endeavor made simple. Be patient with your little ones, offer them warmth and light, and before you know it, you’ll have a small jungle of these delicious greens ready for your kitchen. Happy growing!
Resource:
https://identify.plantnet.org/k-world-flora/species/Corchorus%20olitorius%20L./data