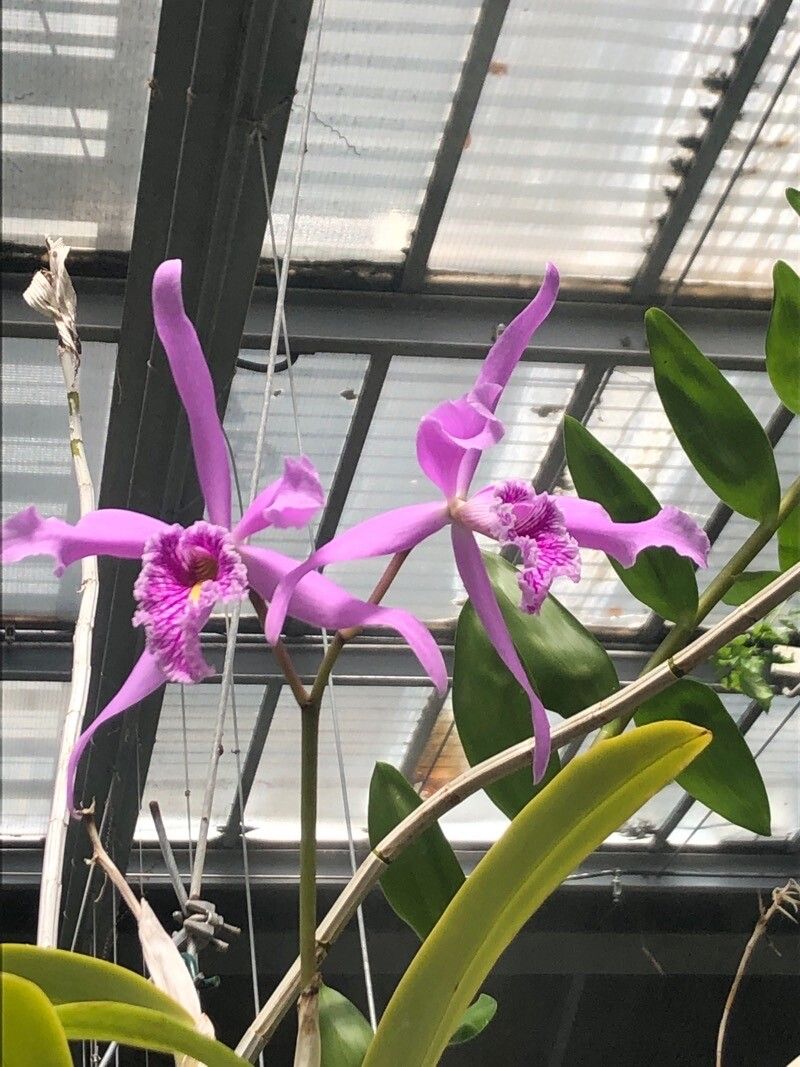
Hello fellow plant lovers! If you’ve ever admired the magnificent blooms of Cattleya maxima, that breathtaking orchid with its sculptural beauty and intoxicating fragrance, you’re in for a treat. There’s something incredibly satisfying about coaxing new life from a parent plant, and multiplying your Cattleya maxima collection is a very rewarding endeavor. Now, I won’t lie, Cattleya maxima can be a tad more demanding than your average desk plant, but with a little patience and the right approach, it’s absolutely achievable. Think of it as a wonderful challenge to hone your orchid-growing skills!
When to Get Your Hands Dirty
The absolute sweet spot for propagating Cattleya maxima is during their active growing season. This usually means late spring and throughout the summer, when the plant is putting out new roots and shoots. You want to work with a healthy, vigorous specimen that’s already showing signs of new growth. Avoid propagating when the plant is stressed, dormant, or just finished flowering.
Your Essential Toolkit
Gather your supplies before you begin. Having everything ready makes the whole process smoother and less stressful.
- Sharp, sterile pruning shears or a clean knife: Essential for making clean cuts. Sterilize with rubbing alcohol or a flame between cuts to prevent disease.
- Potting medium: A well-draining orchid mix is crucial. Think chunky bark, perlite, and a bit of sphagnum moss. Avoid heavy or water-retentive soils.
- New pots: Small pots, ideally with good drainage holes. Terracotta or plastic are both fine.
- Rooting hormone (optional but recommended): A powdered or gel form can give cuttings an extra boost.
- Watering can or spray bottle: For gentle watering.
- Clear plastic bags or domes: To create a humid environment for cuttings.
- Labels and a marker: To keep track of what you’ve propagated and when!
Multiplying Your Maximas: Division is Key
For Cattleya maxima, the most reliable and common method of propagation is division. This is where we separate a mature, multi-pseudobulb plant into smaller, viable sections.
- Assess Your Plant: Look for a plant that has several pseudobulbs (those plump, stem-like structures) and, ideally, at least three to four mature pseudobulbs with healthy roots attached to at least one of them.
- Gently Remove from Pot: Carefully ease the orchid out of its old pot. You might need to gently squeeze the pot or run a knife around the edge if it’s stuck.
- Clean Off Old Medium: Gently remove as much of the old potting mix as you can from the roots. This allows you to see the rhizome (the horizontal stem connecting the pseudobulbs) and assess the root system.
- Locate the Rhizome: Identify the thickest part of the rhizome that connects the pseudobulb sections.
- Make the Cut: Using your sharp, sterile tool, carefully cut through the rhizome between the pseudobulbs. Aim to create divisions that each have at least two or three pseudobulbs and some healthy roots. It’s okay if a few roots are damaged; just try to minimize it.
- Trim Damaged Roots: Remove any dead, mushy, or broken roots from your divisions.
- Pot Up Your New Plants: Place each division into its own clean pot. Position them so the pseudobulbs are slightly above the surface of the new potting mix, and arrange the roots as best you can. Gently fill in with your chunky orchid mix, firming it slightly around the roots without packing it too tightly.
- Watering Strategy: After potting, I like to wait about 24-48 hours before the first watering. This gives any tiny cuts on the roots a chance to heal and reduces the risk of rot. Then, water thoroughly but allow the mix to dry out slightly between waterings.
The “Secret Sauce” from My Greenhouse
Here are a couple of things I’ve learned over the years that make a real difference:
- Don’t Over-Pot: Resist the urge to put a division into a pot that’s too large. Orchids actually prefer to be a bit snug. A pot that is too big will hold too much moisture, leading to root rot. You want just enough space to accommodate the roots of the division.
- Use Bottom Heat (If You Can): While not strictly essential, placing your newly potted divisions on a gentle heat mat (around 70-75°F or 21-24°C) can significantly speed up root development and encourage new growth. This mimics the warm, humid conditions they love.
Nurturing Your Young Sprouts & What to Watch For
Once your divisions are potted, place them in a location with bright, indirect light and good air circulation. Keep them slightly more humid than you would a mature plant, but avoid letting water sit in the crown of the pseudobulbs.
- Signs of Success: You’ll know you’re on the right track when you start seeing new roots emerging from the base of the pseudobulbs, or a new growth shoot appearing. This can take several weeks to a few months, so patience is key!
- Common Pitfalls: The biggest enemy of new orchid divisions is root rot. Watch out for pseudobulbs that start to shrivel excessively (a little shriveling is normal as the plant adjusts, but excessive puckering is a bad sign), or a mushy, foul-smelling base. If you see this, you might need to unpot, trim away the rot, and repot into fresh, dry medium. Fungicides can also be helpful in cases of rot.
Growing orchids is a journey, and propagating them is like reaching a wonderful milestone. Don’t be discouraged if your first attempt isn’t perfect. Each plant, and each division, is a chance to learn and refine your touch. Enjoy the process, celebrate every new root and leaf, and soon you’ll have a whole collection of these exquisite beauties to share! Happy growing!
Resource:
https://identify.plantnet.org/k-world-flora/species/Cattleya%20maxima%20Lindl./data